
bigdog9191999
High-tech Redneck
diy lowering sucess, other mods going on now..
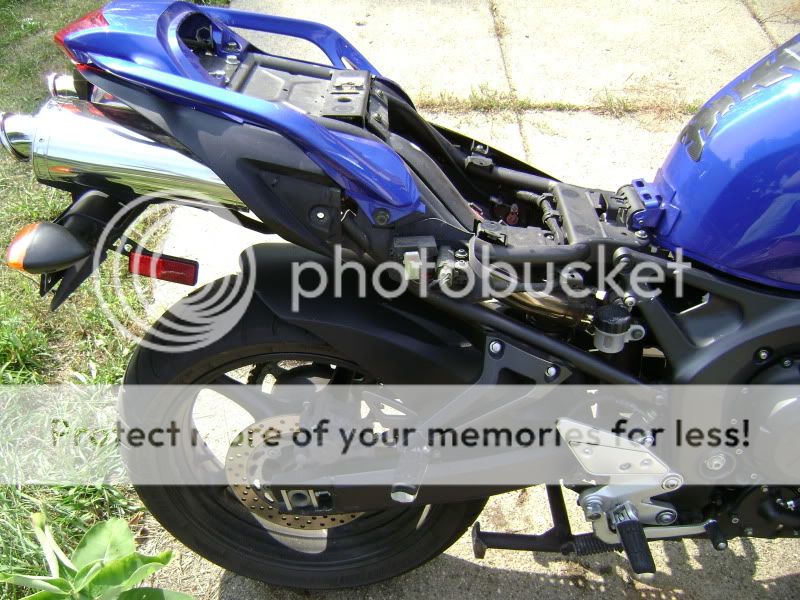
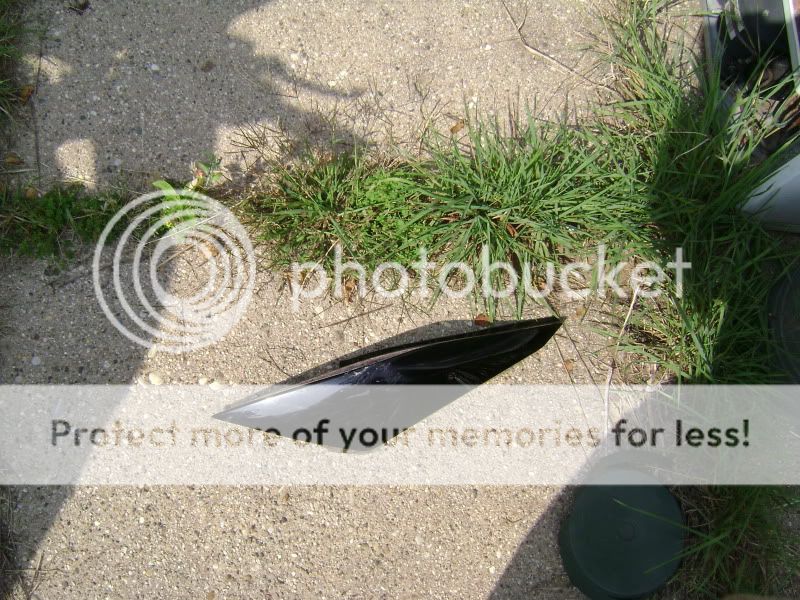
first some new toys are on the way... as the bike has been dropped on both sides resulting in minor scratches on the "moles" and some light scratches on the side covers.. (a black sharpie did wonders for the covers) and both front turn siglans are now broken loose (the mounting points on the inside of the faring are broke) and they are zip tied in place for now.. i am gonna change them.. (the bike was "pushed" over by a police car before we got it so there are some marks from that also, mostly on the rear side plastic, one side from the cop car and the other from the ground)
replacement lights for the front.. which i think are going just in front of the "FZ6" sticker on the faring. not from the same vender but the same lights
http://imgs.inkfrog.com/pix/johnnyu/smokeyamaha1.jpg
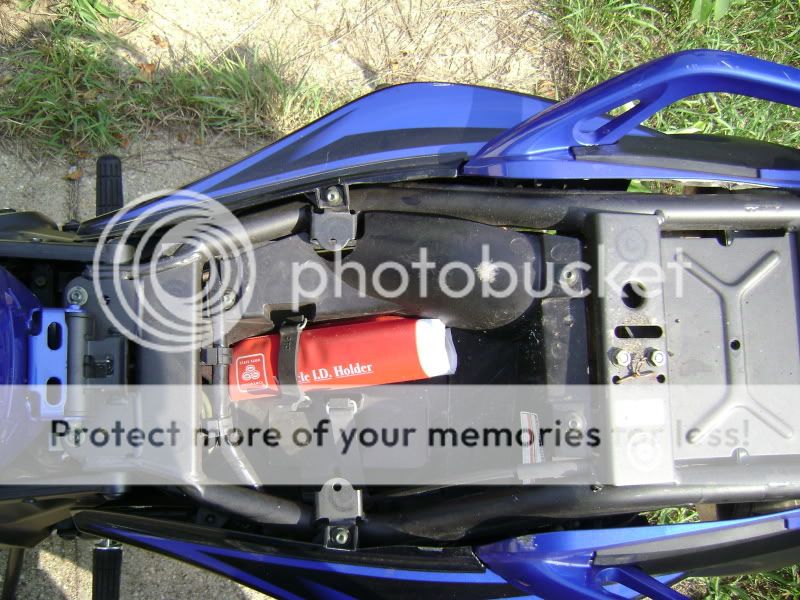
when i find the fe i have laying around here somewhere i will get that installed also
'03-'07 YAMAHA FZ6 STANDARD FENDER ELIMINATOR KIT:eBay Motors (item 180366188248 end time Oct-05-09 08:35:02 PDT)
and for some further protection (i know some dont like them but i figure somthing is better than nothing
EXTEND FRAME SLIDERS 04-08 YAMAHA FZ6 FZ 6 600 05 06 07:eBay Motors (item 170382412687 end time Sep-15-09 14:39:07 PDT)
and now for the lowering, most of you probly saw the other post i did when i got my ebay shock for a buck, well i finally got a chance to play with it today and i think the results are gonna be great.. i grabbed the camera but forgot the memory stick so cell pic's it is..
first here is the link to the other thread i started
http://www.600riders.com/forum/fz6-mods/21432-diy-lowering.html#post253088
and the link to what gave me some info to go from (thanks to fattylumpkin for the info posted on the metisse kit)
http://www.600riders.com/forum/fz6-mods/6037-metisse-lowering-kit-2.html
here is what i did today
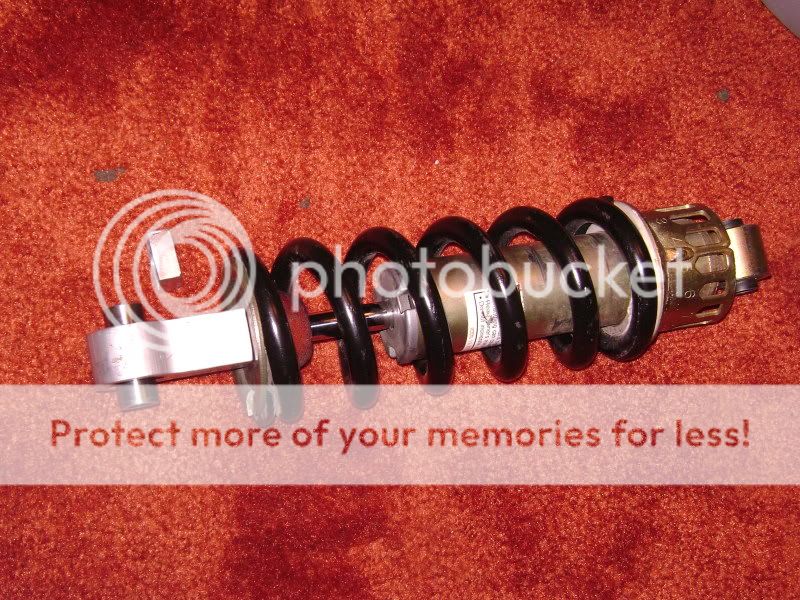
first compressed the spring and got the end off (no pics), then went to the local hardware store to see if they had a tap, ant they did.. 12mm with 1.25 pitch (took the end with to get the right one)
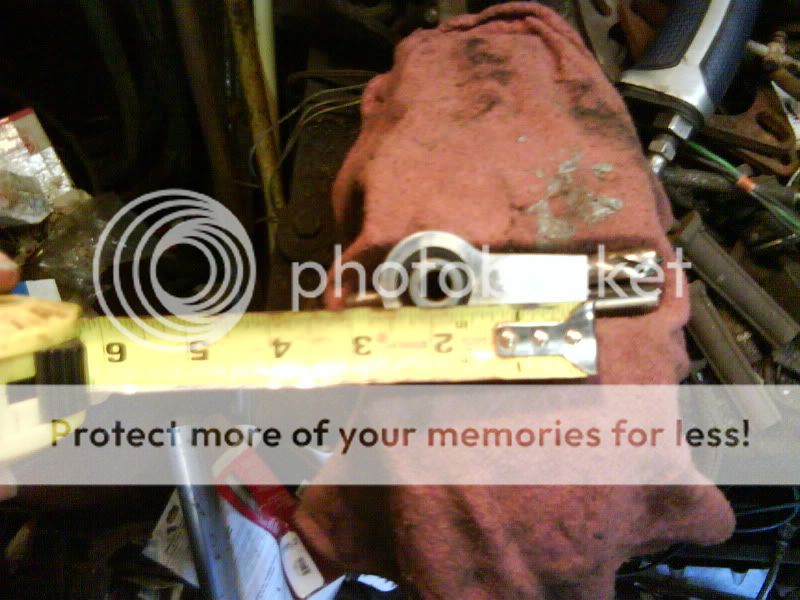
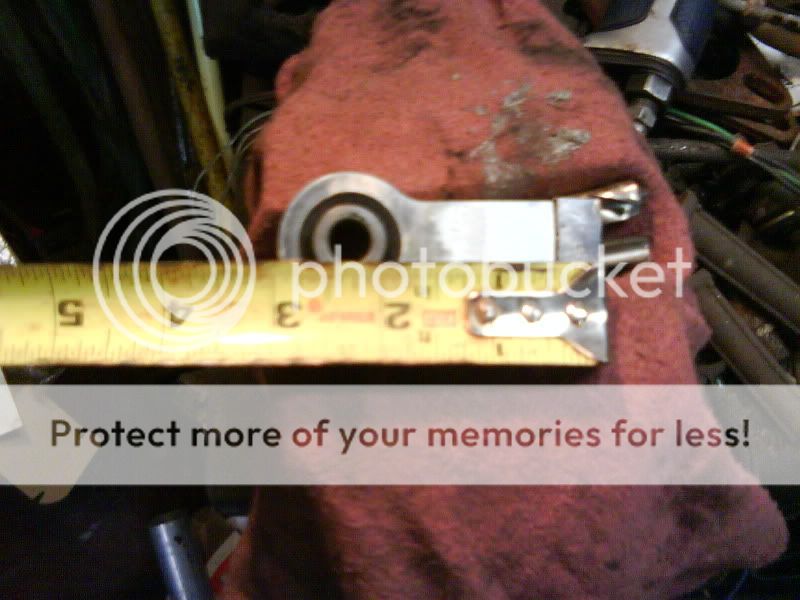
took the mesurements (about 3/8 in) and popped it in the bandsaw
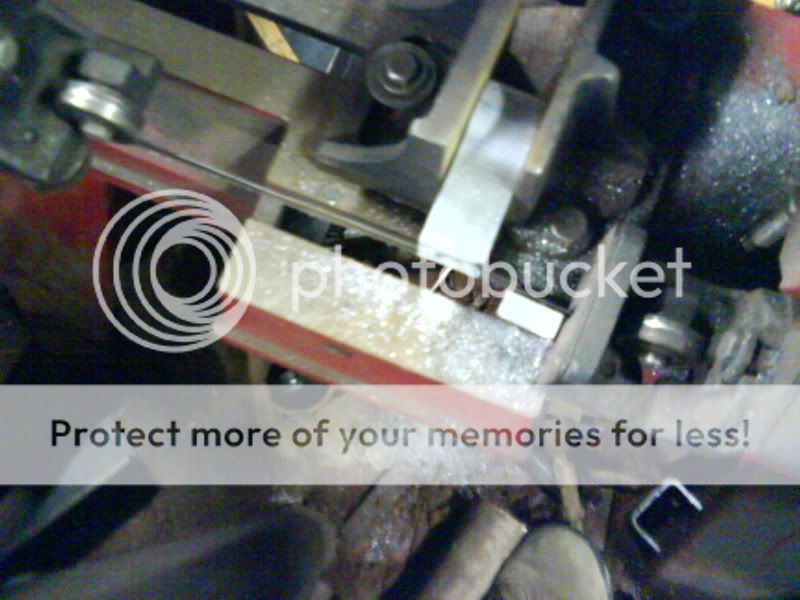
after the cut
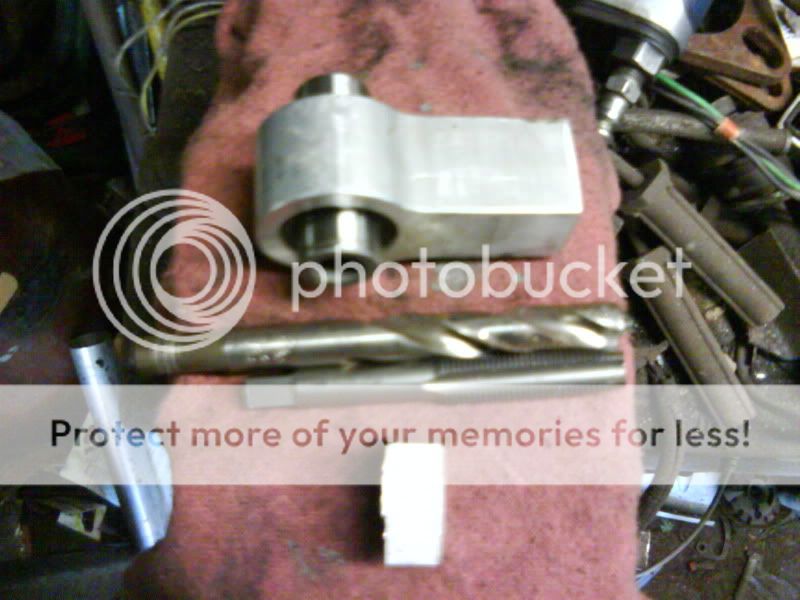
got the drill bit (27/64" acording to the package for the tap) and the tap ready
drilled the whole just over 3/8'' deeper (to alow room for the tap) and
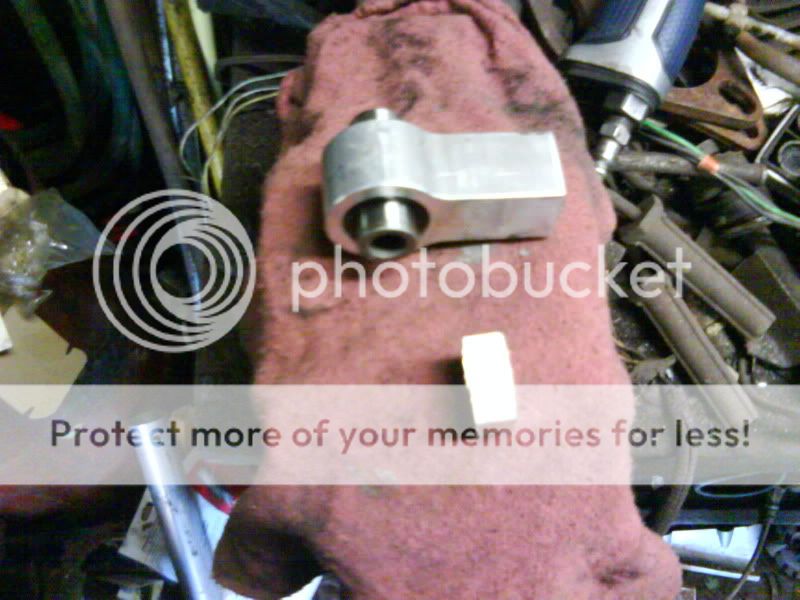
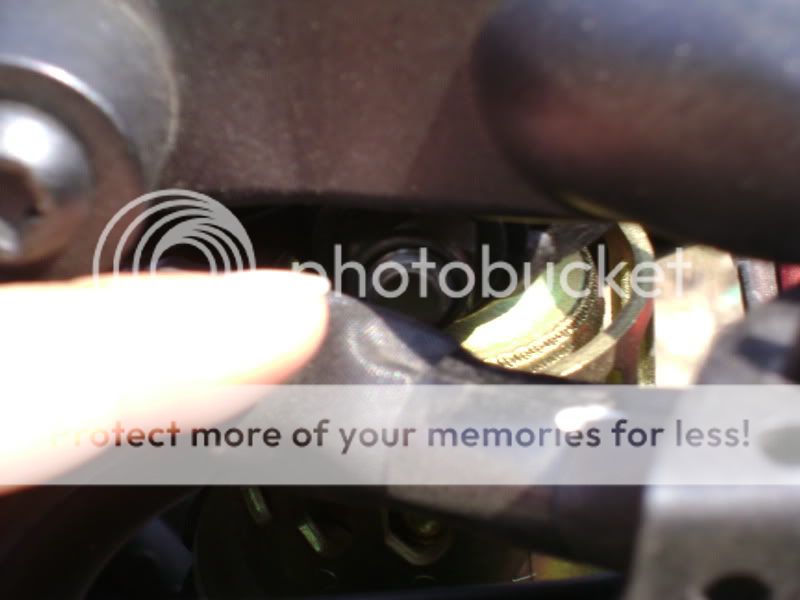
cleaned it up and reinstalled the end
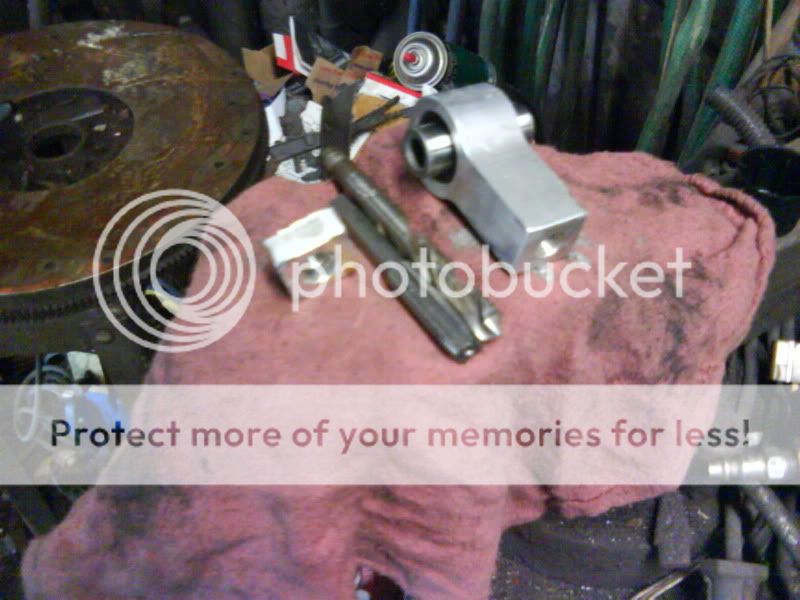
tap and end
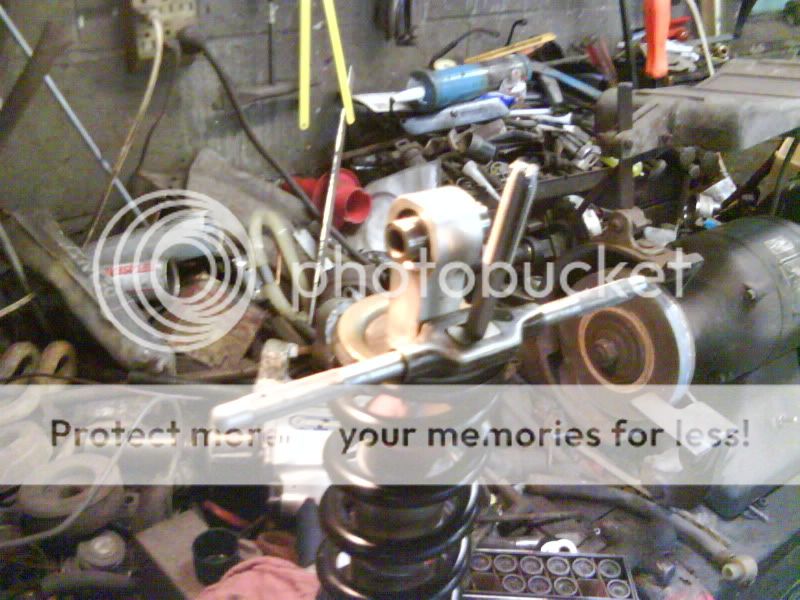
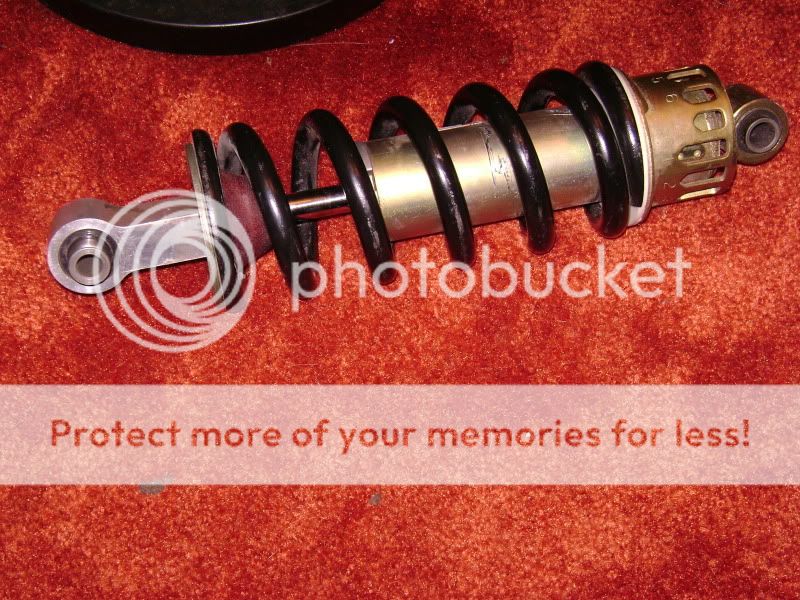
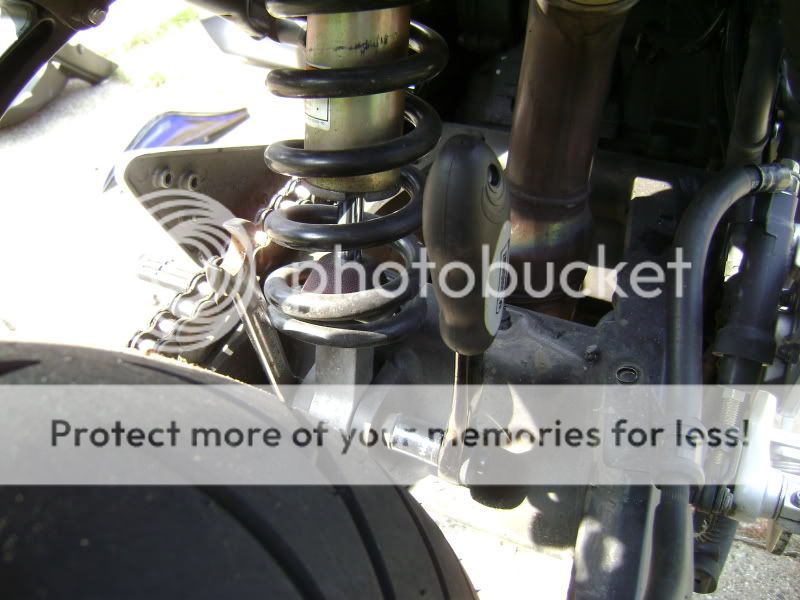
shortend end installed
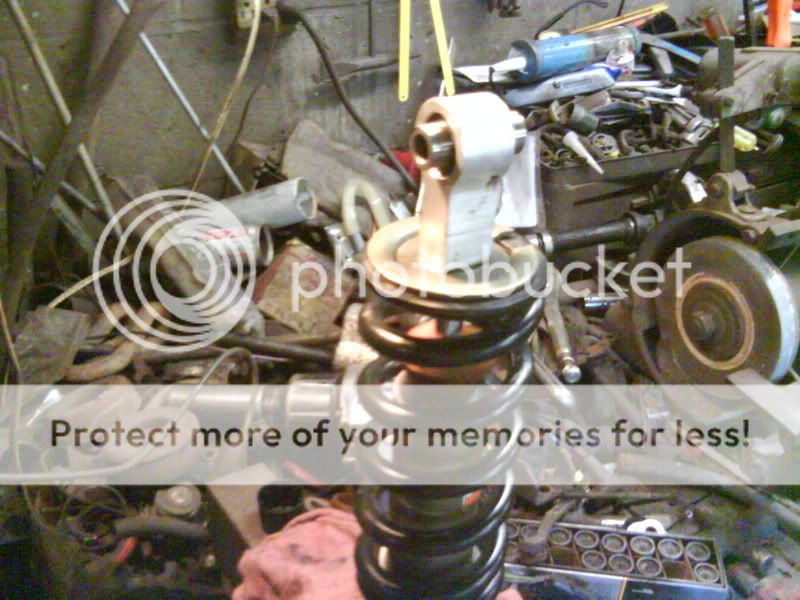
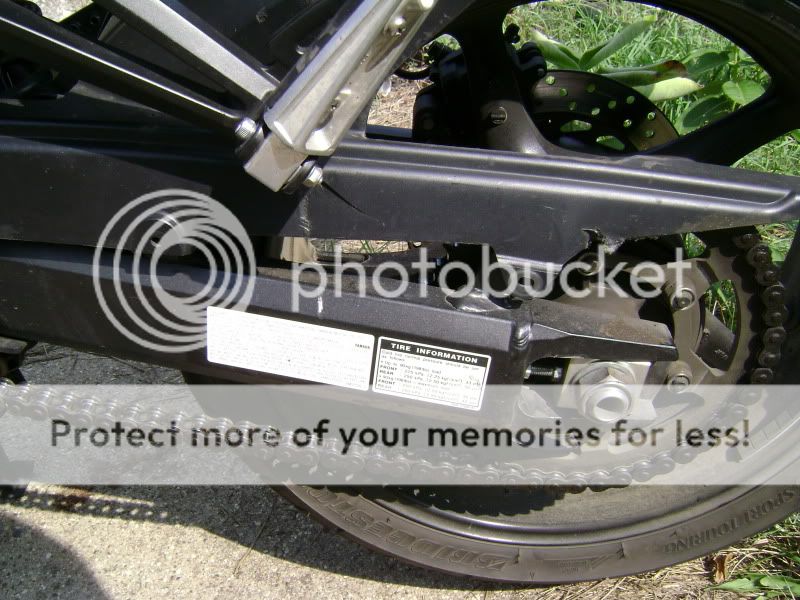
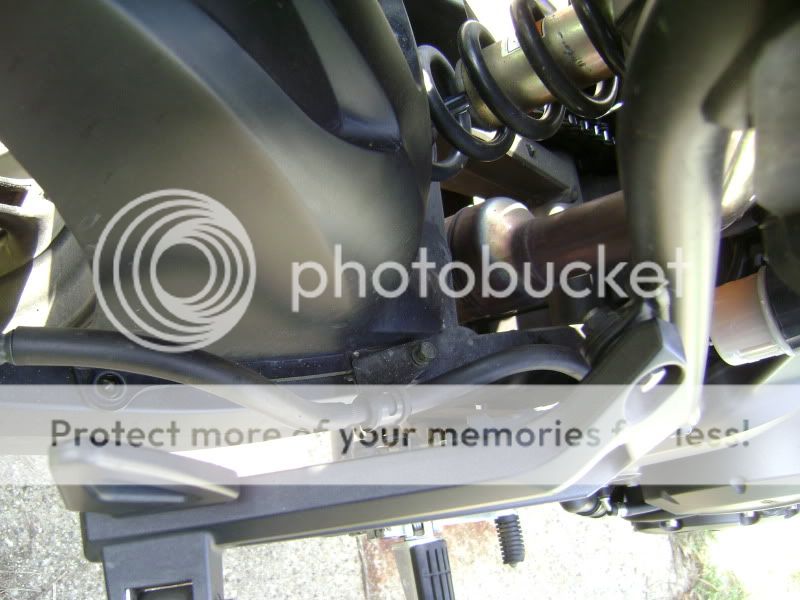
all ready for a test fit to see how it works and how much lower the bike sits
so far i have about $14 into this, 7 for the shock and almost 7 for the tap, if all works well then i will pull it all back apart and put the shortend end on the shock on the bike just so that i have the peace of mind of knowing that the shock is good and how many miles and no major damage is hidden. will post more when i get it installed and get pics and mesure the difference, i plan on lowering the clamps, about 1/4" also (about 5-6mm) i am gonna take several pics of the changes in hight one will be stock, then shaved seat, and then lowered, to see how much each change made.
first some new toys are on the way... as the bike has been dropped on both sides resulting in minor scratches on the "moles" and some light scratches on the side covers.. (a black sharpie did wonders for the covers) and both front turn siglans are now broken loose (the mounting points on the inside of the faring are broke) and they are zip tied in place for now.. i am gonna change them.. (the bike was "pushed" over by a police car before we got it so there are some marks from that also, mostly on the rear side plastic, one side from the cop car and the other from the ground)
replacement lights for the front.. which i think are going just in front of the "FZ6" sticker on the faring. not from the same vender but the same lights
http://imgs.inkfrog.com/pix/johnnyu/smokeyamaha1.jpg
when i find the fe i have laying around here somewhere i will get that installed also
'03-'07 YAMAHA FZ6 STANDARD FENDER ELIMINATOR KIT:eBay Motors (item 180366188248 end time Oct-05-09 08:35:02 PDT)
and for some further protection (i know some dont like them but i figure somthing is better than nothing
EXTEND FRAME SLIDERS 04-08 YAMAHA FZ6 FZ 6 600 05 06 07:eBay Motors (item 170382412687 end time Sep-15-09 14:39:07 PDT)
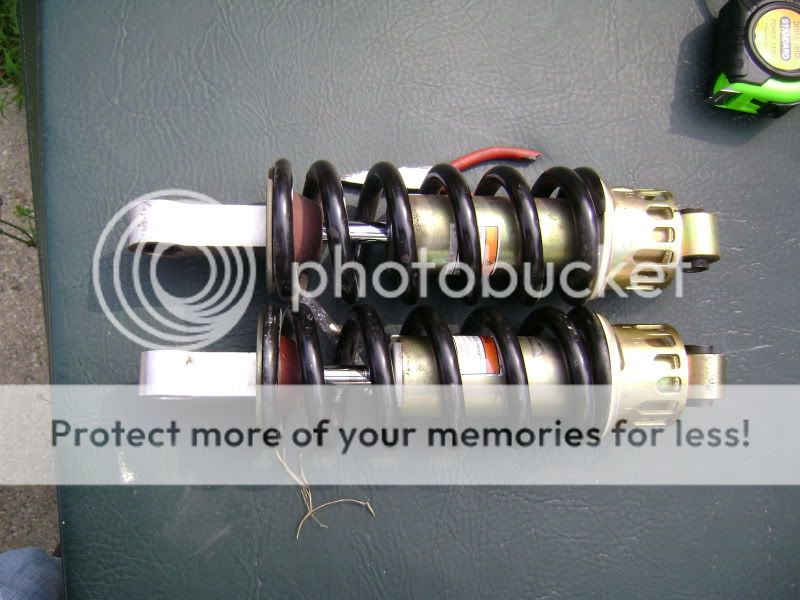
and now for the lowering, most of you probly saw the other post i did when i got my ebay shock for a buck, well i finally got a chance to play with it today and i think the results are gonna be great.. i grabbed the camera but forgot the memory stick so cell pic's it is..
first here is the link to the other thread i started
http://www.600riders.com/forum/fz6-mods/21432-diy-lowering.html#post253088
and the link to what gave me some info to go from (thanks to fattylumpkin for the info posted on the metisse kit)
http://www.600riders.com/forum/fz6-mods/6037-metisse-lowering-kit-2.html
here is what i did today
first compressed the spring and got the end off (no pics), then went to the local hardware store to see if they had a tap, ant they did.. 12mm with 1.25 pitch (took the end with to get the right one)
took the mesurements (about 3/8 in) and popped it in the bandsaw
after the cut
got the drill bit (27/64" acording to the package for the tap) and the tap ready
drilled the whole just over 3/8'' deeper (to alow room for the tap) and
cleaned it up and reinstalled the end
tap and end
shortend end installed
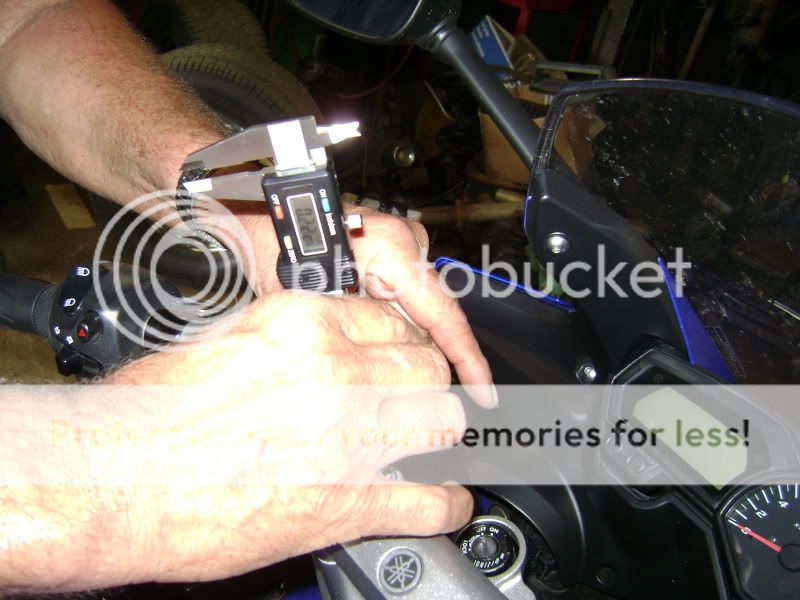
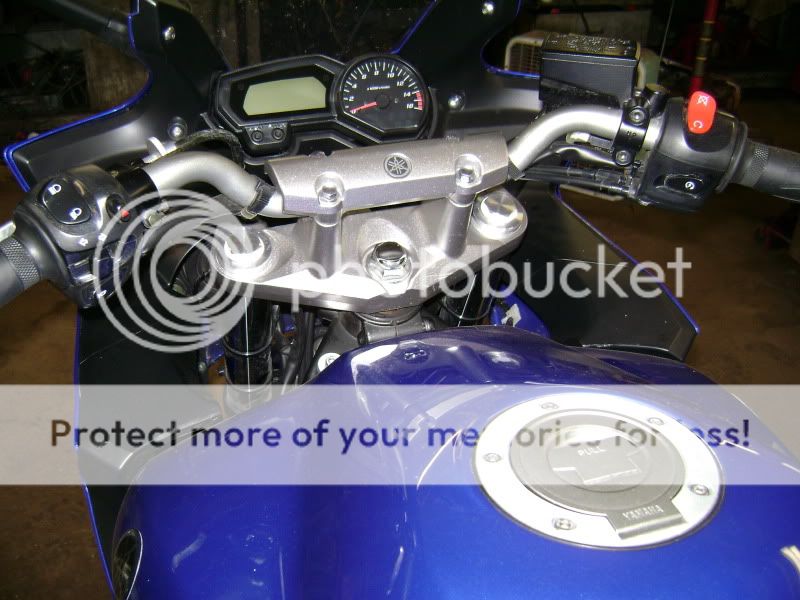
all ready for a test fit to see how it works and how much lower the bike sits
so far i have about $14 into this, 7 for the shock and almost 7 for the tap, if all works well then i will pull it all back apart and put the shortend end on the shock on the bike just so that i have the peace of mind of knowing that the shock is good and how many miles and no major damage is hidden. will post more when i get it installed and get pics and mesure the difference, i plan on lowering the clamps, about 1/4" also (about 5-6mm) i am gonna take several pics of the changes in hight one will be stock, then shaved seat, and then lowered, to see how much each change made.
Last edited:


")