Paint: Black Frame/Engine Color Match

skooter65

Mainah'
Elite Member
Joined
Jun 9, 2008
Messages
1,640
Reaction score
44
Points
0
Location
Gorham, Maine
Visit site
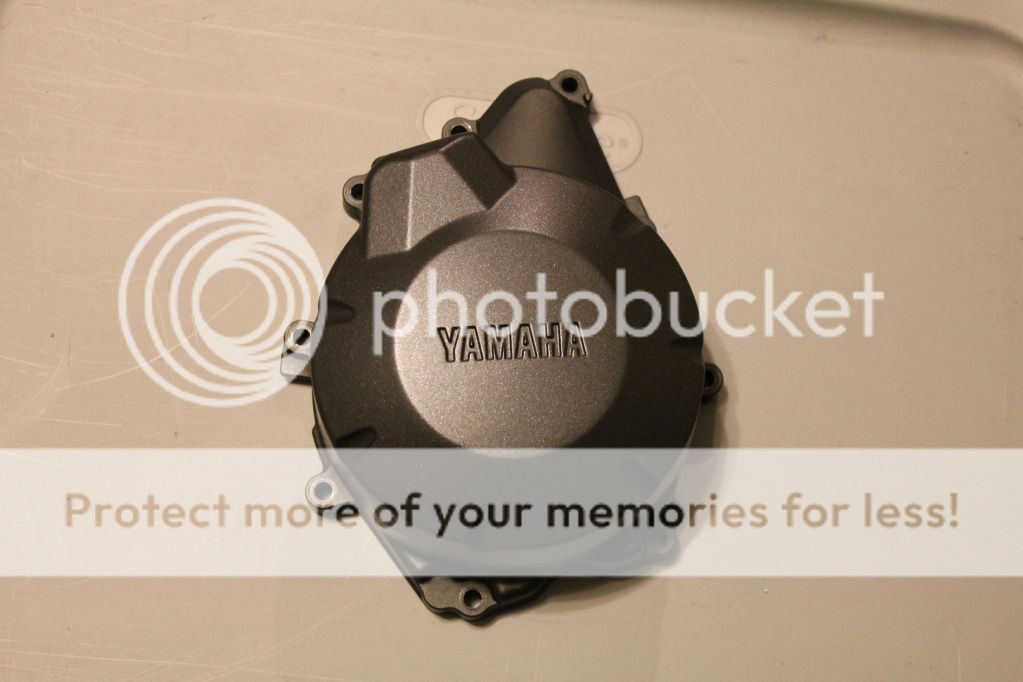
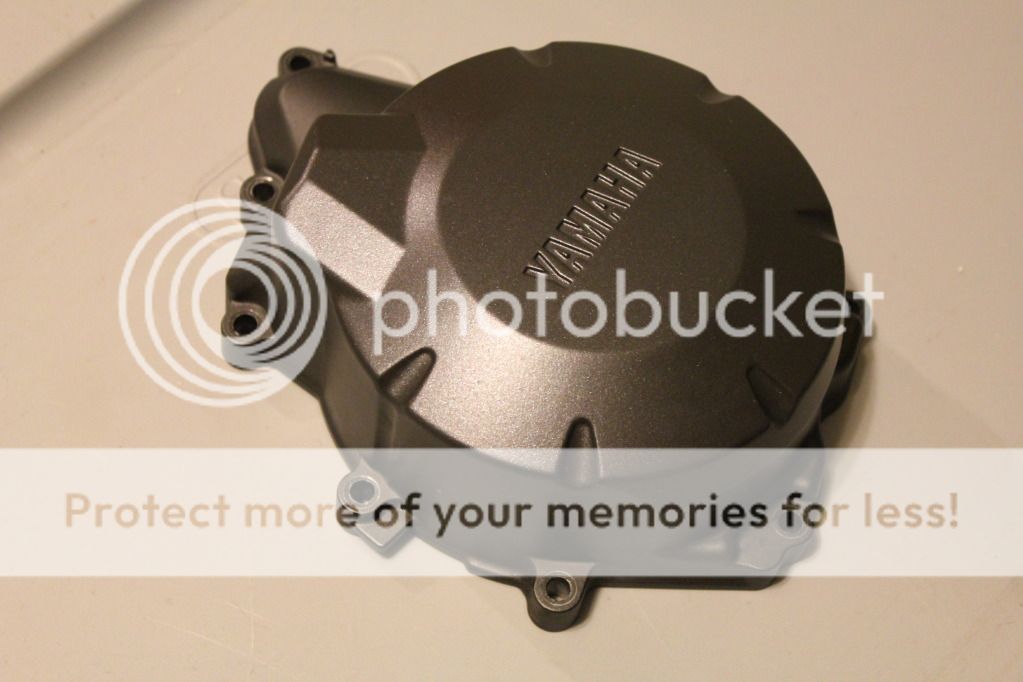
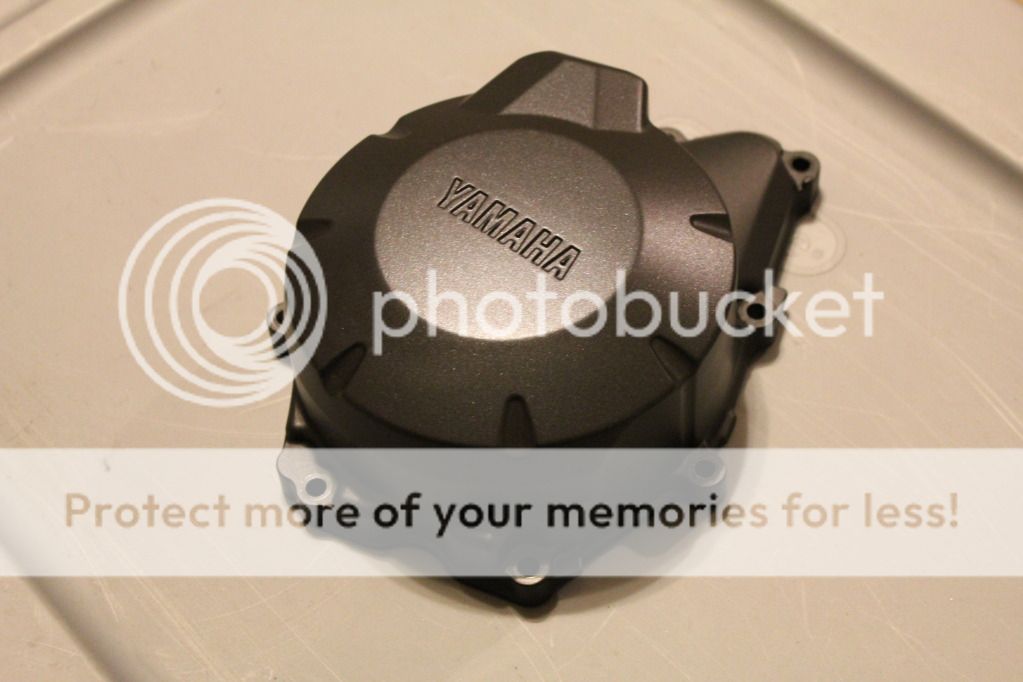
So I came across a damaged stator cover from my old 07+ when I was cleaning the garage the other day and was wondering if I could fix it. I replaced it at the time because a can of true color-match paint is nearly $50 with shipping.

Long story short; Off to Advance Auto i went. The first can I picked up was as close as I think you can get without paying the big bucks. Thought I would share: please see the photos below.

Paint: VHT Engine Metallic
Color: SP405, Black Pearl
Link: VHT Engine Metallic
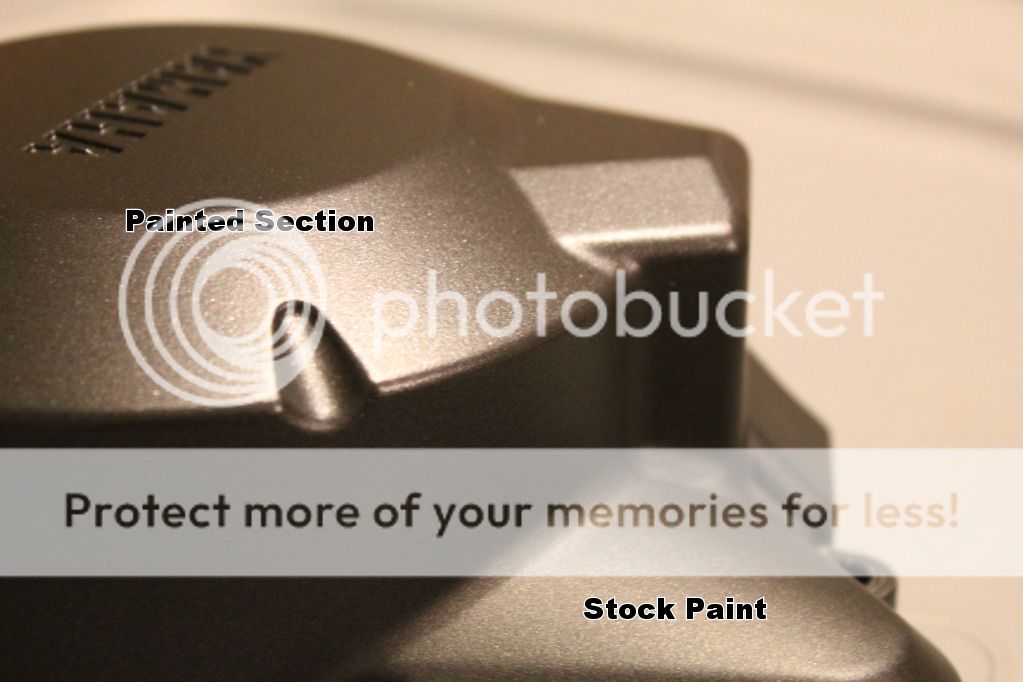
3485b282-6eba-4e96-a885-28350e050d45_zps510b2a74.jpg


FZ6StatorCover005_zps8764006d.jpg


FZ6StatorCover011_zps7ad8231c.jpg


FZ6StatorCover006_zpsb981db01.jpg
 
What an AWESOME find! I have a couple scratches on my frame from when I took the stickers off, that looks like a perfect match:thumbup:

EDIT:
Just got back from AdvanceAuto....$8.66 with the big brother discount:D
 
Last edited:
What an AWESOME find! I have a couple scratches on my frame from when I took the stickers off, that looks like a perfect match:thumbup:

EDIT:
Just got back from AdvanceAuto....$8.66 with the big brother discount:D

I don't think I would call it "Perfect" in person; In some light you can see that the tone and depth of color are a bit different. I first painted a small patch to cover the scratched area and the difference was noticeable up close. I hid this by extending the coverage area and putting the paint "seam" on the edge.

I think it is a great inexpensive fix that most people would not notice. I would recommend trying it in an inconspicuous area first so you can see what it looks like in person.

Buy VHT Paint Engine Metallic, Black Pearl, 11 oz, Aerosol SP405 at Advance Auto Parts

$9 cost, compared to a new cover from Ron Ayers @ $70'ish, or the local stealership @ $120'ish

:thumbup:

Exactly! You have to love the $10 fixes!!
 
Bumping this because over the weekend I noticed that the zipper tab of my new Aerostich suit has been scuffing the frame of my bike for the past couple weeks :(

How do you think this paint would work on this area, as far as blending into the existing paint? Or should I spend the $40 for a can of colorrite paint?

8662004658_a0688e224e_b.jpg
 
Repair #2:

Had another few scratches on the stator cover on the part out bike. This time I baked the part to decrease the cure time and likely the increase the durability as compared to the 7-Day air cure (Can recommends 200°F for 1-Hour)

Before: (Some sanding done already)


Cooking ;)


After:


Not 100% perfect but 100% better than it was before. Also, The paint is rock solid after the heat cure; very impressed so far.
 
Last edited:
Thanks for the info, stopped by Canadian Tire and there it was on the shelf. I have been wanting to paint some parts on my bike black but haven't had the time to do the research. Thats why this forum is awesome.
 
Skooter - please see the pic in my post #5. How well do you think this paint would blend with the existing paint on the frame?
 
Skooter - please see the pic in my post #5. How well do you think this paint would blend with the existing paint on the frame?

My apologies for missing this the first time.

That is a tough call. I know that when I masked the first stator cover, the difference was noticeable. Not so much the color as the "depth" and tone of the paint.

That being said, it was a "hard" tape line with no attempts made to blend to the existing paint. The swingarm on my new project bike has a few blemishes that need to be touched up. Perhaps I will try a few different techniques for blending to see how well it would come out.

Maybe something over the weekend.
 
^^ Off hand, unless baked on, I don't see it holding up. My rear sets looked good after a year with minimal wear but I had 4 layers of clear coat on them and it went through even though I baked it on. It was VHT High temp Ceramic Clear. Also, that was direct boot contact. Rear sets are now powder coated.

In the Motor cross realm, zip tie a pad on there to reduce wear. Its not gonna be pretty tho! :(

I'm just wondering about how well the paint would blend with the existing paint. I plan to put a neoprene or some kind of fabric flap over the zipper tab on my suit, so I'm not worried about any additional wear once I re-paint it.
 
Super stupid question, but I've never done my own work, so bear with me. :BLAA:

When I got my bike (used) it had some scratches from being dropped (on both sides!). The scratches are minor and non-directional, they come from zero-speed tip overs.

To paint the covers, I just sand down the scratched area and spray directly over? I don't need to strip all the paint / prime / topcoat etc etc?

While I'm here, does anyone know of a good way to clean rust off of (presumably steel) screws? I got quite a few rusty screws on the ol' girl.
 
A quick Update:

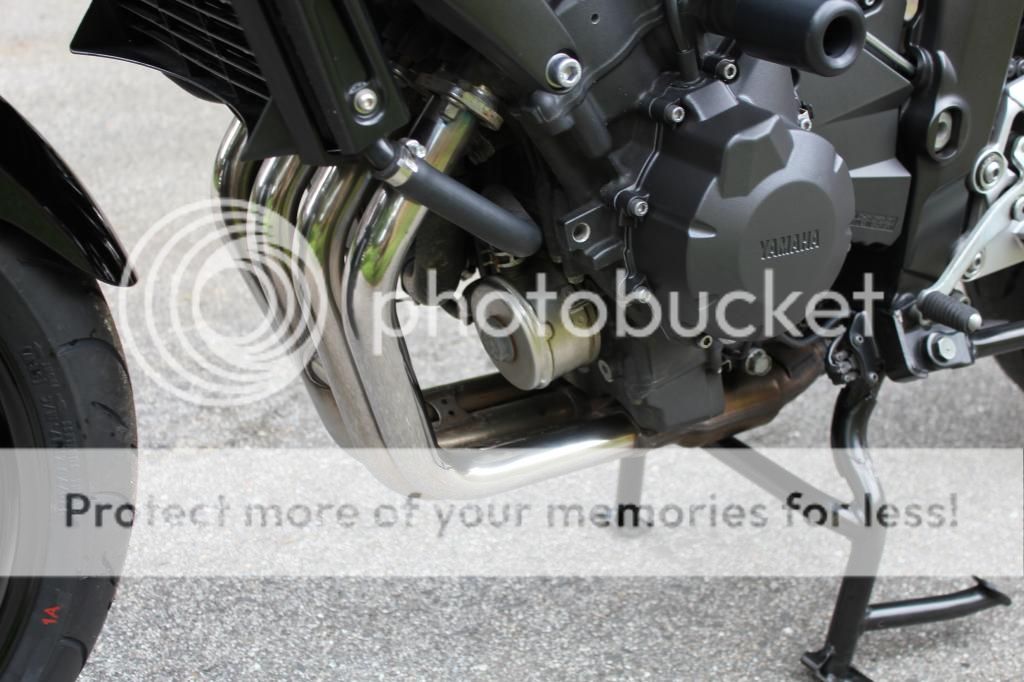
Wanted to show a before and after while installed on the bike. Again, not a absolute perfect match but it is close enough that you will not notice in most cases.

Before:


After:
 
That may not look "perfect" in person, but on this here computer it does look perfect.

What did you use to polish your headers? Mine look like I ride around in cow manure all day!! :eek:
 
+1 on the VHT DYI fix.

320 sandpaper + VHT engine spray from Advanced Auto + 45 min. (okay maybe longer because I'm a perfectionist and clumsy)

Here were my results:

Before
Stator1_Before.jpg

Sanding with 320
Stator2_Sanded.jpg

Voila!
Stator3_fix.jpg

If you're looking close you can see a small smudge under the M in Yamaha, that was operator error while painting. Part of the newspaper that was taped to the bike's body peeled back and touched the fresh paint. (Told you I was clumsy)

Also my iPhone auto exposure makes the finished spray look a lighter color than the OEM. It's not, it's 95% perfect with the original color. Only by standing at the back of the bike and looking at both casings can you see the slightest difference in sheen. If you were like me and worried it won't match, don't worry it looks amazing!

I couldn't figure out how to free the cable coming out of the case so I opted for the 7 day air dry.

What was I thinking! Now I can't ride for a week!?
 
<<< SNIP >>>
I couldn't figure out how to free the cable coming out of the case so I opted for the 7 day air dry.

Engine oil temps are in the 175 - 195°F Range... An hour long ride and you're gonna be pretty close to oven forced cure times... Although rocks and bugs may be a factor!
 
That may not look "perfect" in person, but on this here computer it does look perfect.

What did you use to polish your headers? Mine look like I ride around in cow manure all day!! :eek:

Mothers Mag and Alum Polish and some elbow grease..!
Thanks for reminding, time to polish headers.
https://www.google.com/webhp?sourceid=chrome-instant&ion=1&espv=2&ie=UTF-8#q=mothers+mag+aluminum

IMG_0148.jpg
IMG_0147.jpg

Final product, not great, I know. Looks like I need to learn definition of elbow grease..! :(
IMG_0150.jpg

And in the below image, where the headers meet engine, I see a little rust on all 4 clamps (from the day I purchased), is that something bad? or just some rust treatment/cleaning and polishing should do the trick? I've used some mothers mag to cover up now and forgot to take pictures before hand.
IMG_0146.jpg
 

Attachments

  • IMG_0148.jpg
    IMG_0148.jpg
    130.8 KB · Views: 57
Last edited:
I used a little bit of Never Dull. It made it smooth and shiney, but the headers still have a yellow tint to them.
 
Back
Top