*To be read in the worst infomercial voice you can imagine;
Is your indicator indicating it has problems? Ladies, do you keep breaking fingernails on that stiff indicator lever? - This guide is for YOU!
1. There are 2 screws on the bottom of the left hand switch assembly, take them out and move the switch assembly away from the handlebar (they are different in length so make a note of it).
 2.
2. Remove the first screw holding the indicator switch mechanism, and unclip the ziptie holding the cables going in the switch assembly.
 3.
3. The second screw is "hiding", rotate the upper half of the switch assembly 'till you spot it then unscrew.
 4.
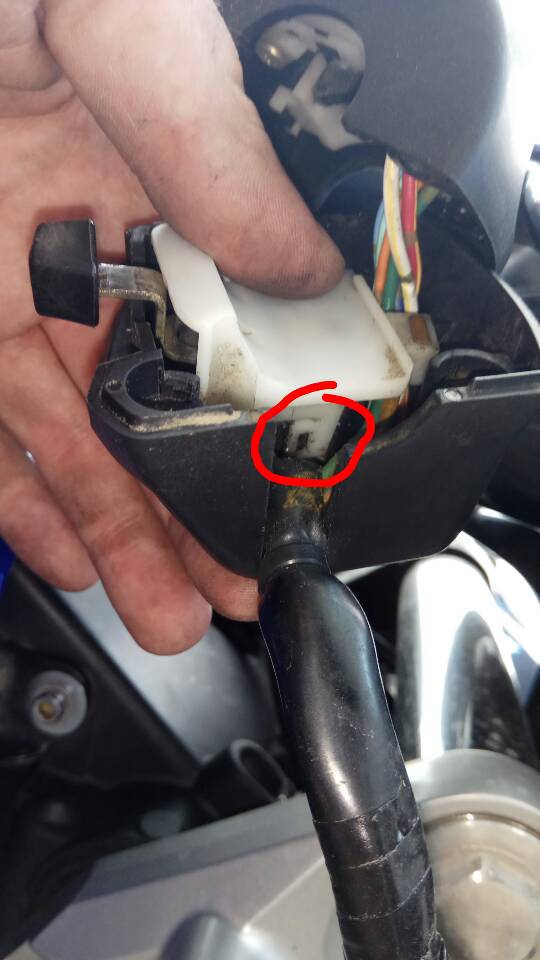
4. Now you will be able to move the indicator switch mechanism, you need to do so in order to get to the screw that's holding the horn switch. Once you unscrew that one the horn switch can come out, it's a bit fiddly so be patient and don't yank on the wires
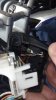 5.
5. The switches are now free of the lower switch casing, gently pry the two dabs holding the contacts so you can remove the switch mechanism
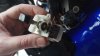 6.
6. It's out!
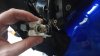 7.
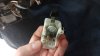
7. The part marked #1 simply comes out by hand, the screw #2 is holding things together so remove it - now you can take apart everything but the lever itself.
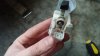 8.
8. Look "down" the lever, there's a small ball bearing that's being pushed against it by a spring (I HATE springs)
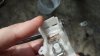 9.
9. Look now on the opposite side of that spring, there's a small brass tab holding it in. Gently slide the brass tab out making sure the spring doesn't pop out 'cause God help your poor soul if it does, you'll never EVER find it

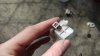 10.
10. These are all the parts taken out & cleaned, if you're missing something it's time to start crying.