
SANGER_A2
Super Member
I used to have EXO2 StormShield Heated Gloves and while they looked awesome, as heated gloves they were unreliable and not as comfy as they could be. I had to return them every few months as the right-one would randomly stop working! I decided to upgrade to some Gerbings for the lifetime warranty! IMHO EXO2 gloves are motorcycle gloves with some heating chucked in, but Gerbings are heated gloves with some extra padding. They don't look as nice, but they work much better once I used some leather care cream on the leather to soften them up.
Anyway, I decided I was fed up with the big control box and PRM circuit setup I posted about before here. This is mainly because I never really used it. I just had the gloves turned on when it was cold and off when it wasn't. I didn't need the variable heat option. I've "downgraded" to just a single switch and redid the wiring to be more simple and solid.
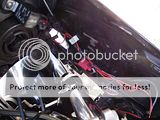
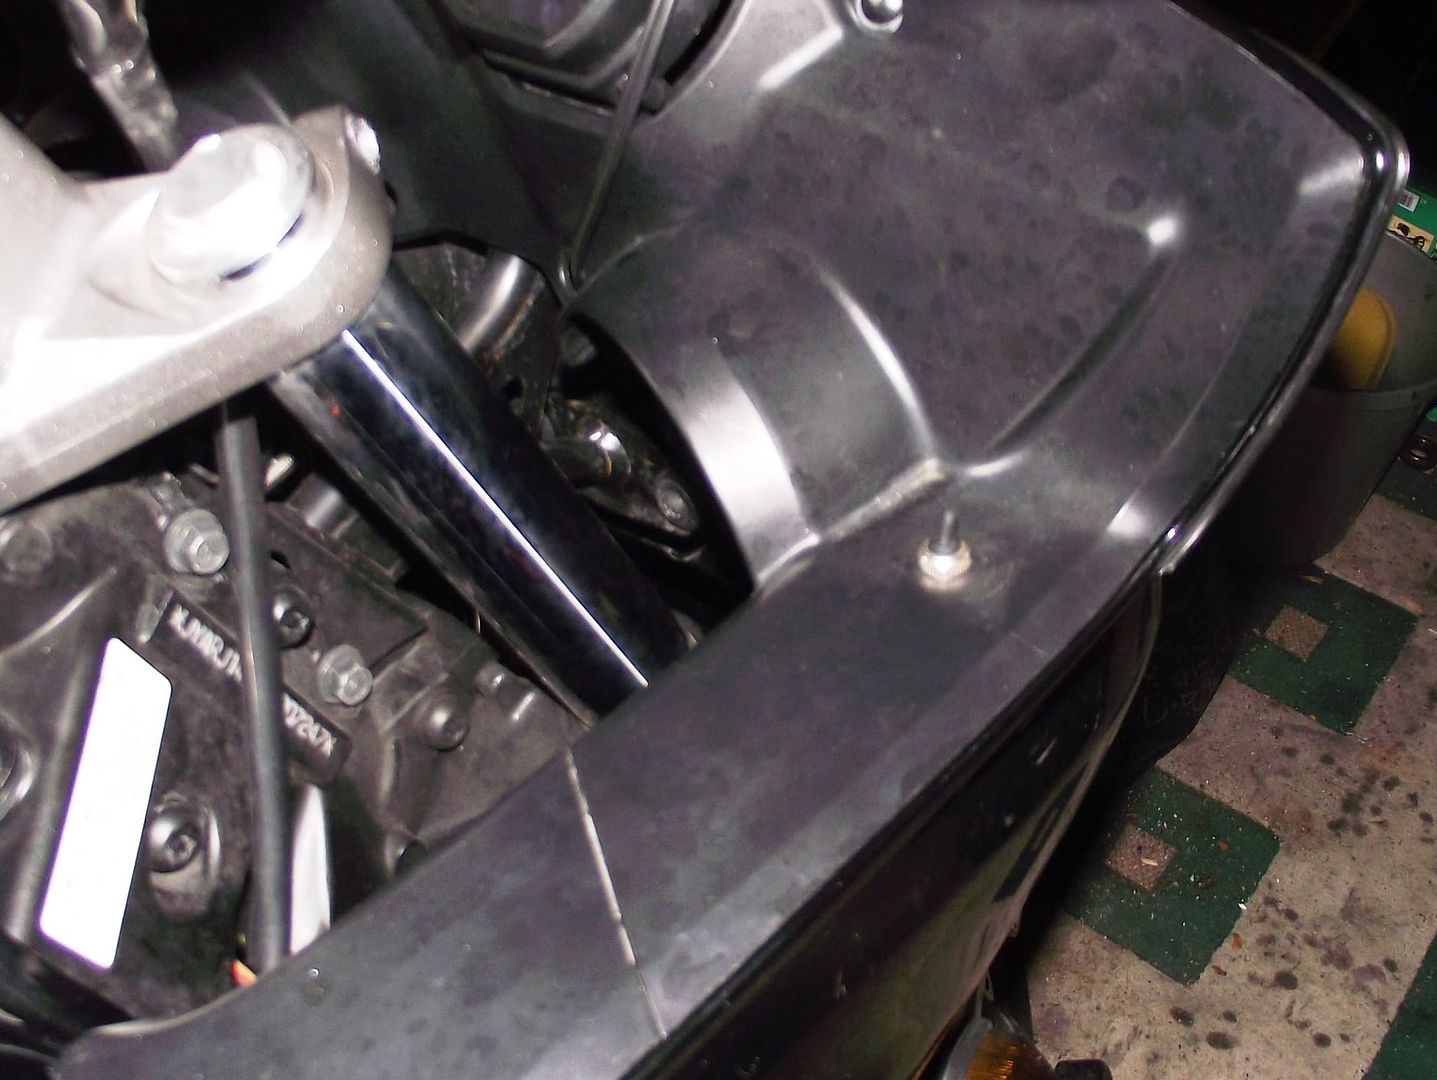
I'm using the relay as before, but the power from it goes straight to the connection by the seat via a fuse and a switch wired in to the positive connection. I've tried to keep it simple and the switch can easily be disconnected when removing the infill panel. You can see these connections here:-
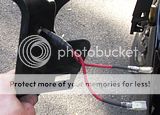
Here is the underside of the switch with the connectors to join it into the circuit. It's got loads of heat-shrink protecting any bits that might corrode:-
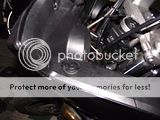
And here is the final product. It has a waterproof cover on top with an o-ring to keep the water away from the insides of the switch. It works great (although I blew a fuse while installing and took a little while to figure that out):-

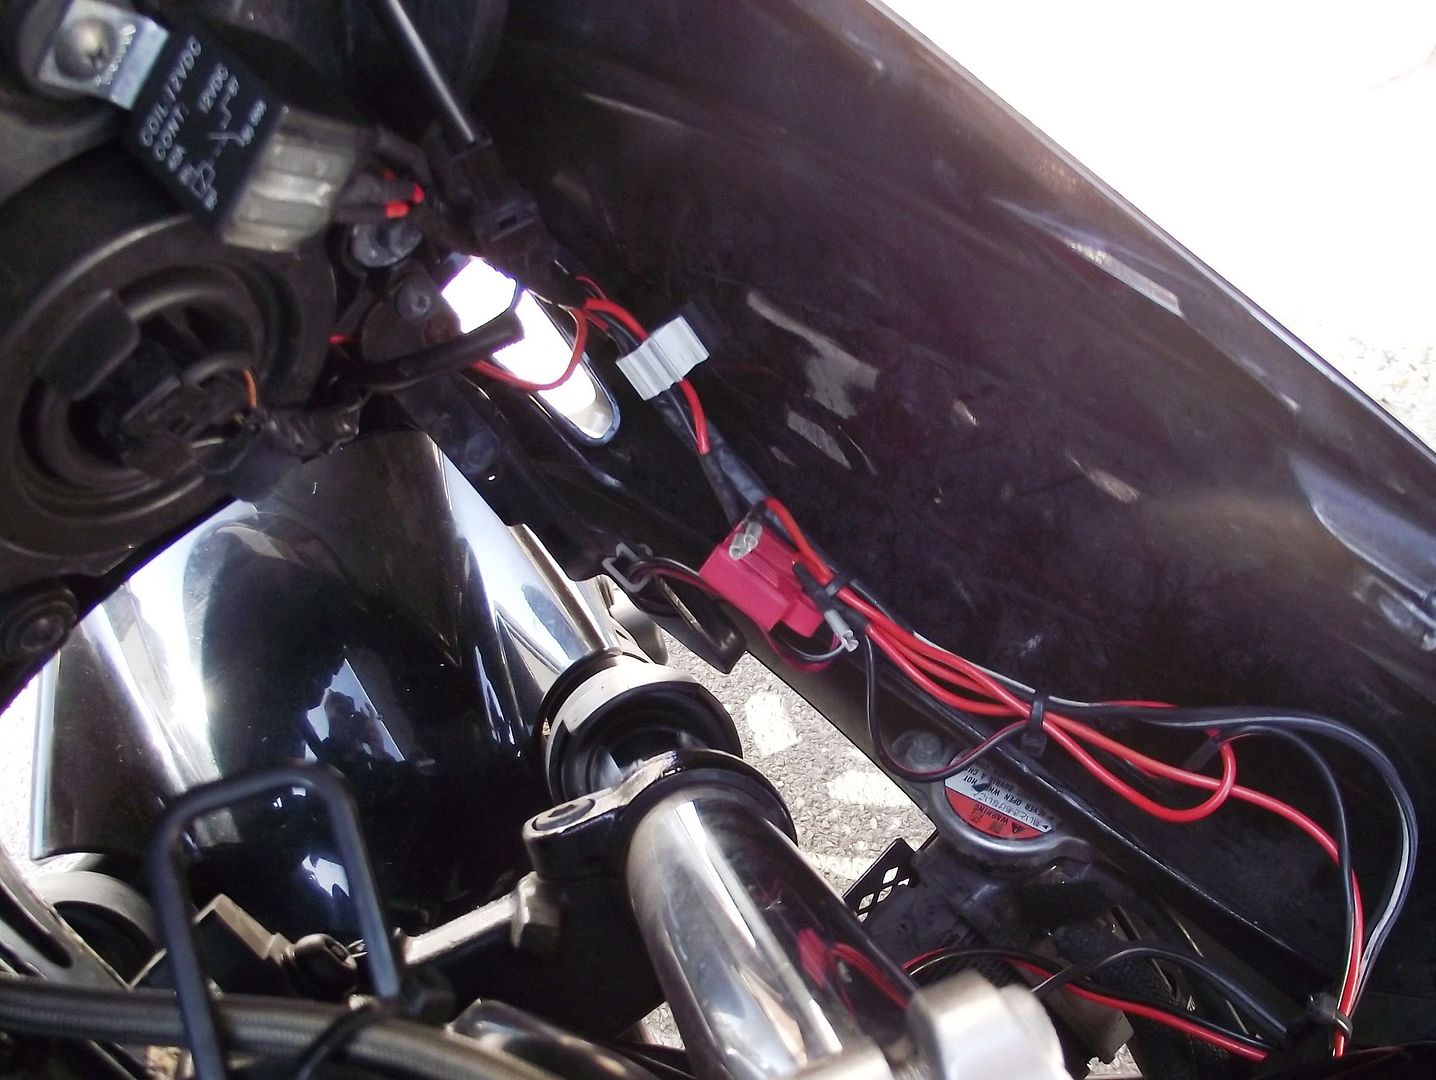
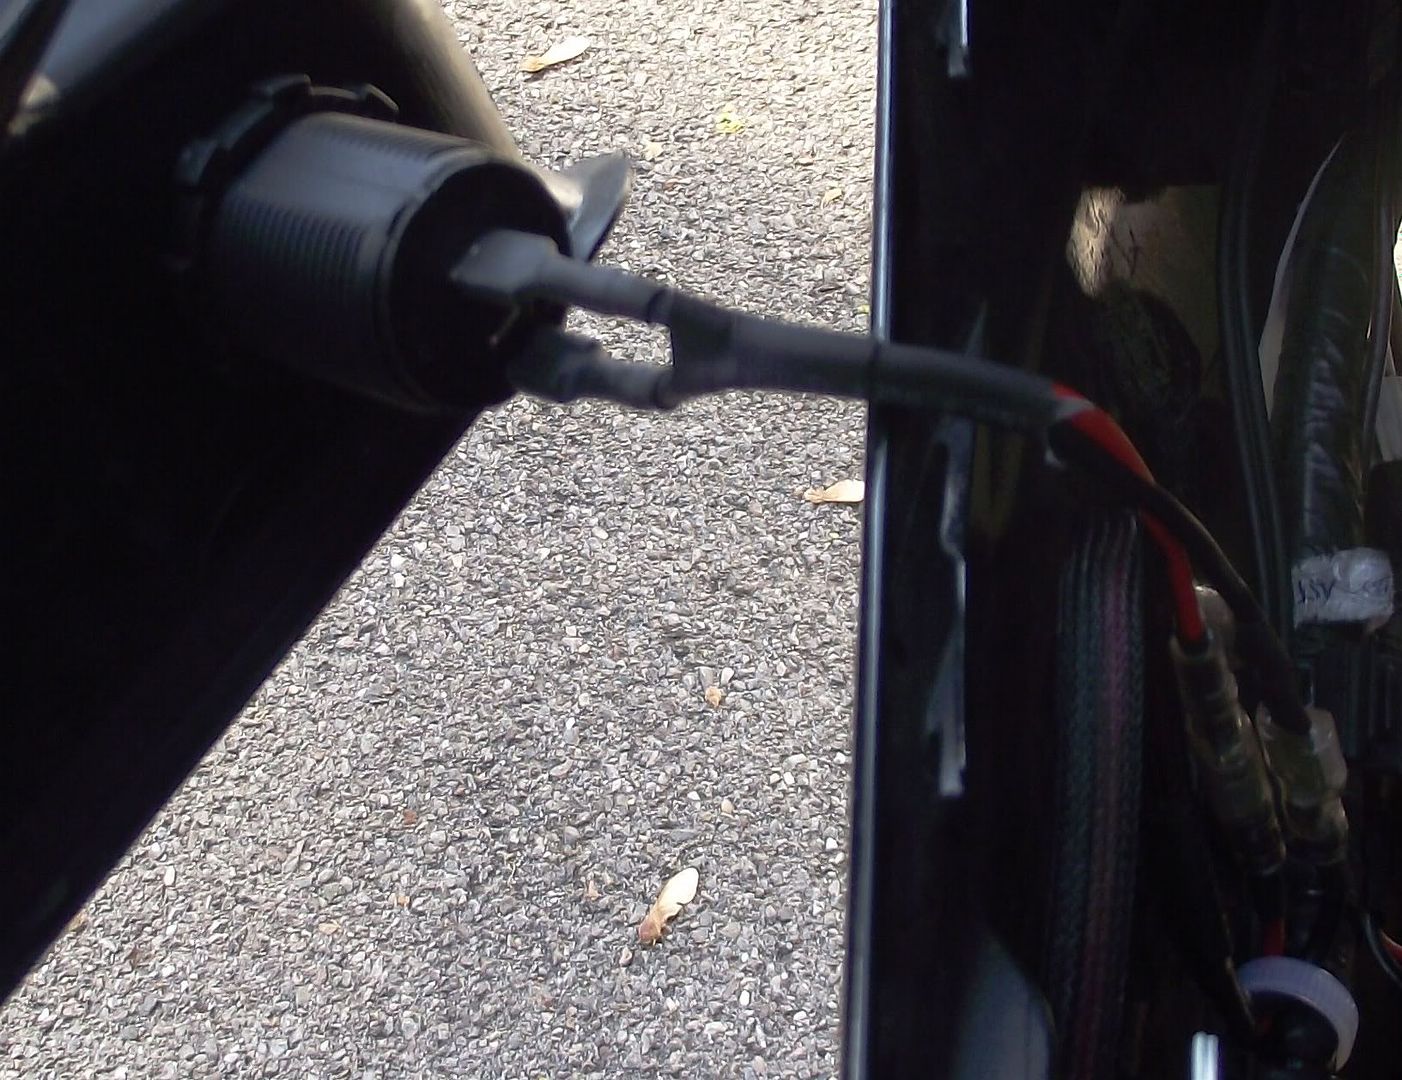
Here is the socket to plug the gloves into. it's not the most secure, but I prefer it to being by the side like the old one was:-

While I was messing around inside the bike, I decided to redo my lighter socket to make it more convenient. I bought a new one for a few quid and wired it up using the old connection directly to the battery. Again, I used connectors so that I could easily unplug it when removing the infill panel. It was actually really easy to get the hole made. I used a drill to start and then just a file to make the hole large enough. I decided a hole-saw would probably end up scratching up the plastic!
Here is the underside of the socket:-

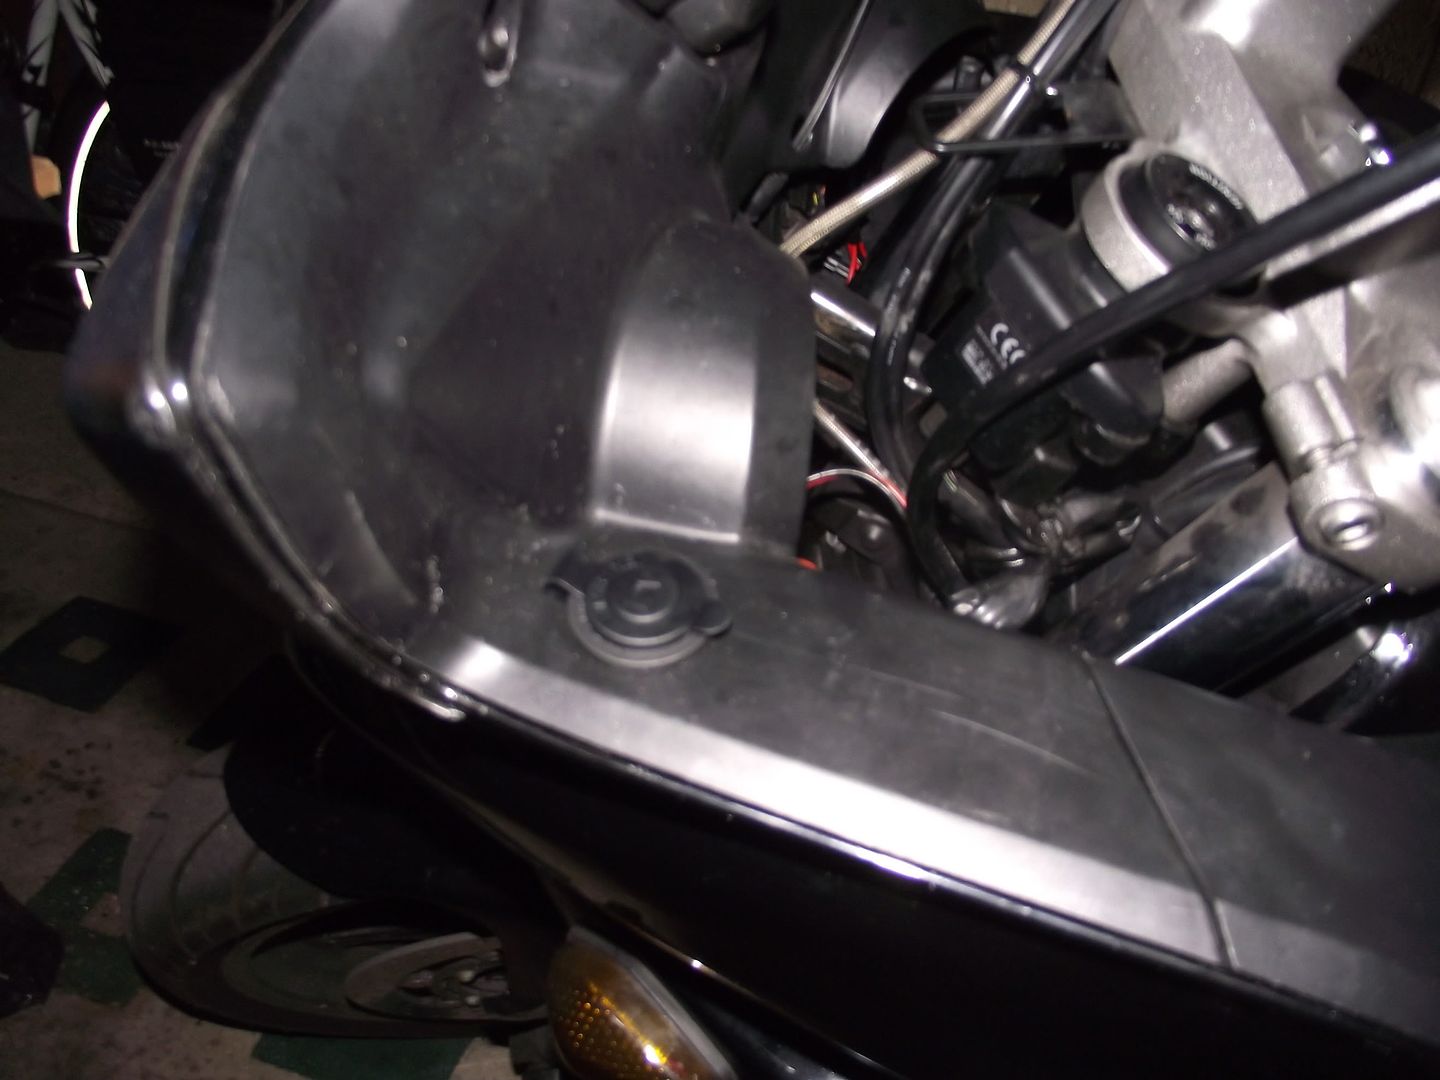
Here you can see the socket while closed. It's protected from the elements a bit by the fairing:-
And here it is open, hopefully it will stay looking like that!:-

Anyway, I decided I was fed up with the big control box and PRM circuit setup I posted about before here. This is mainly because I never really used it. I just had the gloves turned on when it was cold and off when it wasn't. I didn't need the variable heat option. I've "downgraded" to just a single switch and redid the wiring to be more simple and solid.
I'm using the relay as before, but the power from it goes straight to the connection by the seat via a fuse and a switch wired in to the positive connection. I've tried to keep it simple and the switch can easily be disconnected when removing the infill panel. You can see these connections here:-
Here is the underside of the switch with the connectors to join it into the circuit. It's got loads of heat-shrink protecting any bits that might corrode:-

And here is the final product. It has a waterproof cover on top with an o-ring to keep the water away from the insides of the switch. It works great (although I blew a fuse while installing and took a little while to figure that out):-
Here is the socket to plug the gloves into. it's not the most secure, but I prefer it to being by the side like the old one was:-

While I was messing around inside the bike, I decided to redo my lighter socket to make it more convenient. I bought a new one for a few quid and wired it up using the old connection directly to the battery. Again, I used connectors so that I could easily unplug it when removing the infill panel. It was actually really easy to get the hole made. I used a drill to start and then just a file to make the hole large enough. I decided a hole-saw would probably end up scratching up the plastic!
Here is the underside of the socket:-
Here you can see the socket while closed. It's protected from the elements a bit by the fairing:-
And here it is open, hopefully it will stay looking like that!:-
