Here is the suspension write-up I mentioned above:
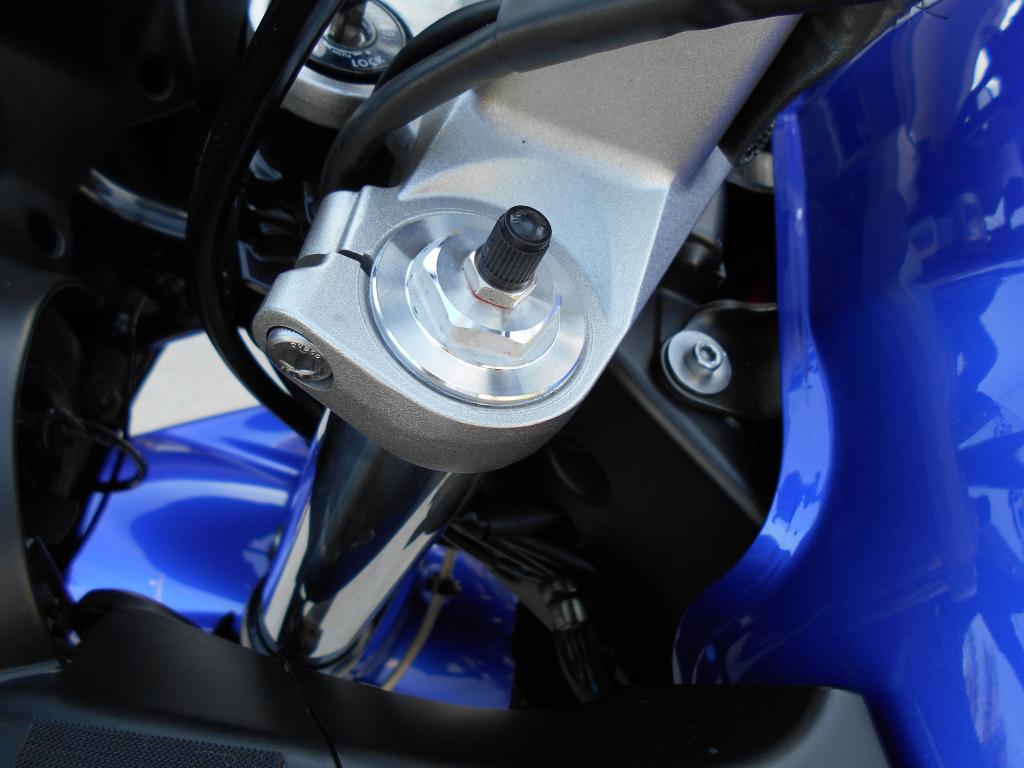
Anybody use the machined aluminum caps with the threaded compression adjustment that you can find on eBay and other places? Not sure I even need them, but I have some I may install someday. Those are spring preload adjusters...it doesn't do anything with compression damping. Gary in NJ uses...

www.600riders.com
It speaks more to a GVE installation than sag. Here is how I set sag:
1) Make sure that the suspension is in good condition. This includes the bearing in the swingarm and ensuring that everything is well greased. If your suspension can't freely move through it's full range of motion you can't set sag.
2) Get a helper. The helper should be someone who is interested in the process and it's outcome. Setting sag is an iterative process. If the helper is in a rush or doesn't give a crap (looking at you wife) - get another one...helper...maybe wife

3) Get a second helper - OR - do your measurements next to a work bench or ladder where you can steady yourself on the bike while the helper takes measurements. If you can't steady yourself on the bike, you will need a 2nd helper.
4) Have your "usual" riding gear on. Setting sag is all about weight...and if your riding weight isn't right - then the sag will be off
5) Lets start with the fork. . With the bike on the center stand and the front wheel off the ground, measure the distance between the top of the fork wiper to the bottom of the lower triple clamp. Write down this value because everything you do next flows from this value. Lets call this the Baseline
6) Get a zip tie and place it on one of the fork legs. It should be tight enough that it doesn't move on its own up and down the fork leg, yet loose enough that it doesn't crush the wiper. This will be your measuring device.
7) Time for action. Get on the bike and compress the front forks a few times. Sit on the bike in a riding position. Go ahead and move around a bit - lean forward and backward...let the bike bounce a bit. Now get your weight off the bike and have the helper measure the distance from the ziptie to the bottom of the lower triple clamp. Note the value. Subtract this value from the Baseline - this is your race sag. Repeat this step at least three different times - you will get a different reading every time. Average all of your results - this is a good indication of your sag.
So what's a good number? Lets say that you measured 5.50" (139.7mm) from the fork wiper to the bottom of the triple clamp. Now the zip tie is sitting at (or the average measurement) 4.50" (114.3mm). That means that you used 1" (25.4mm) for sag. That represents 19.5% of fork travel used for sag. Our goal is to use 25% to 30% of available fork travel for sag (street riding). Since we have 5.10" (129.5mm) of travel, our goal is use between 1-1/4" to 1-1/2" (32.5mm to 39mm) for sag.
So what do we do with these results? In the example above we have 25mm of sag, but we want 35mm. In this case we will need to remove 10mm from our spacer. If we had measured 45mm of sag, we would have to add 10mm to our spacer by adding washers or cutting a new spacer from PVC pipe. Remove one fork cap at a time to make your spacer adjustment. After the fork cap is replaced you can make the adjustment on the other fork - this helps to keep the oil in the forks and the bike from falling on its face. Once you have the spacer adjusted, you then repeat step 7 above. If you don't like the results - add or subtract as necessary.
After you are happy with your race sag, steady the bike without putting weight on the forks and measure the distance of the wiper to the bottom of the triple clamp. The result should be about 3/8" to 5/8" (10mm-15mm) less than the Baseline value. This is your static sag. If the value is greater than 15mm, it is an indication that the fork spring rate is too high, and if less than 10mm it is an indication that the fork spring rate is not high enough.
Don't forget about the shock. The same values apply for the shock as the fork because both have 5.10" of travel. The only adjustment here is the preload collar on the shock. Being a "ramp style" adjuster, the OEM shock leaves little in the way of adjustment. Get it as close as you can. Some pointers for setting sag at the the shock:
a) Measure from the axle nut to a random spot on the rear fairing. Place a piece of masking/painters tape on the fairing and put a (+) on the tape - this way you are making consistent measurements.
b) The shock will not provide as consistent a result as the forks - so you may need to take a few extra measurements for your average.