Twin lights mod done...

dean2287

Easy Rider
Joined
Mar 2, 2009
Messages
721
Reaction score
6
Points
18
Location
Calgary
Visit site
I did BD43's twin light mod tonight (see thread: http://www.600riders.com/forum/how-tos/1666-bd43s-07-headlight-mod-part-2-a.html. Thanks Daryl for an excellent how-to and custom wire.

This isn't a very difficult mod. Once you've got the tank up, airbox off and battery box pushed back, the rest is a piece of cake. Took me about an hour.

The link above says it all and is easy to follow, no suprises. The wire I got from Daryl was quite long but I just coiled it up and used a cable tie to attach it under the nose, out of site.

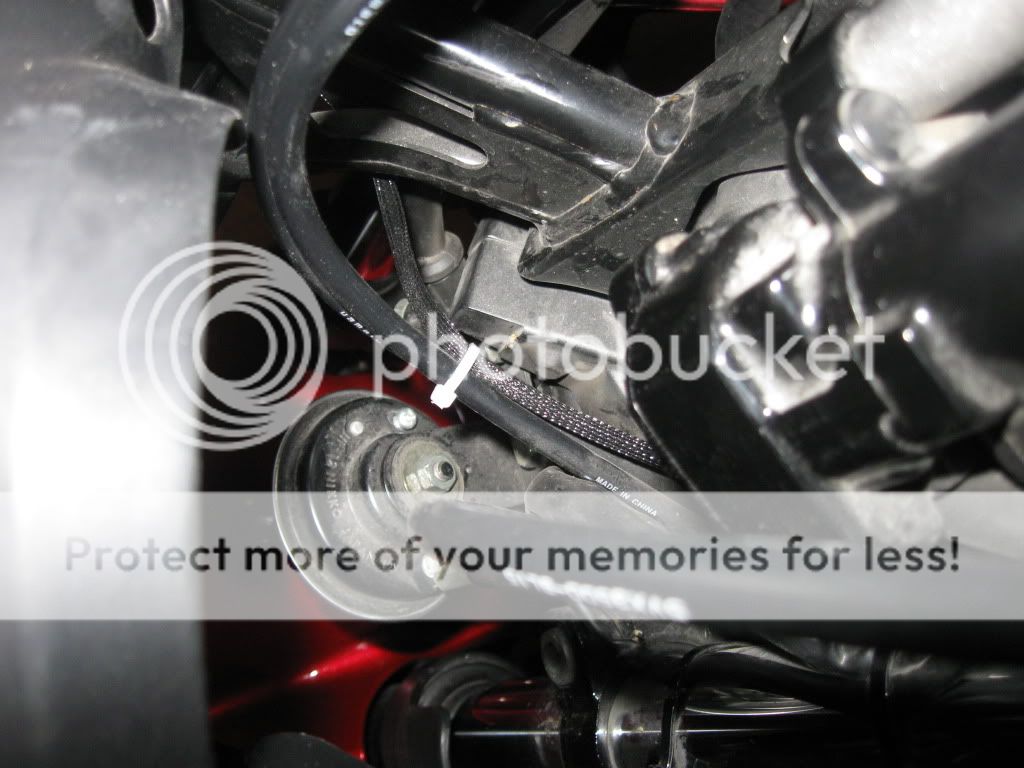
Here's the wire coming out from under the frame where the left switch connector is hidden, attached with a white cable tie:
IMG_2600.jpg


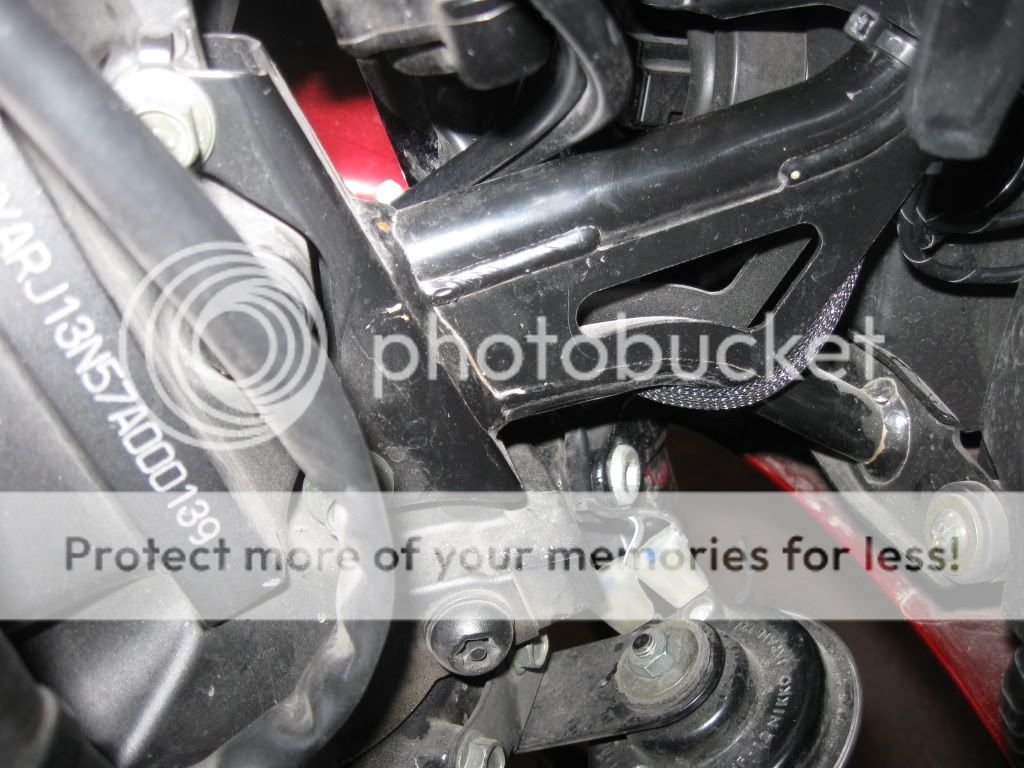
From the other side, looped under the frame:
IMG_2599.jpg


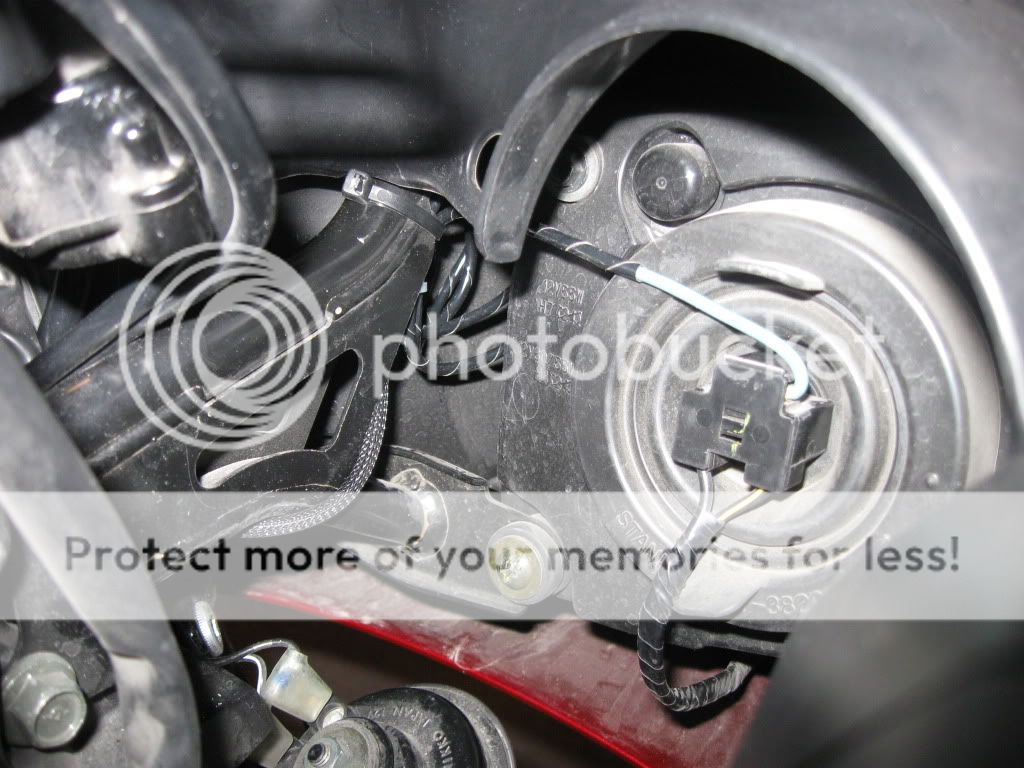
Here's the connection to the right side headlight. Note the extra cable coiled up and tied to the nose of the frame with a black tie, behind the fairing:
IMG_2598.jpg
 

bd43

Moderator
Staff member
Elite Member
Joined
Aug 24, 2007
Messages
889
Reaction score
79
Points
28
Location
Alberta, Canada (GMT-7)
Visit site
That's definitely one wire routing to take for sure. The length is there for ppl who would rather run the wire along side the rest of the harness going to the front of the fairng on the left inner side.

But hey, that works too. :thumbup:

Glad it worked out for you. :cheer:
 

jrevans

Old-School Member
Joined
Feb 5, 2008
Messages
520
Reaction score
14
Points
18
Location
Eastern Pennsylvania
jrevans.fbody.com
That's definitely one wire routing to take for sure. The length is there for ppl who would rather run the wire along side the rest of the harness going to the front of the fairng on the left inner side.

But hey, that works too. :thumbup:

Glad it worked out for you. :cheer:

Interesting routing indeed.

I was chuckling when I saw the pictures, as I said to myself: I bet that guy has never removed his fairing before, or he would have routed the new wire with the existing harness.

Jim (did the dual-headlight mod before BD43 came around) Evans
 

dean2287

Easy Rider
Joined
Mar 2, 2009
Messages
721
Reaction score
6
Points
18
Location
Calgary
Visit site
Interesting routing indeed.

I was chuckling when I saw the pictures, as I said to myself: I bet that guy has never removed his fairing before, or he would have routed the new wire with the existing harness.

Jim (did the dual-headlight mod before BD43 came around) Evans

I can always redo it if it's stupid. At least I gave you a good chuckle. We're not all shop mechanics you know.
 

jrevans

Old-School Member
Joined
Feb 5, 2008
Messages
520
Reaction score
14
Points
18
Location
Eastern Pennsylvania
jrevans.fbody.com
I can always redo it if it's stupid. At least I gave you a good chuckle. We're not all shop mechanics you know.

Sorry man, I didn't mean to offend you. I'm definitely not a shop mechanic, just a geeky motorhead engineer. :)

I'm glad to see that you're doing mods and getting your hands dirty. In my opinion, motorcycles are great vehicles to learn things on, since they are small enough to really understand what's going on electrically and mechanically.

Like somebody else posted, your way isn't wrong as long as it works and makes the other light filament come on.

When I did the mod (pre-BD43 time) I ran an extra wire totally with the factory harness from the connector on the left side of the fairing, to the bulb attachment point. I then used a single pin weather-proof connector next to the factory harness on the left side of the fairing and then ran that wire down to where it exited the frame near the steering head. I believe I soldered the wire directly there to the deal end wire, but I don't recall since it's been so long.
 
Top