Cam questions

Redonthehead

Member
Joined
Sep 23, 2018
Messages
46
Reaction score
0
Points
6
Location
Tucson
Visit site
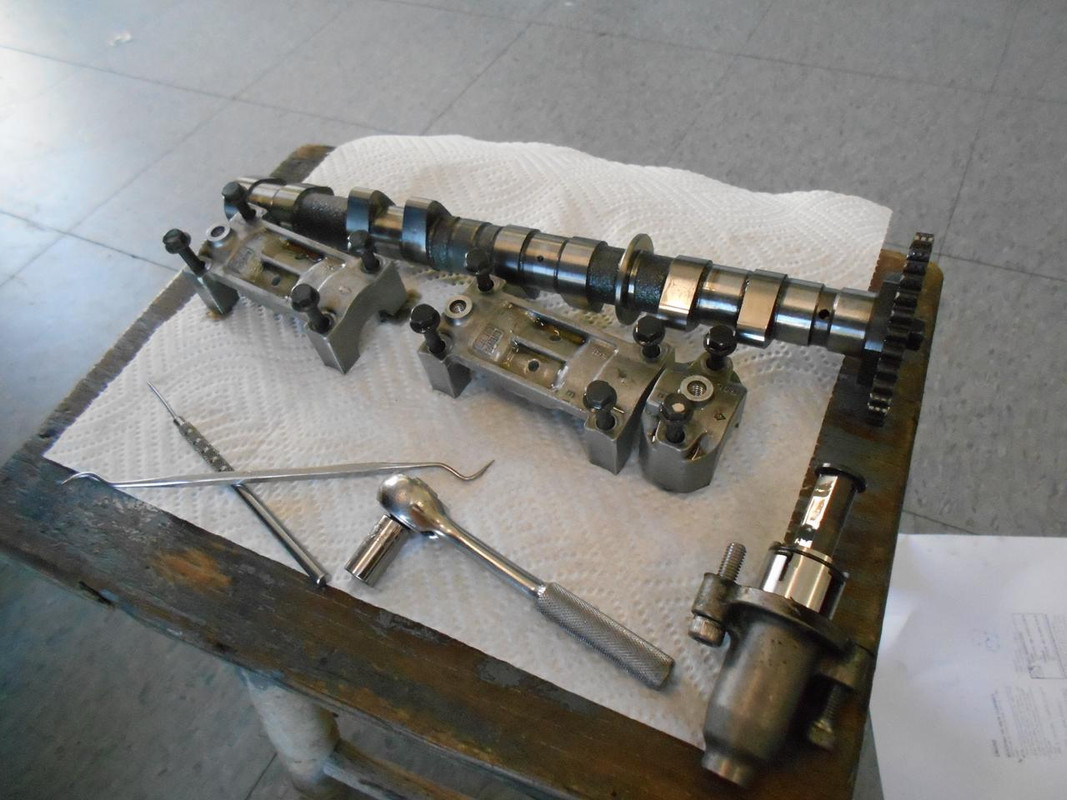
Has anyone been able to figure out how to identify the differences between the cams from looking at them if they are out of the bike besides having a different part #?? according to the FSM they have the same profiles which should technically make them interchangeable from either exhaust or intake positions. I ordered a new head ( to me anyway) from a salvaged bike and before I torque it down I wanna make sure both cams are in the correct place,
 

TownsendsFJR1300

2007 FZ6
Site Supporter
Joined
Feb 7, 2009
Messages
12,531
Reaction score
1,176
Points
113
Location
Cape Coral, Florida, USA
Visit site
From the S2 shop manual ( Admin, pic expires in 3 days)- so print it out/make note of the ring:


My exhaust cam out, you can see the ring / round flange ONLY on the EXHAUST CAM:

 
Last edited:

Redonthehead

Member
Joined
Sep 23, 2018
Messages
46
Reaction score
0
Points
6
Location
Tucson
Visit site
From the S2 shop manual ( Admin, pic expires in 3 days)- so print it out/make note of the ring:


My exhaust cam out, you can see the ring / round flange ONLY on the EXHAUST CAM:


Thx I saw this pic in my FSM and was hoping it was that simple. Please explain to me how to post a pic to this site and I will show you what I have, mine is an 06 and was running fine B4 I did my stupid maintenance and F'd it all up. Whats the years difference between s1 and s2?? My new head will be in tomorrow afternoon ill get some pics of it and the old head see what if any changes were from 06 and 08 the new head is an 08
 
Last edited:

TownsendsFJR1300

2007 FZ6
Site Supporter
Joined
Feb 7, 2009
Messages
12,531
Reaction score
1,176
Points
113
Location
Cape Coral, Florida, USA
Visit site
The head assembly IS the same between all the years as is the installation.

Hopefully you get the cam retainer caps with THAT HEAD as their machined for THAT head..

(I'm familiar with your other thread).


For large pictures, I use Postimage: https://postimg.cc/files (might bring you to my pic's....)
-Upload a picture from your puter (or phone) to Postimage (after opening a free account).

Once there, you click on the link for "forums". It copies the link, you paste the link here.

I also use a "snipping tool" on the lap top. That's how I copied the FSM page above (from a PDF shop manual), saved it in pictures, then uploaded to Postimage, etc..
 
Last edited:

Redonthehead

Member
Joined
Sep 23, 2018
Messages
46
Reaction score
0
Points
6
Location
Tucson
Visit site
The head assembly IS the same between all the years as is the installation.

Hopefully you get the cam retainer caps with THAT HEAD as their machined for THAT head..

(I'm familiar with your other thread).


For large pictures, I use Postimage: https://postimg.cc/files (might bring you to my pic's....)
-Upload a picture from your puter (or phone) to Postimage (after opening a free account).

Once there, you click on the link for "forums". It copies the link, you paste the link here.

I also use a "snipping tool" on the lap top. That's how I copied the FSM page above (from a PDF shop manual), saved it in pictures, then uploaded to Postimage, etc..

Yes Im getting the caps too its the whole head I just wanted to make sure the cams were correct. thx for info on how to upload a pic. ill give it a go after work this evening
 

Redonthehead

Member
Joined
Sep 23, 2018
Messages
46
Reaction score
0
Points
6
Location
Tucson
Visit site
well I tried the pic thing not too good at computers but I can rebuild the F out of an automatic transmission go figure lol. Anyhow it turns out that both cams on both heads have the ring on them. Ill just clean everything up and install and make damn sure that the I Mark on the intake cam and E mark on the exhaust cam run parallel to the deck opposing eachother. Now the crank mark says line the T mark up with the line on the case under rotor cover. My question is is it the Line that runs through the T or the line just under the T theres about a one tooth difference.
 

TownsendsFJR1300

2007 FZ6
Site Supporter
Joined
Feb 7, 2009
Messages
12,531
Reaction score
1,176
Points
113
Location
Cape Coral, Florida, USA
Visit site
Maybe this pic will help with markings and the bolts that hold the gear to the cam(s):


As for installation,
1- Set the crank on the TDC mark first.
2-Set the exhaust cam mark facing outward(as shown in the pic) with NO slack in the chain.
3-Now set the intake cam, again, with the cam mark facing outwards-No slack in the chain.

All markings should now be dead nuts on with all the slack in the area of the CCT.
Any non alignment is chain stretch. If your a full tooth off, it's NOT correct.

Once all the markings are lined up, chain taught in the front and top "run", you can install the CCT.
That will take up the slack in the chain.

As a side note, what I've found to be the easiest to install an extended CCT is to insert it gently into the block. Turn the center screw clock wise while the CCT moves towards the block. Then finger tighten the two, mounting bolts. Keep repeating until the CCT is flush.

Once installed, gently turn the crank(starboard side), CLOCKWISE and verify all marks line up again. ANY INTERFERENCE turning, stop, somethings wrong..


All this is on page 5-14 in the Yamaha shop manual. Do you have a copy?
 

FinalImpact

2 Da Street, Knobs R Gone
Site Supporter
Joined
Mar 16, 2011
Messages
11,137
Reaction score
184
Points
63
Location
USA, OR
Visit site
If you look close at the cams, the text on them has an "IN" and "EX". One each will have a paint swash on the one it is. Look for the paint and read the text under it.
 
Top