nnowatzk
Junior Member
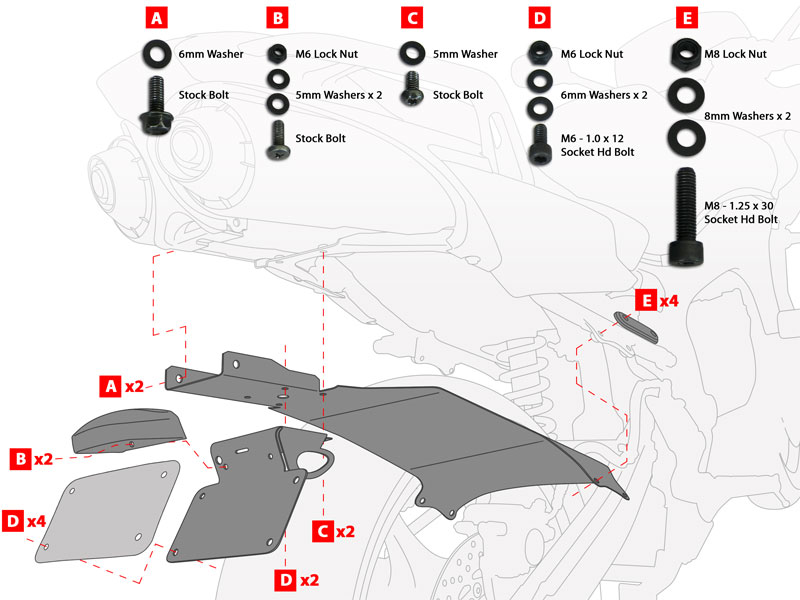
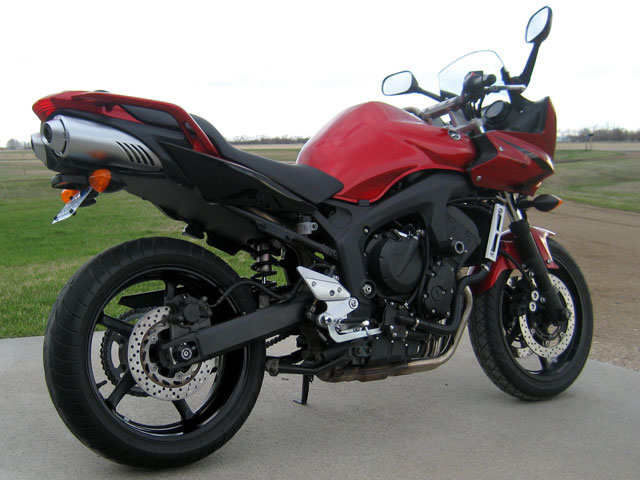
Here’s the undertail and fender eliminator that I proposed in a previous thread
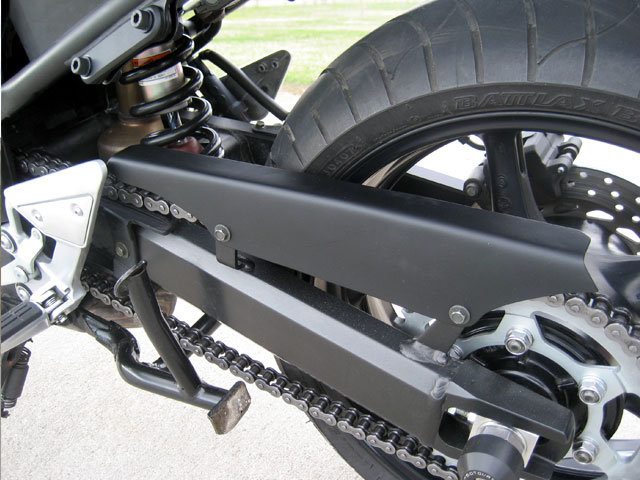
Nothing too fancy, but after a few hundred miles it seems to be working just fine. I haven’t washed the bike since installation, but the underside of the tail will definitely be a lot easier to clean up, and the chain guard is easy to remove and clean too. It remains to be seen how well the powder coat will hold up, especially when riding on gravel.
Materials and cost:
16 GA steel sheet: $20.00
¼” x 1” aluminum: $2.50
Nuts/bolts/washers: $10.00
Powder coating: $60.00
Tools:
5” bench vise, jig saw, hack saw, hammer, drill, clamps, and some files. Pretty rudimentary stuff, and not ideal for fabrication like this. A drill press and a metal brake would have helped a lot.
I’m not sure how detailed to get here, so I’ll let the photos do the talking and answer specific questions as they come up.
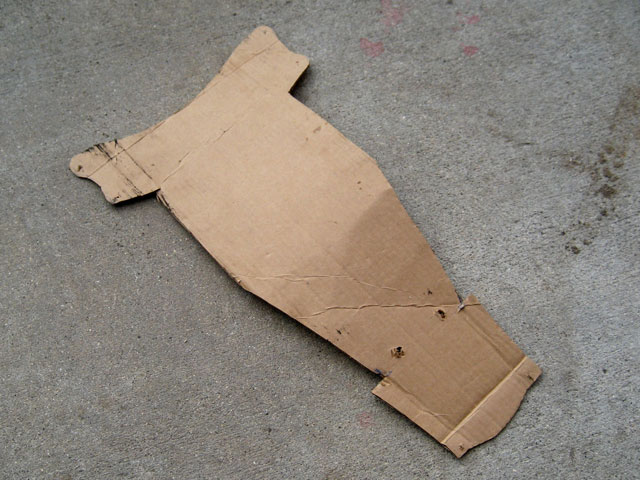
Just to help figure out the general size and shape of the undertail, I started with a rough cardboard mockup that I could bolt into place:
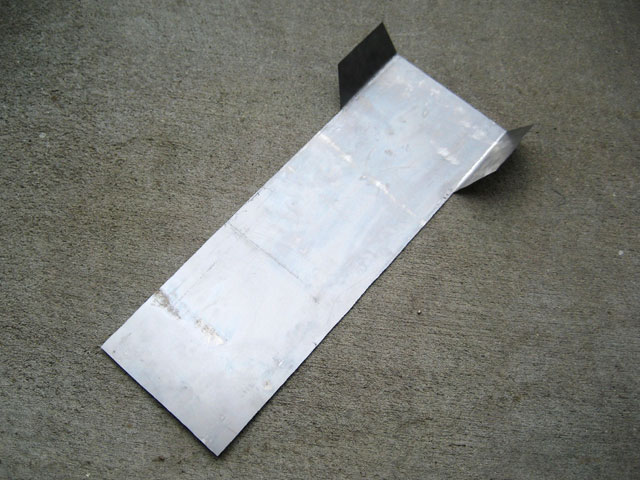
Starting with a sheet of steel cut to the right width, plenty of length, and tabs that match up with the passenger peg brackets:
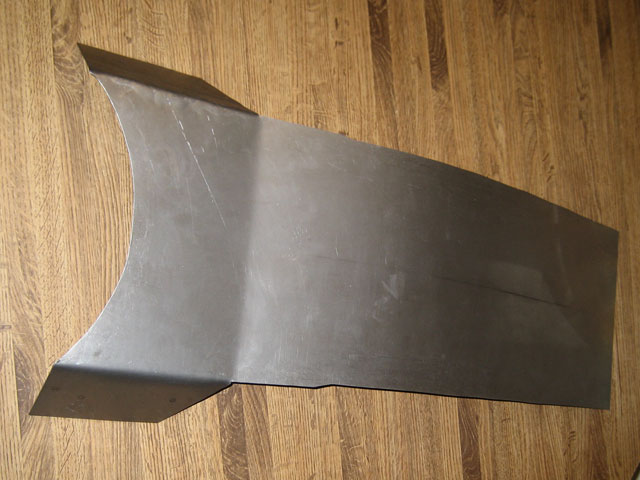
Trimming and bending to match sub frame, cut an arc for shock clearance, and marked holes for bolting to the brackets:
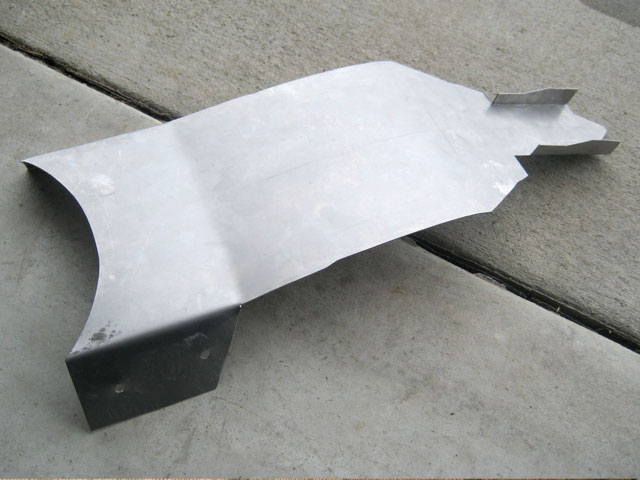
More trimming and bending, first holes drilled:
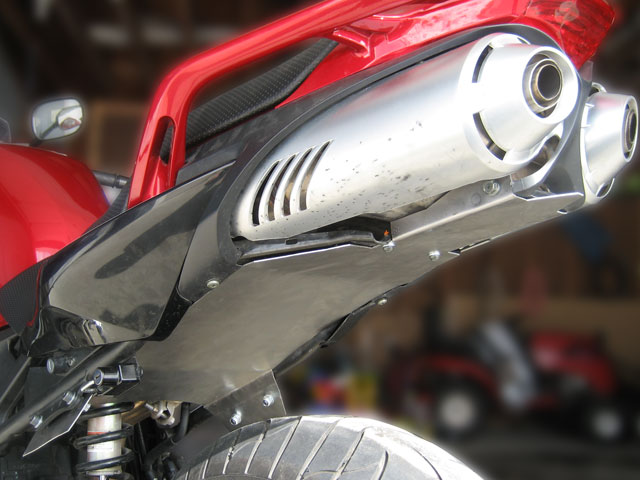
First complete test fitting with all eight bolts in place:
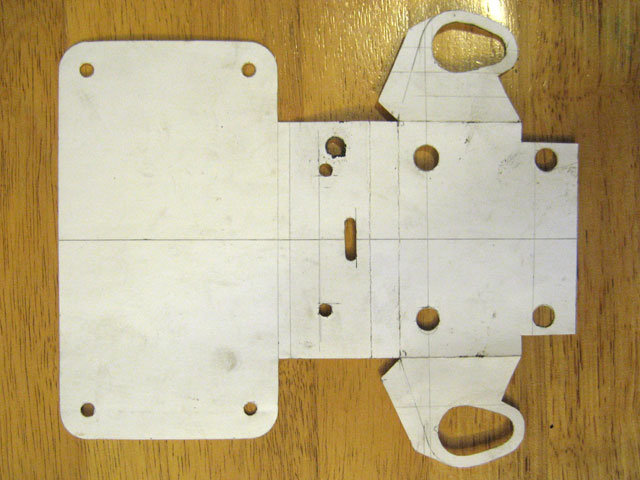
Made a card stock template for the FE, using the FAZR6 kit design as inspiration:
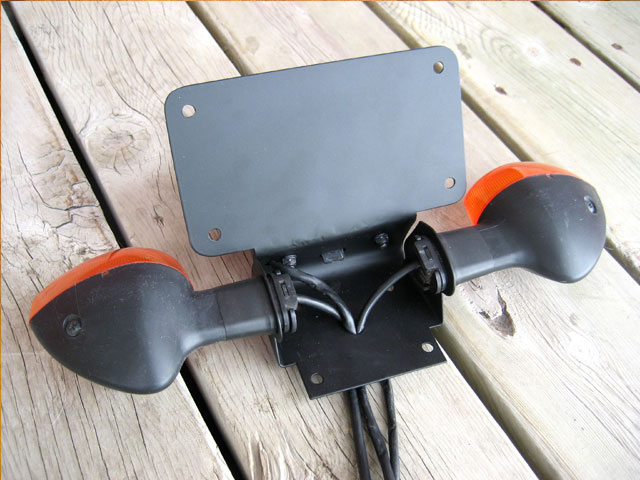
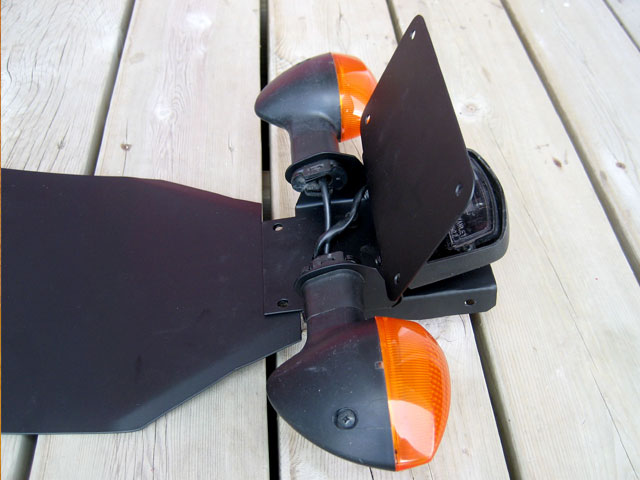
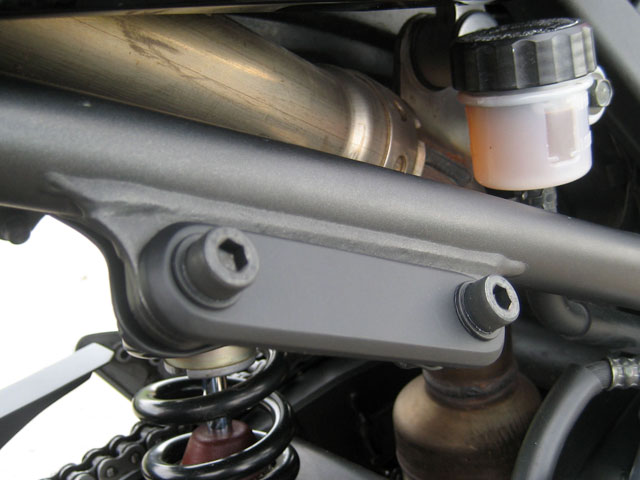
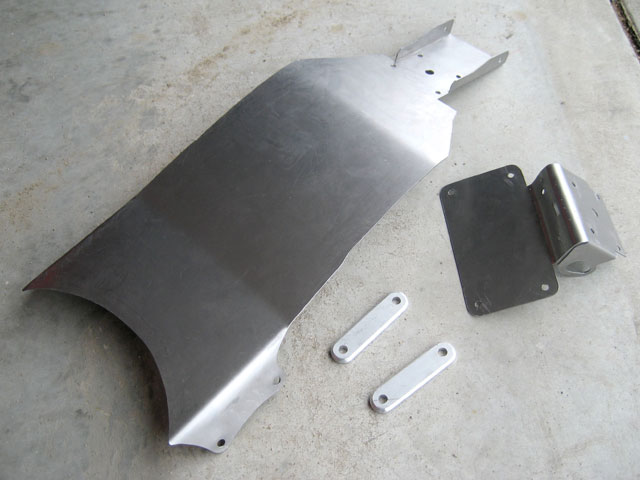
Finished fabricating the undertail, FE, and two aluminum blocks to give a more finished look where the passenger pegs used to be:
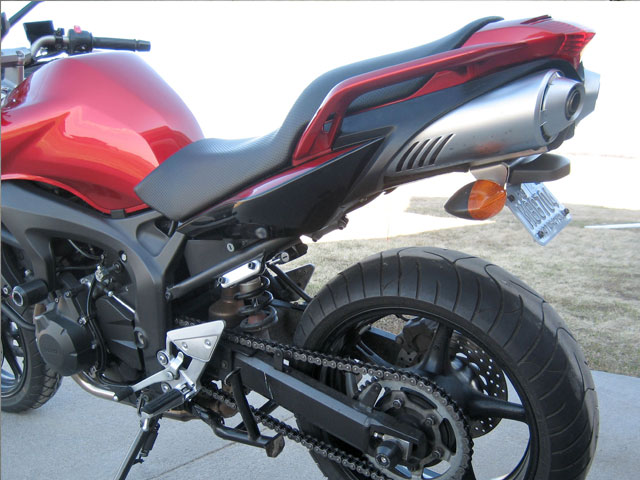
Parts in place for a few days of test riding. Everything seems to be OK!
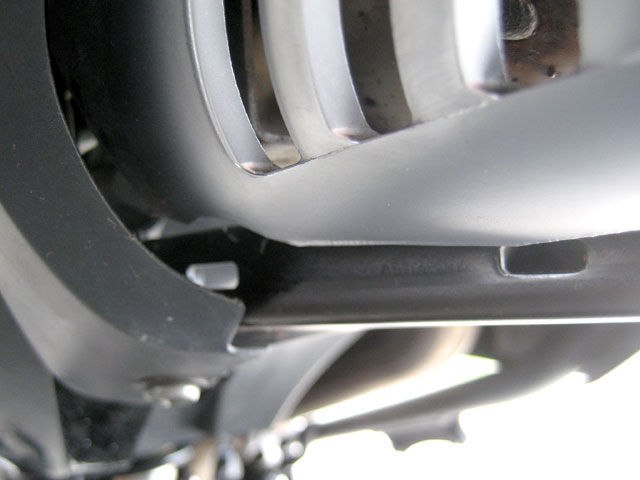
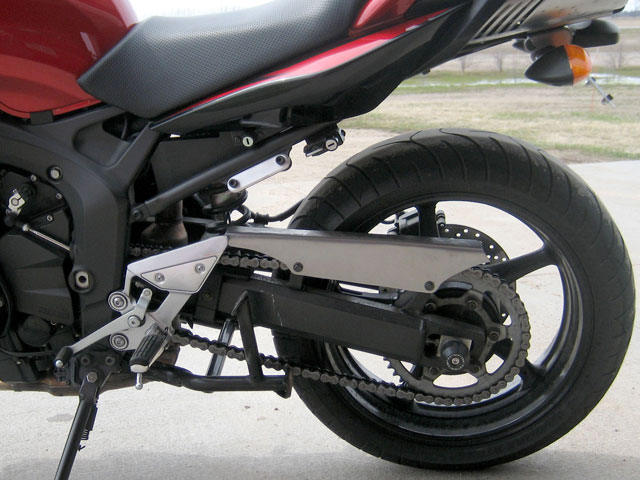
Bent, cut, and bolted a new chain guard into place for some testing.
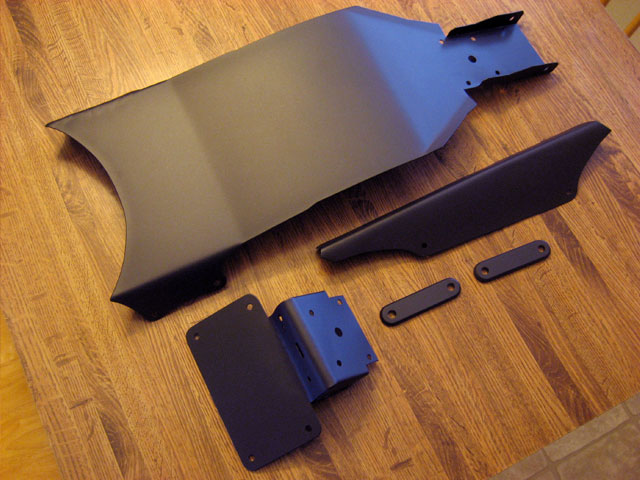
Everything powder coated (except the nuts and washers, which I just spray painted black). Great work by Mike at ProTec in Grand Forks ND:
Part 2 below…
Nothing too fancy, but after a few hundred miles it seems to be working just fine. I haven’t washed the bike since installation, but the underside of the tail will definitely be a lot easier to clean up, and the chain guard is easy to remove and clean too. It remains to be seen how well the powder coat will hold up, especially when riding on gravel.
Materials and cost:
16 GA steel sheet: $20.00
¼” x 1” aluminum: $2.50
Nuts/bolts/washers: $10.00
Powder coating: $60.00
Tools:
5” bench vise, jig saw, hack saw, hammer, drill, clamps, and some files. Pretty rudimentary stuff, and not ideal for fabrication like this. A drill press and a metal brake would have helped a lot.
I’m not sure how detailed to get here, so I’ll let the photos do the talking and answer specific questions as they come up.
Just to help figure out the general size and shape of the undertail, I started with a rough cardboard mockup that I could bolt into place:

Starting with a sheet of steel cut to the right width, plenty of length, and tabs that match up with the passenger peg brackets:

Trimming and bending to match sub frame, cut an arc for shock clearance, and marked holes for bolting to the brackets:

More trimming and bending, first holes drilled:

First complete test fitting with all eight bolts in place:

Made a card stock template for the FE, using the FAZR6 kit design as inspiration:

Finished fabricating the undertail, FE, and two aluminum blocks to give a more finished look where the passenger pegs used to be:

Parts in place for a few days of test riding. Everything seems to be OK!

Bent, cut, and bolted a new chain guard into place for some testing.

Everything powder coated (except the nuts and washers, which I just spray painted black). Great work by Mike at ProTec in Grand Forks ND:

Part 2 below…

