Today I replaced the rear seals and brake fluid.
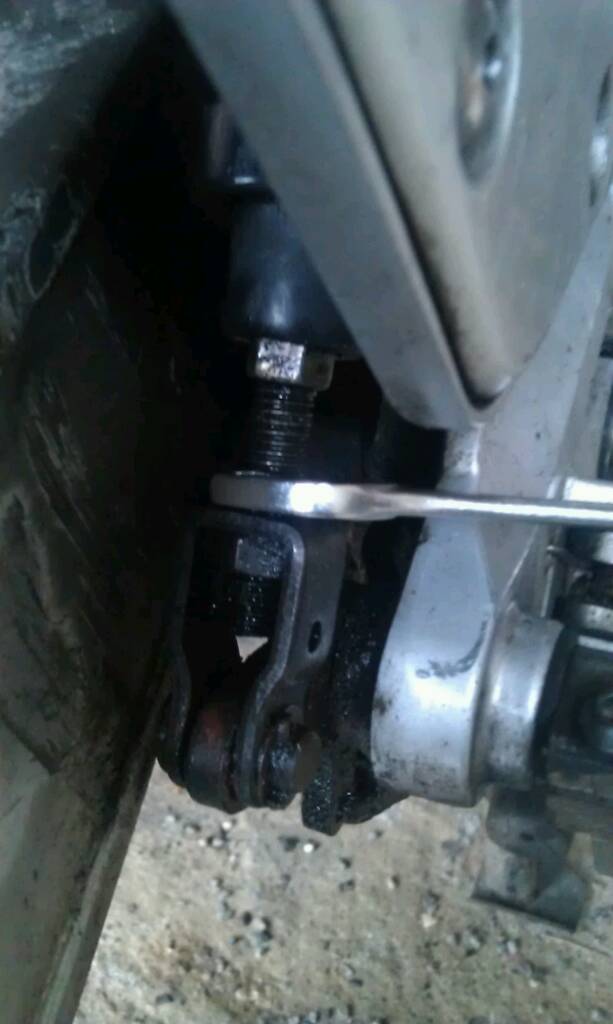
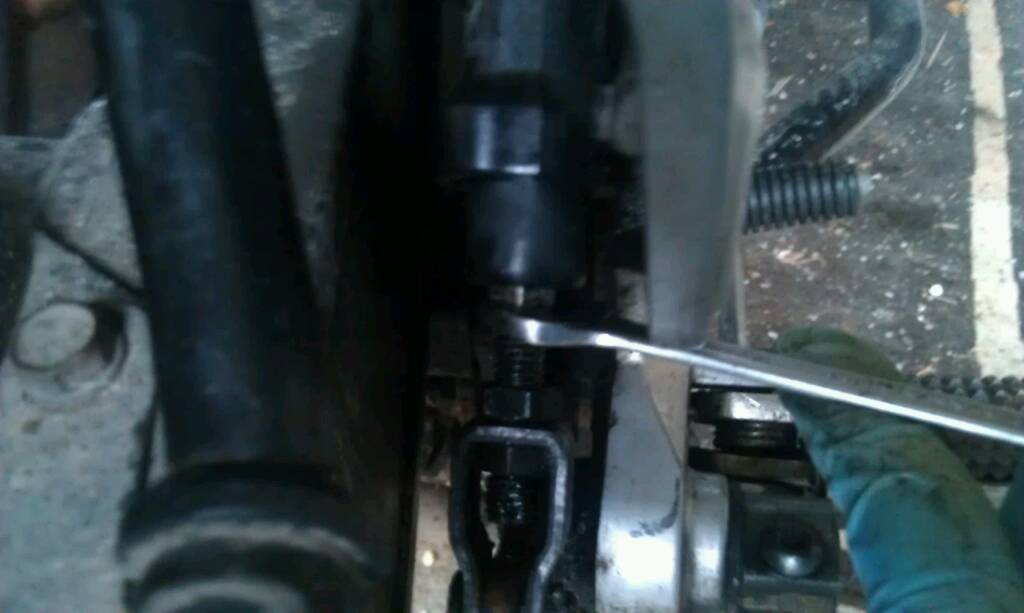
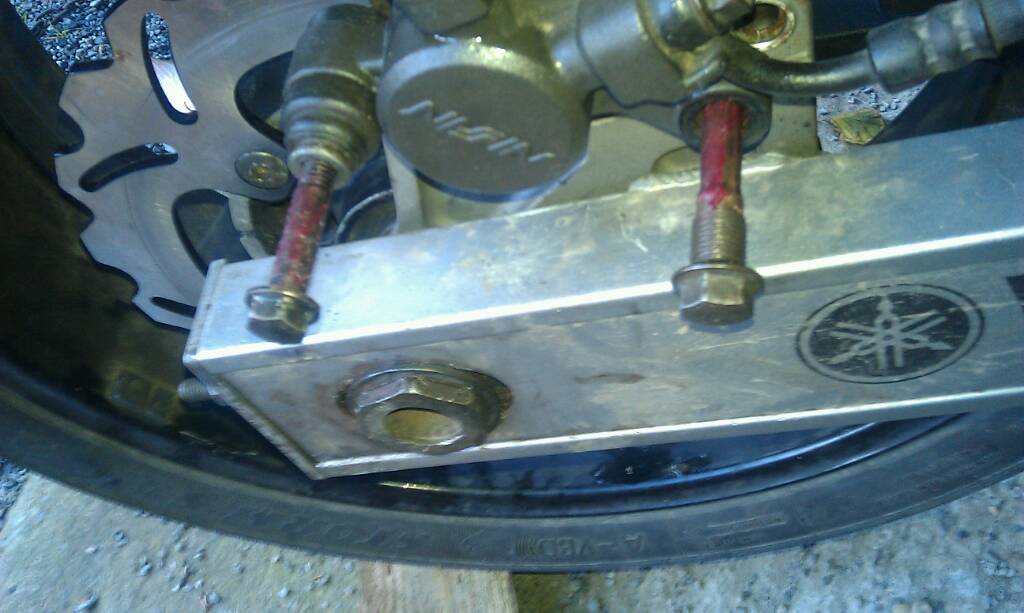
Loosen the two bolts that secure the caliper. Remove outer screw (PIN PLUG) that protects brake pad pin and loosen brake pad pin.
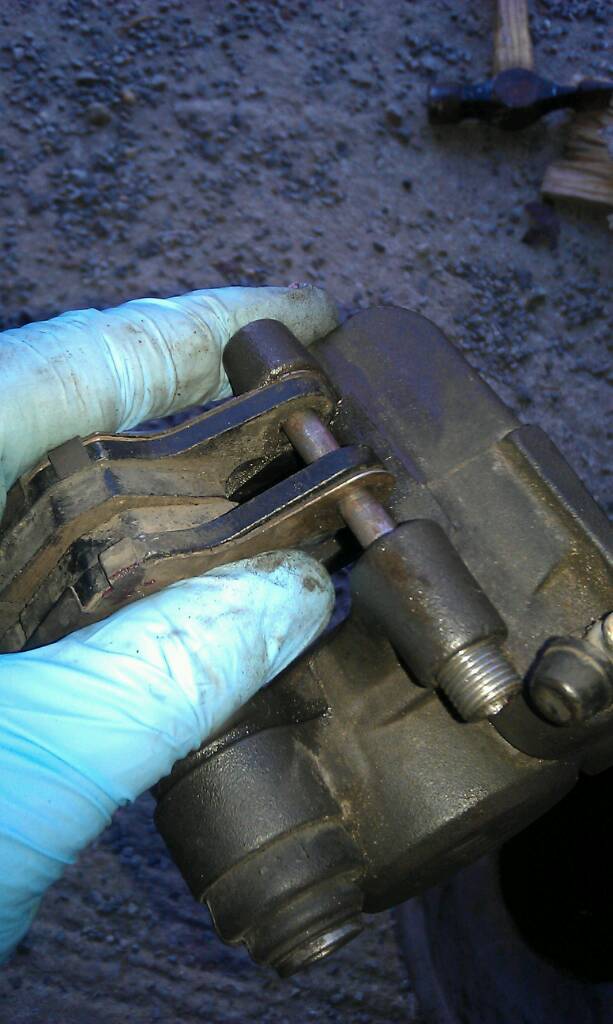
Remove rear wheel and remove calliper.
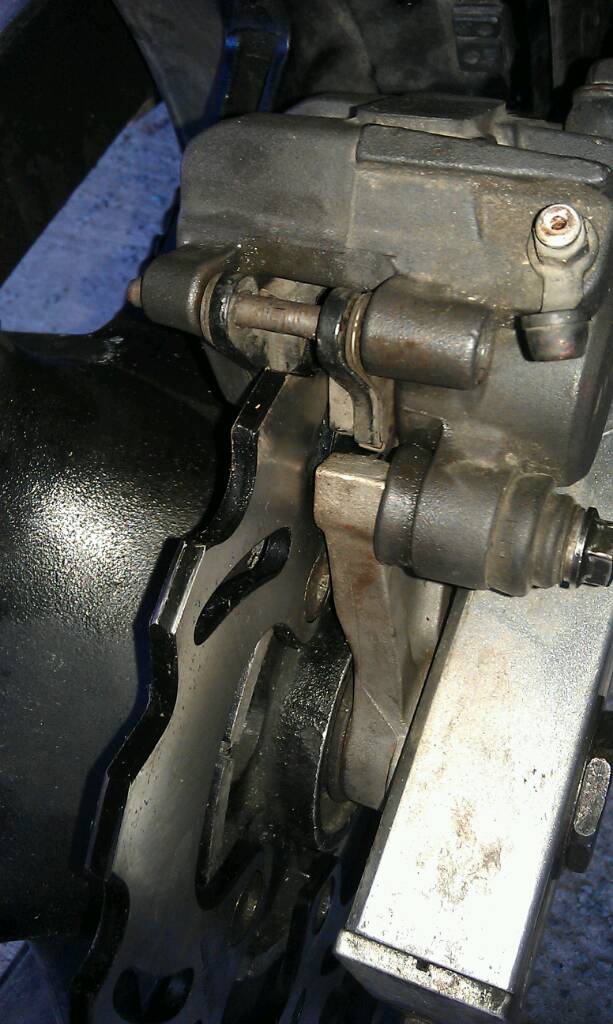
Remove brake pad pin and pads. Don't get grease on braking surfaces.

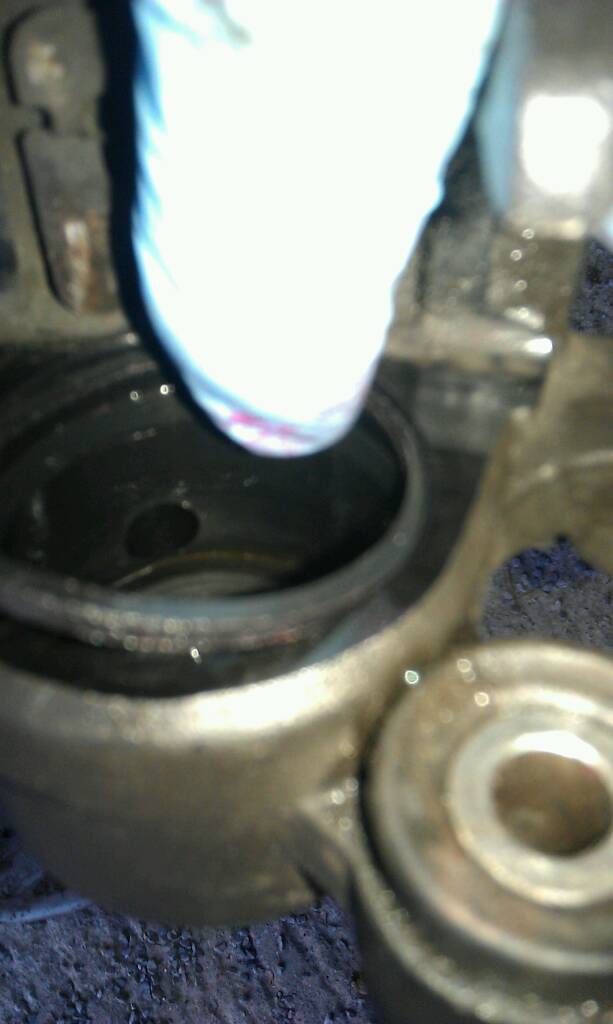
Pump rear brake to push out piston (you can also use compressed air).
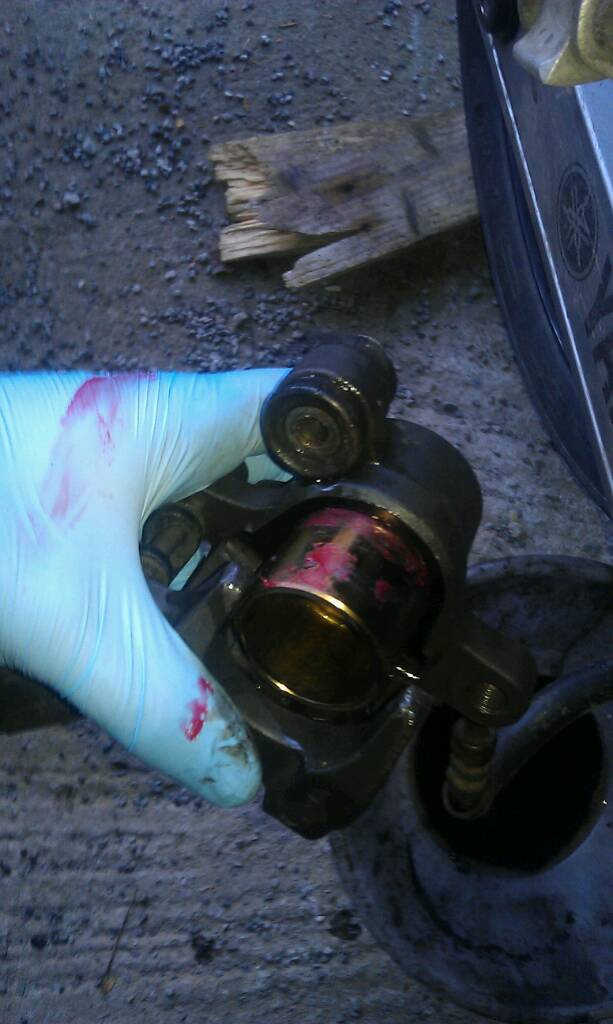
Do it over a container and be careful not to splash painted surfaces as once the piston is out the fluid will drain out.
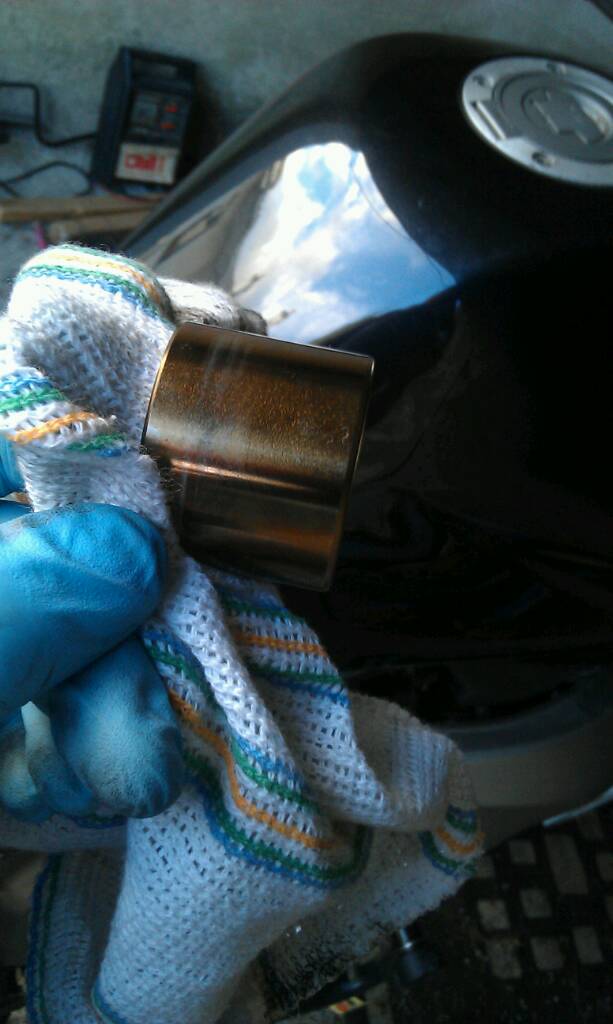
Clean with a new cloth and brake fluid. Put piston in a safe place do
not drop or damage piston.
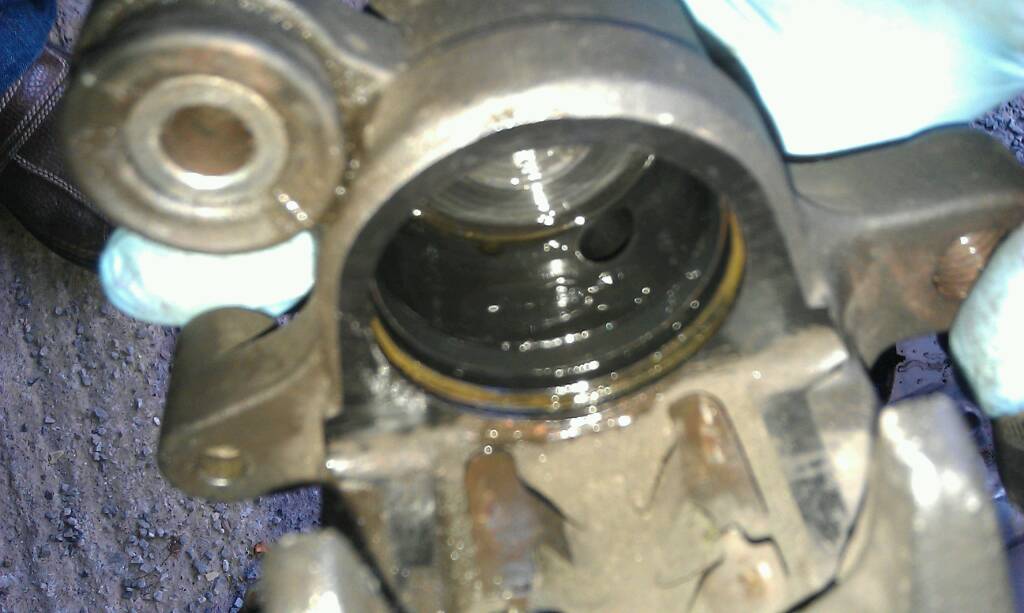
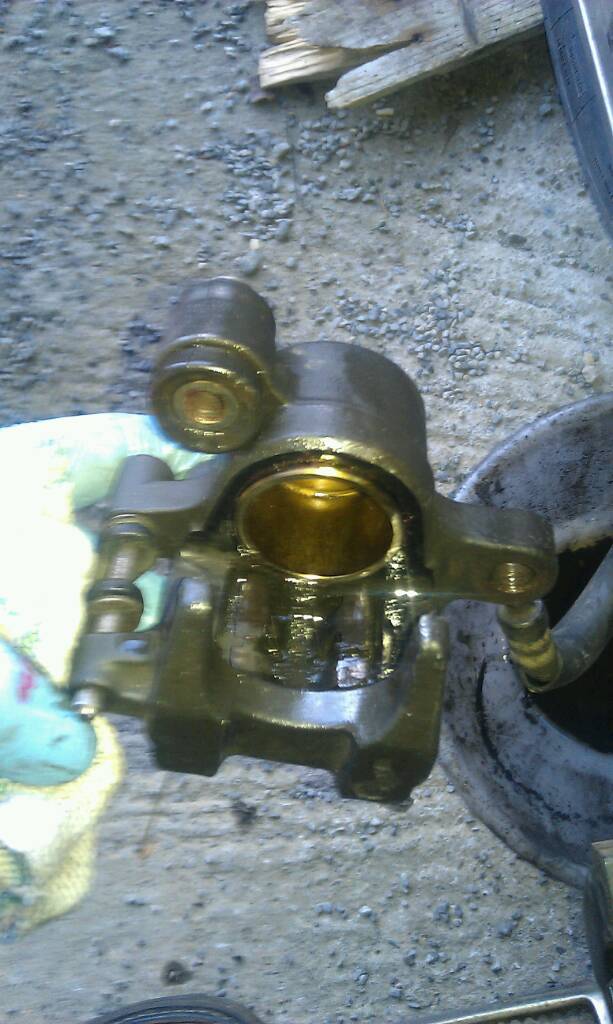
Clean calliper surfaces with clean cloth and brake fluid.
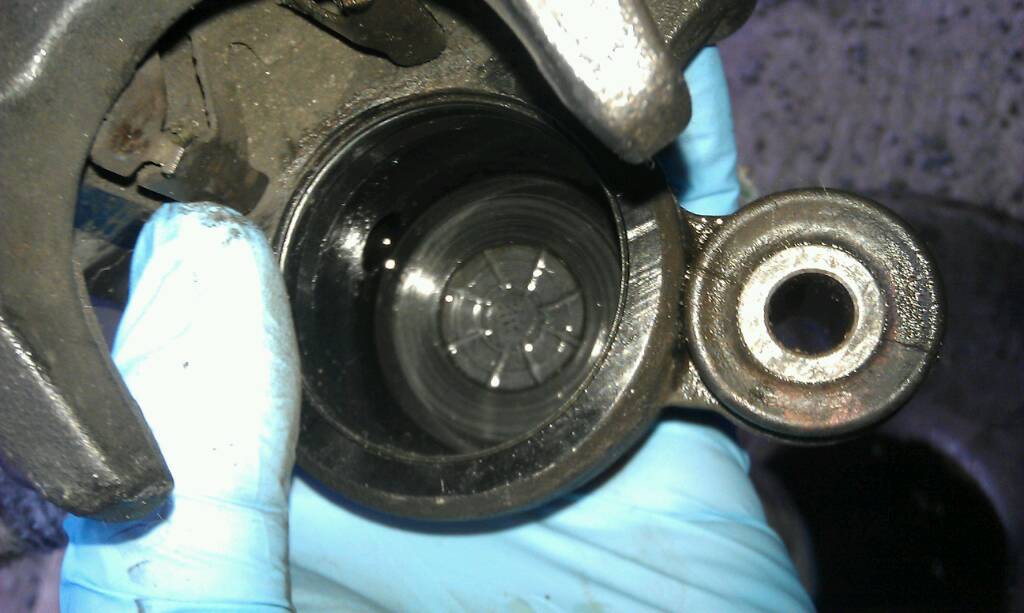
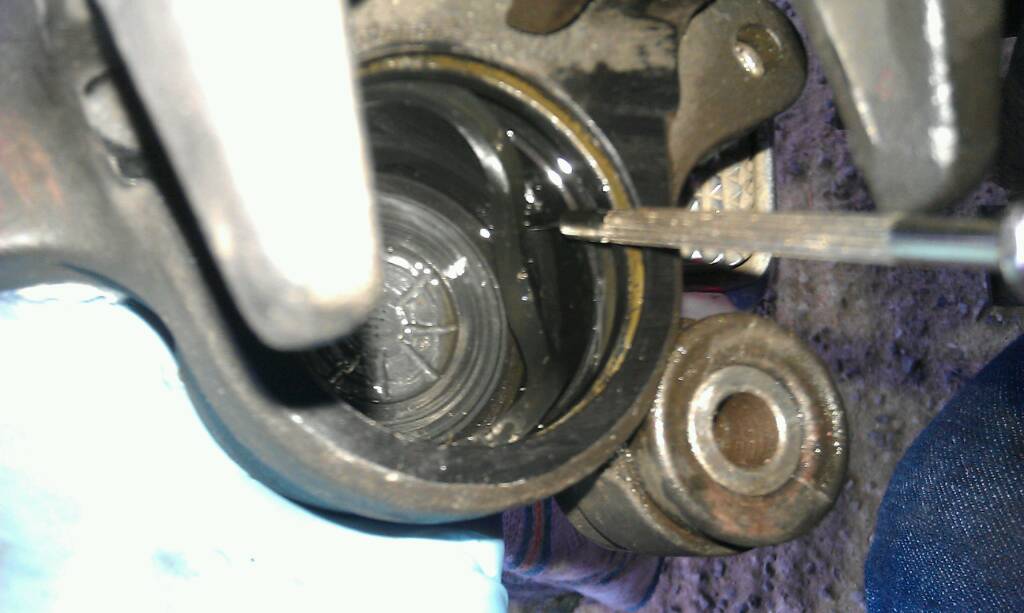
There are two seals inside the caliper. I removed them with a
small engineers screwdriver.
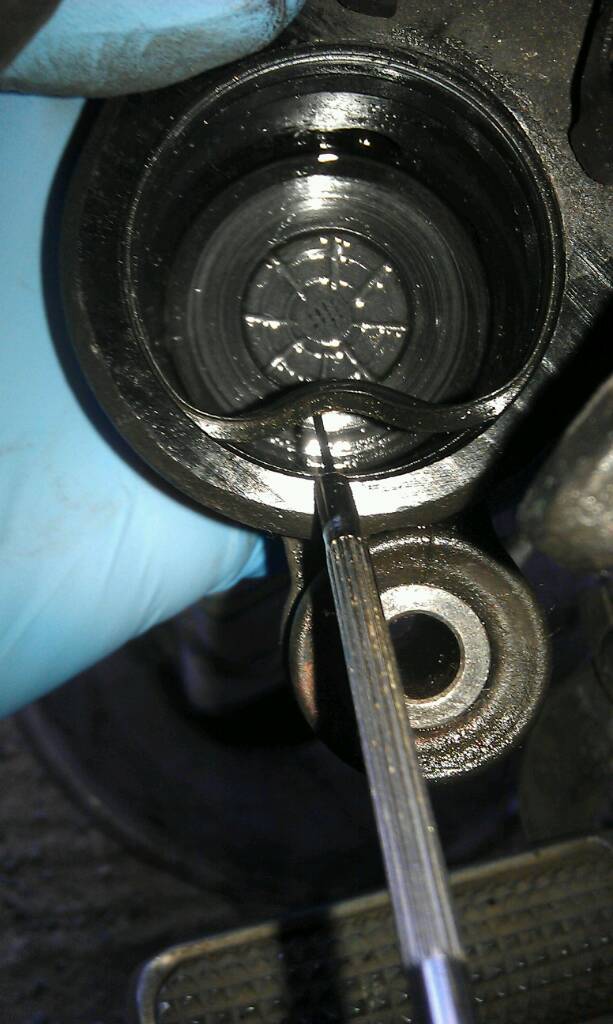
Clean the seat for the seal with brake fluid and clean cloth.
Lightly grease the outer edge of the seal with brake grease.
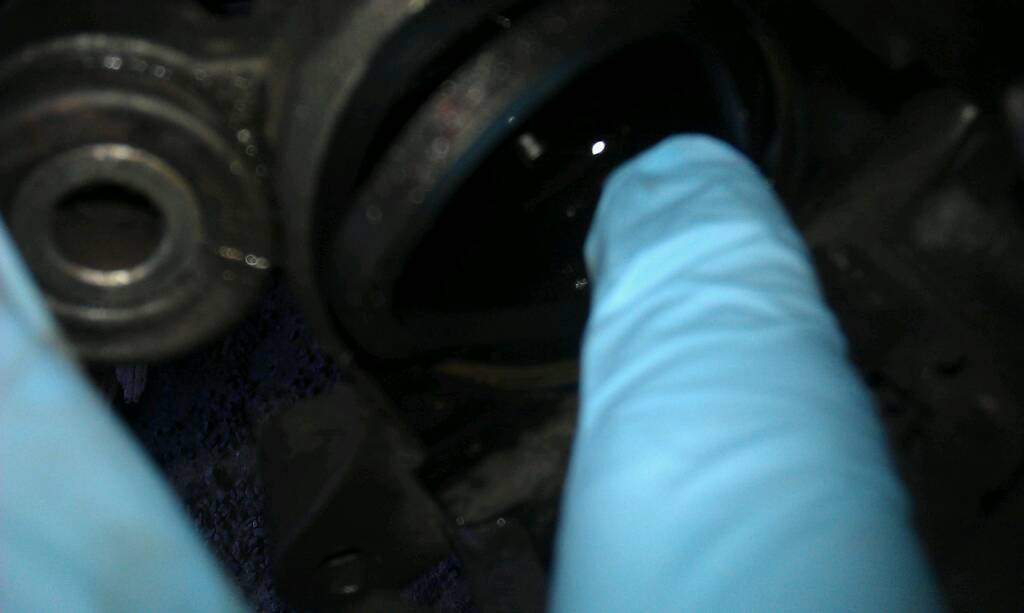
Press the seal into seat with a finger using a circular motion.
Do this with both seals.
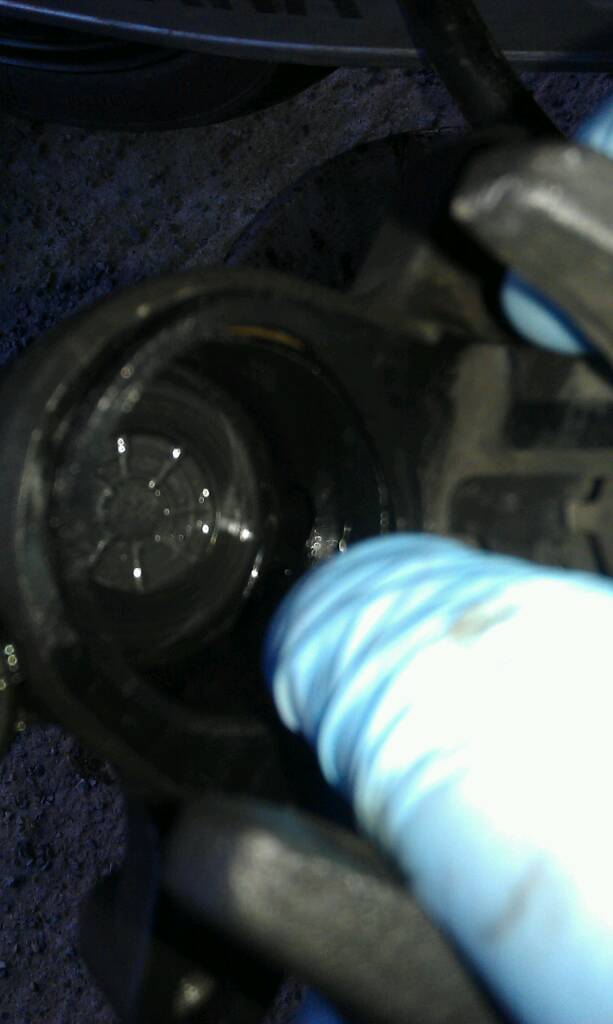
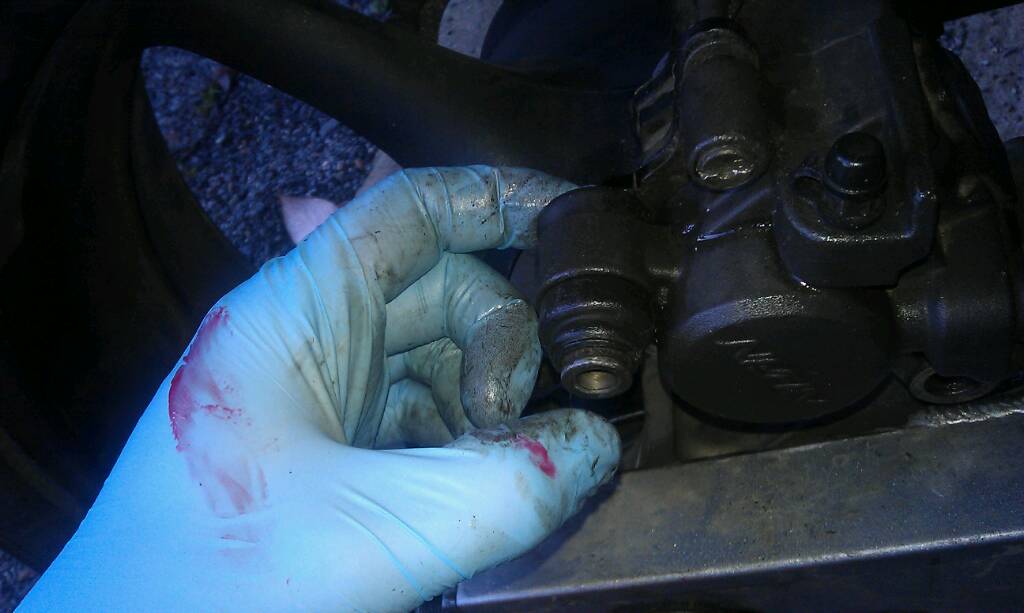
Lightly grease lower part of piston and push into caliper.
(warning do not replace piston wrong way round as I first did). Install closed end first.
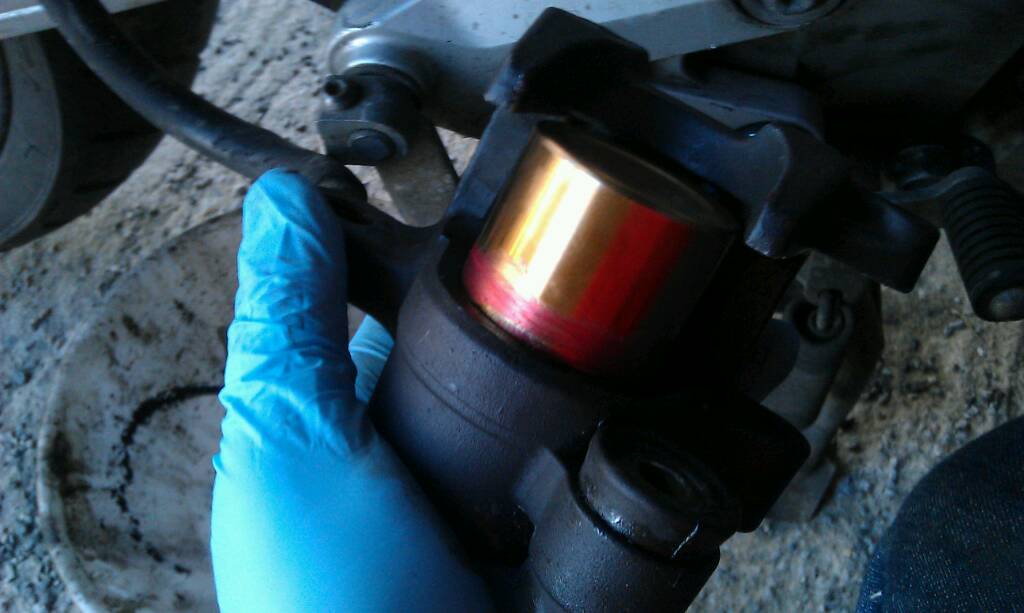
CORRECT FITTING

This helps seat the seals and disperse the grease lightly onto piston surface.
Reinstall pads, making sure that they sit correctly in the pad plate
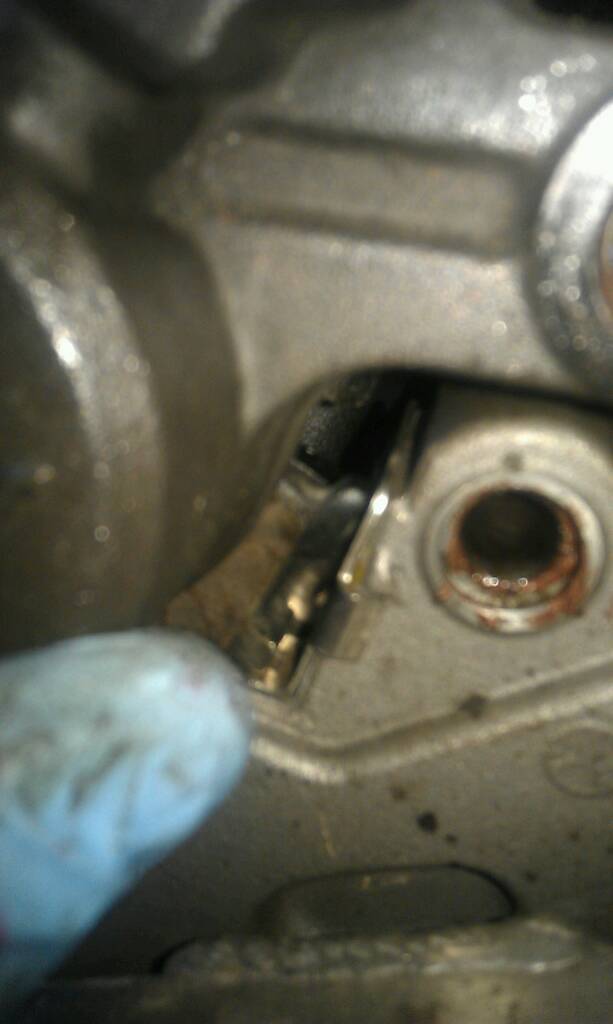
Clean and grease pad pin and insert pad pin.

Clean and grease calliper retaining bolts check the rubber boots for cracks. Remove calliper slde and clean and grease.

Give slide a good wiggle to work in the grease.
mount caliper and tighten.

Make sure pads are seated correctly.
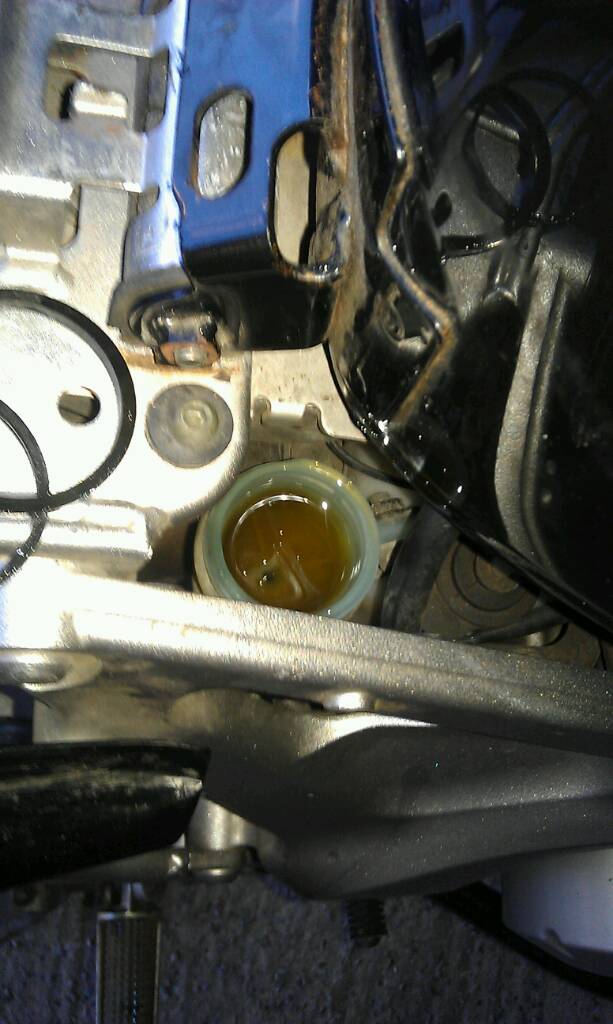
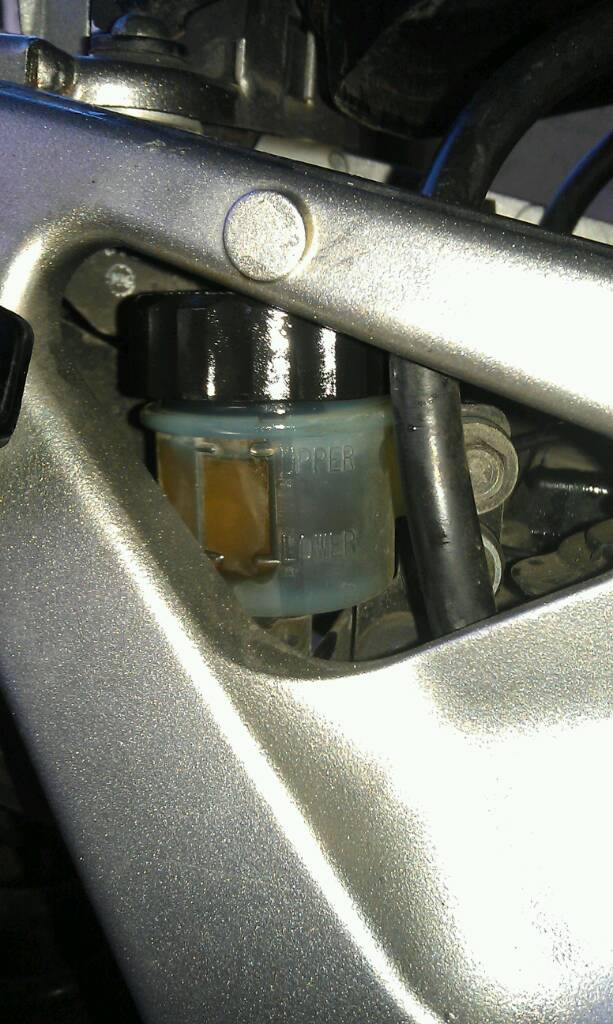
Raise petrol tank and unscrew
top off master cylinder on right side of frame . (You can access master cylinder without raising the tank but its tight).
My fluid was very dirty looking (at this stage of the build the master
cylinder will be empty after draining the fluid when the piston was removed)..
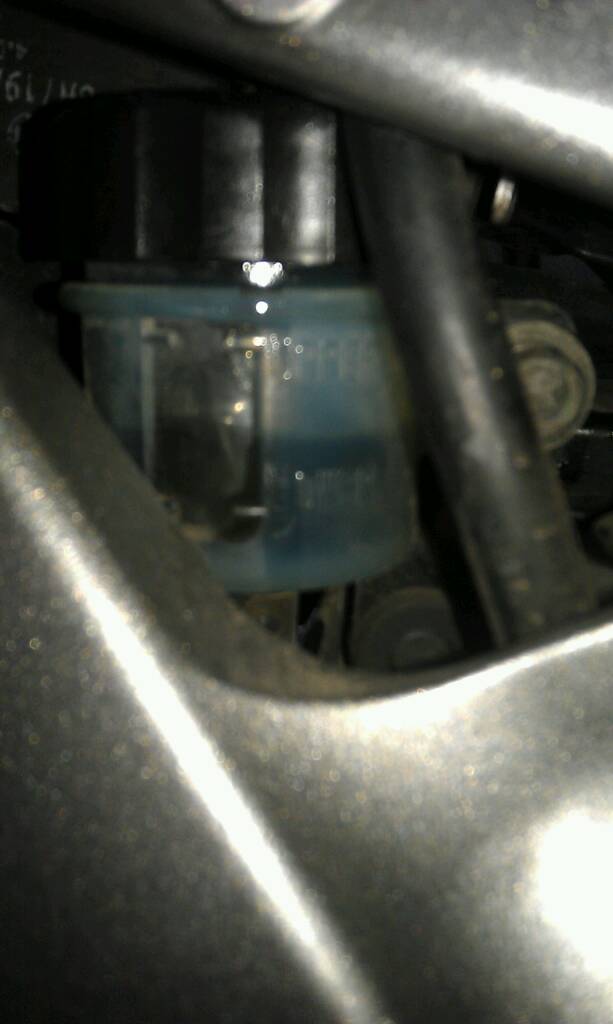
Top up brake fluid with dot 4 fluid.
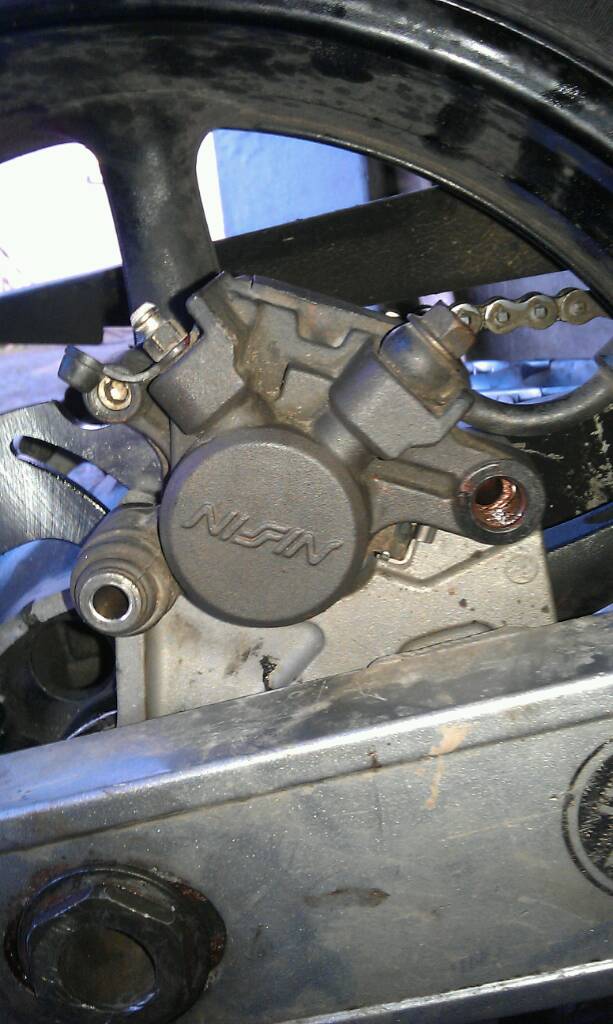
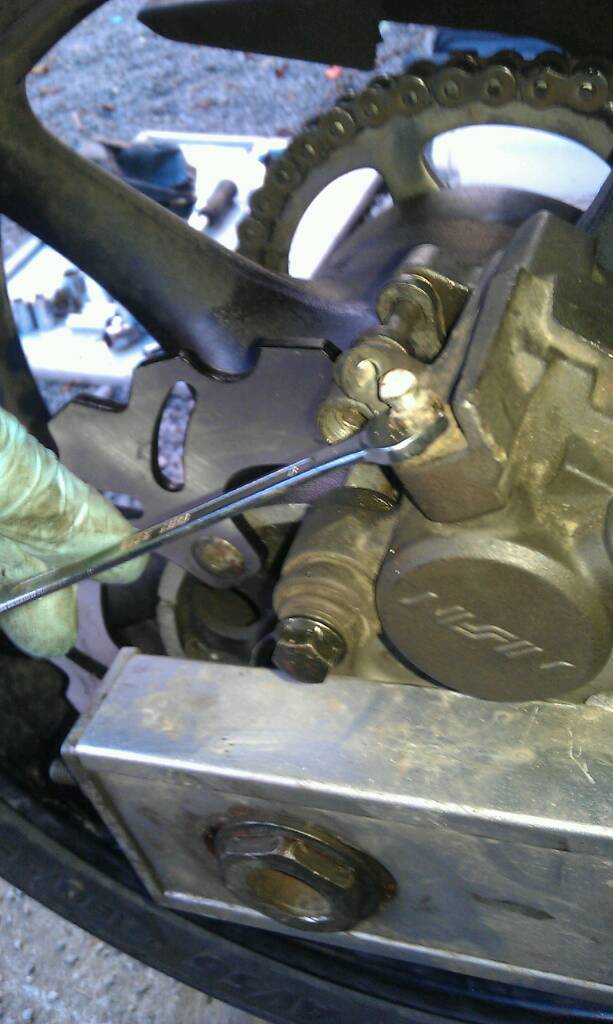
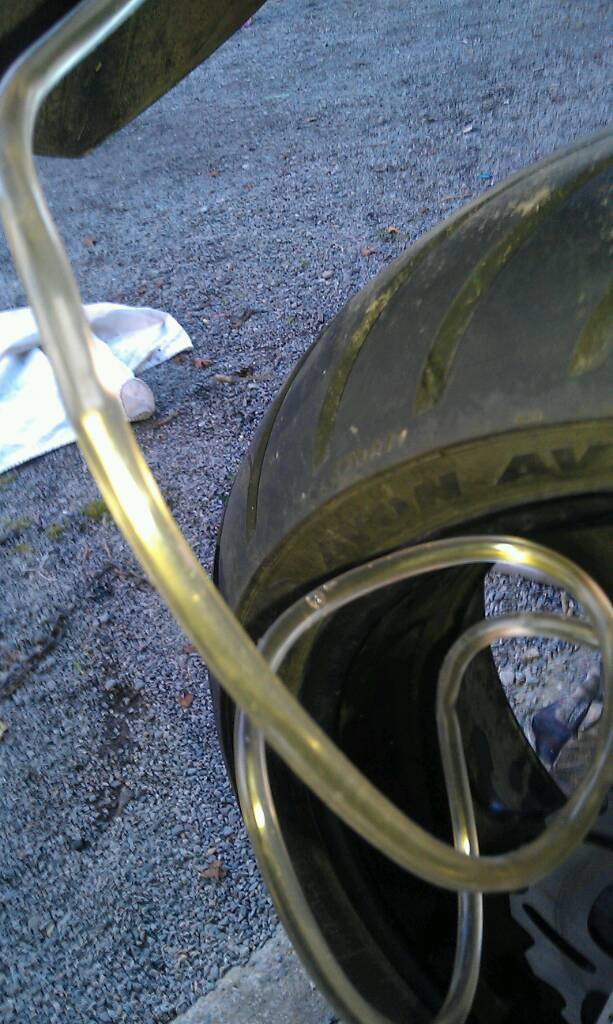
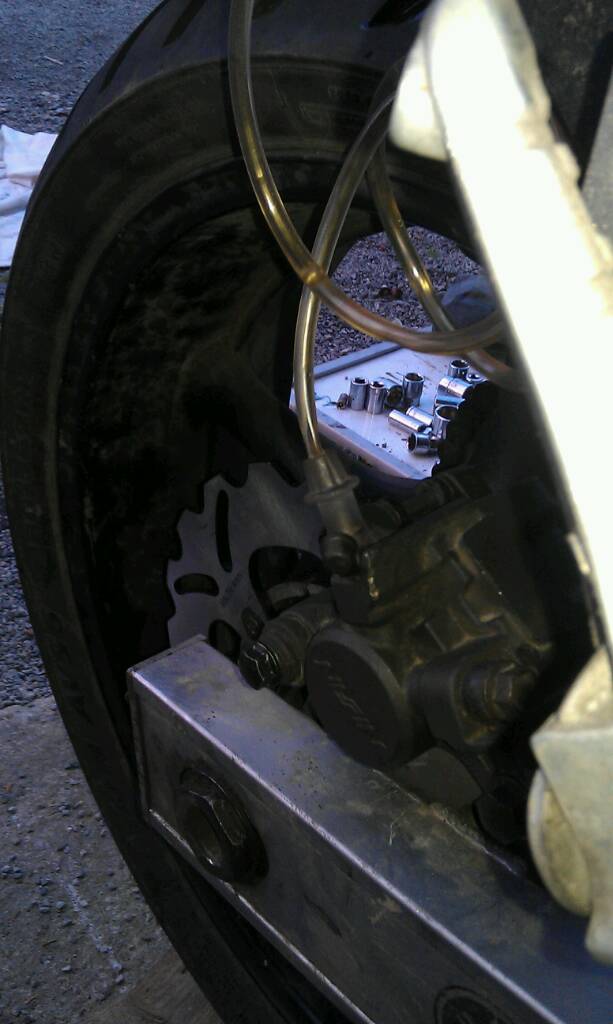
Unscrew bleed screw on caliper with 8mm spanner 1/2 a turn.
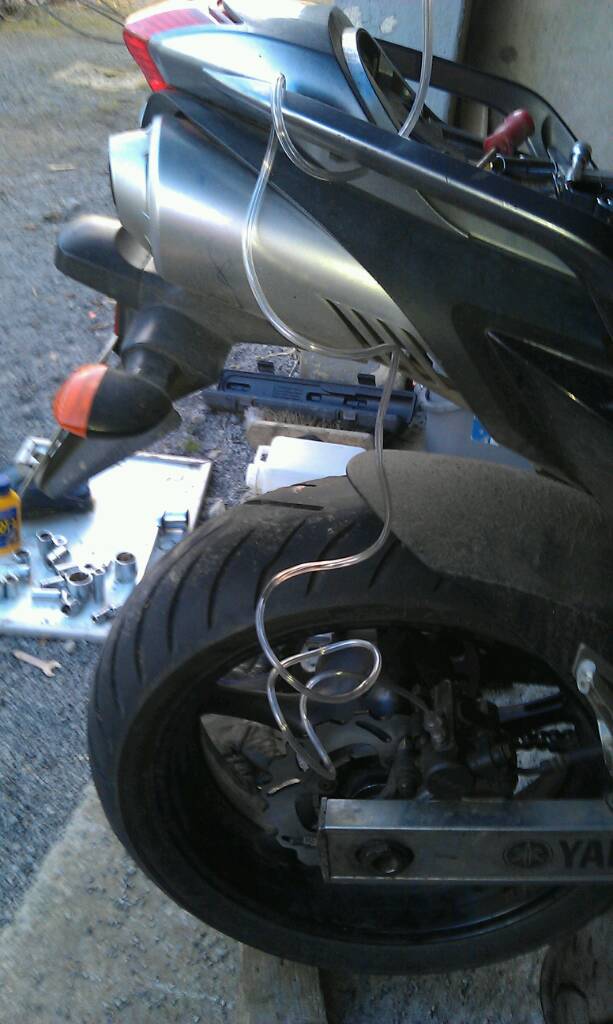
Connect a length of tubing to bleed screw and run it up vertically.
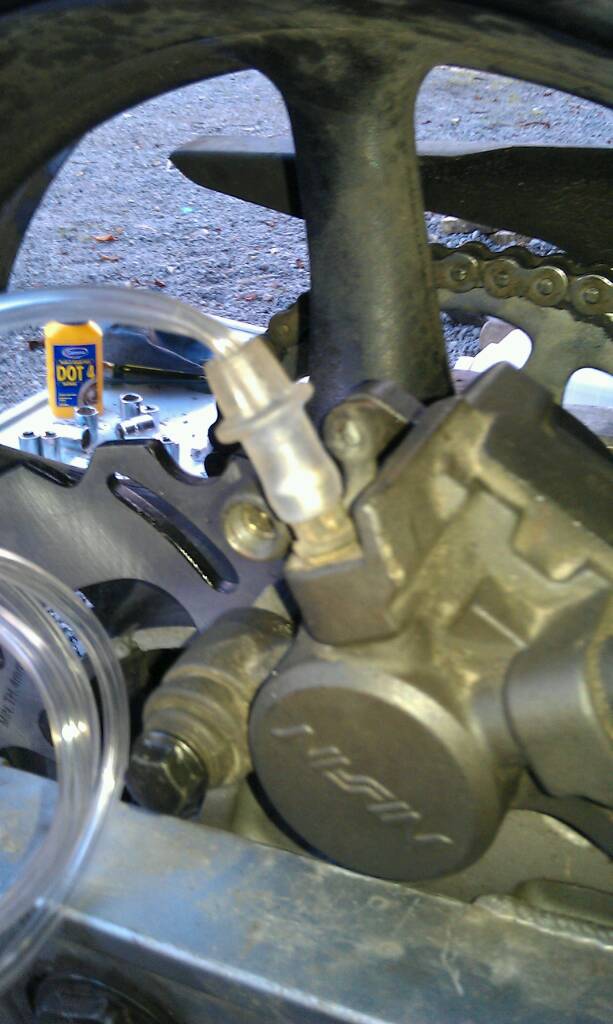
I used the grab rail to secure it.
Now pump the rear brake,
this takes about 2 minutes depending on rear brake pedal travel. Keep an eye on the
master cylinder fluid level as
you need to expel all the air
from the line without introducing
more air into the system.
It takes about 30 MLS of dot 4 fluid to prime the master cylinder
and line from empty.
I also put the cap back on to
reduce the risk of debris falling
into the new fluid. Pump rear
brake until you feel the leaver
start to stiffen and and the fluid level will drop with each press of the rear brake leaver.
The new fluid will start to run up the tubing connected to the bleed
screw.
You will see bubbles of expelled air in the fluid. Give the rear leaver
enough presses to expel all air bubbles.
Once this is done top up fluid level. Screw cap back on.
Next keep rear brake leaver depressed and tighten bleed screw with 8mm spanner.
Once completed release brake and give the rear wheel a good spin,
and check to see that the brake bites and stops wheel.
Pinch bottom of tubing on top of bleed screw and remove tubing.
Replace bleed screw dust cap.
Do not spill any fluid on painted surfaces.
Check all nuts and bolts are tightened to specification and job done.
Torque settings
Brake calliper bleed screw 6 Nm.
Rear brake calliper mounting bolt 22Nm.
Rear brake calliper slider pin 27Nm.
Rear brake pad retainer pin 17Nm.
Rear brake pad retainer pin plug 3Nm.
A big thank you goes out to UK member, Greg for his help and advice on how to do this work.
Also a big thanks to my forum friends for help and advice on piston install.
New pads will take a while to bed in just like new tyres.
Happy riding
Neil
Sent from my HTC Desire S using Tapatalk2
Loosen the two bolts that secure the caliper. Remove outer screw (PIN PLUG) that protects brake pad pin and loosen brake pad pin.
Remove rear wheel and remove calliper.
Remove brake pad pin and pads. Don't get grease on braking surfaces.
Pump rear brake to push out piston (you can also use compressed air).
Do it over a container and be careful not to splash painted surfaces as once the piston is out the fluid will drain out.
Clean with a new cloth and brake fluid. Put piston in a safe place do
not drop or damage piston.
Clean calliper surfaces with clean cloth and brake fluid.
There are two seals inside the caliper. I removed them with a
small engineers screwdriver.
Clean the seat for the seal with brake fluid and clean cloth.
Lightly grease the outer edge of the seal with brake grease.
Press the seal into seat with a finger using a circular motion.
Do this with both seals.
Lightly grease lower part of piston and push into caliper.
(warning do not replace piston wrong way round as I first did). Install closed end first.
CORRECT FITTING
This helps seat the seals and disperse the grease lightly onto piston surface.
Reinstall pads, making sure that they sit correctly in the pad plate
Clean and grease pad pin and insert pad pin.
Clean and grease calliper retaining bolts check the rubber boots for cracks. Remove calliper slde and clean and grease.
Give slide a good wiggle to work in the grease.
mount caliper and tighten.
Make sure pads are seated correctly.
Raise petrol tank and unscrew
top off master cylinder on right side of frame . (You can access master cylinder without raising the tank but its tight).
My fluid was very dirty looking (at this stage of the build the master
cylinder will be empty after draining the fluid when the piston was removed)..
Top up brake fluid with dot 4 fluid.
Unscrew bleed screw on caliper with 8mm spanner 1/2 a turn.
Connect a length of tubing to bleed screw and run it up vertically.
I used the grab rail to secure it.
Now pump the rear brake,
this takes about 2 minutes depending on rear brake pedal travel. Keep an eye on the
master cylinder fluid level as
you need to expel all the air
from the line without introducing
more air into the system.
It takes about 30 MLS of dot 4 fluid to prime the master cylinder
and line from empty.
I also put the cap back on to
reduce the risk of debris falling
into the new fluid. Pump rear
brake until you feel the leaver
start to stiffen and and the fluid level will drop with each press of the rear brake leaver.
The new fluid will start to run up the tubing connected to the bleed
screw.
You will see bubbles of expelled air in the fluid. Give the rear leaver
enough presses to expel all air bubbles.
Once this is done top up fluid level. Screw cap back on.
Next keep rear brake leaver depressed and tighten bleed screw with 8mm spanner.
Once completed release brake and give the rear wheel a good spin,
and check to see that the brake bites and stops wheel.
Pinch bottom of tubing on top of bleed screw and remove tubing.
Replace bleed screw dust cap.
Do not spill any fluid on painted surfaces.
Check all nuts and bolts are tightened to specification and job done.
Torque settings
Brake calliper bleed screw 6 Nm.
Rear brake calliper mounting bolt 22Nm.
Rear brake calliper slider pin 27Nm.
Rear brake pad retainer pin 17Nm.
Rear brake pad retainer pin plug 3Nm.
A big thank you goes out to UK member, Greg for his help and advice on how to do this work.
Also a big thanks to my forum friends for help and advice on piston install.
New pads will take a while to bed in just like new tyres.
Happy riding
Neil
Sent from my HTC Desire S using Tapatalk2
Last edited: