
FWIW; BRAKE BLEEDING, CALIPER AND PAD INSPECTION thread is here - minus pictures....
Go to post 7...
Fixed the pictures....
***********************************
BRAKE BLEEDING, CALIPER AND PAD INSPECTION
***********************************
First off; bleed your brakes annually! Why? The OEM DOT 4 fluid is an ether glycol product which absorbs moisture at nearly twice the rate as DOT3 fluid. These fluids are hygroscopic and absorb moisture which breaks down the hardware as it converts into acids. In addition, moisture in the system reduces the boiling point (may boil over) and can induce brake drag as the pistons do not retract as effectively when there's moisture or air in the system. Granted, new synthetic fluids withstand this better than old ether - glycol based fluids, it just makes good sense to inspect the entire system and bleed the brakes annually.
The process I use to bleed brakes:
Tip number one - buy a syringe and some soft tubing. Preferred is silicone as it can stretch to any size fitting you might encounter and it very pliable. When it comes time to do a brake flush, simply suck out the old fluid, clean out the reservoir and dump in the new DOT 4 fluid. Note: A turkey baster will work to remove old fluid too. Our goal here is to NOT MIX old and new as its more fluid to pump out.
- NOTE: Always use Fluid from a NEW UNOPENED CONTAINER!!!
The reason being, once the seal on the container is broken, the fluid begins absorbing moisture. Also, If it possible, perform brake repairs/bleeding on low humidity days!
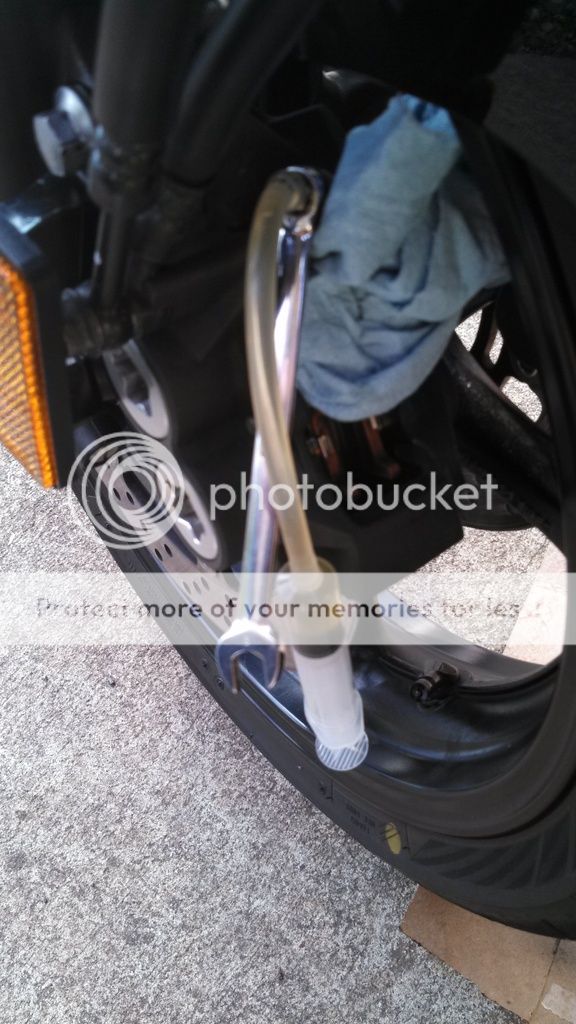
PROCESS:- Crack the bleeders to insure they can be loosened. Fit a long section of hose to the bleeder and into drain pan.
- Clean MC lid, remove it, remove old fluid (clean inside and seal if dirty). DO NOT PUMP lever when fluid is removed....
- Fill MC w/FRESH FLUID, install cap/lid.
- Pump lever/pedal and hold lever down with pressure.
- Crack the bleeder and continue applying pressure to lever. When the lever bottoms, seal the bleeder.
- Repeat above steps until clean fluid is coming out. WATCH THE FLUID LEVEL! Don't allow the level to get low or it will force air into the lines!
- Do both sides if applicable.
- On the final bleed (both sides), seal the bleeder before the lever reaches bottom. This prevents air from entering the system.
- Fill MC to correct level, install lid and clean everything spotless!
- Repeat once a year using NEW DOT 4 fluid!
NEW LINE INSTALL:
If you've installed new lines and have allot of air in the system, use the syringe and open a bleeder. Connect the syringe and pull back on the plunger to pull fluid through from the reservoir.
- BEGIN AT BULLET SECTION above to obtain a firm lever!
Use a syringe to remove old fluid! It's way better than pumping it through!
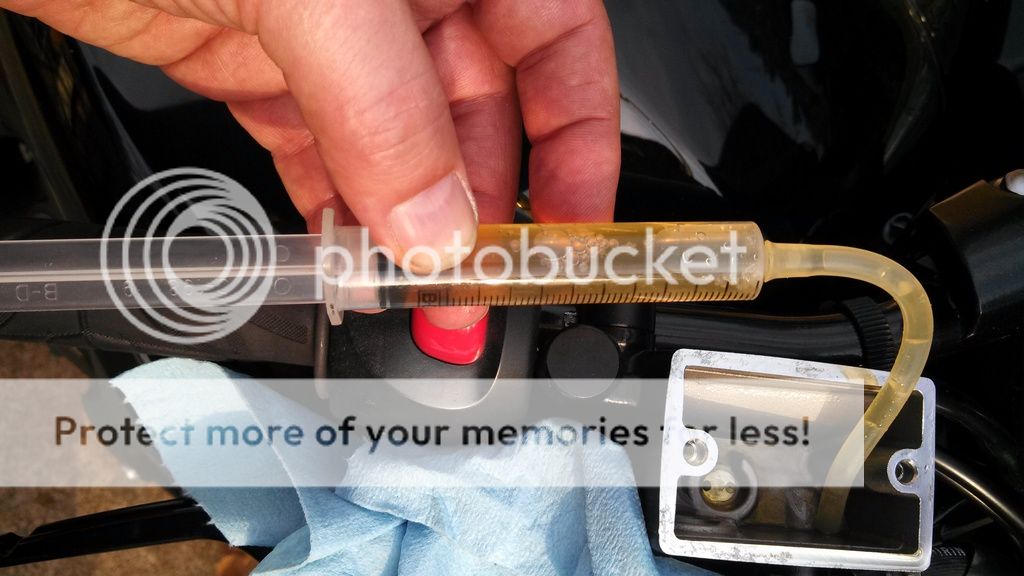
If you have a long hose, run it straight into a pan or bottle. Here I was in pinch and just let it fill up the syringe.
- Do not get brake fluid on anything as it eats paint and will/can dull powder coated items too.
- ** DO NOT LET THE MC reservoir go empty and suck air or your brakes will be all mushy and you'll have to start the bleeding process over!! **
***********************************
Additional tips:
IMO Vacuum bleeding never gives a solid feel. Pressure bleeding forces the trapped air under pressure to condense into larger bubbles. As the bubbles increase in size, they often move to the top where the bleeder is and can be removed.
To assist the trapped air bubbles in making their way out of the brake system, use a dead blow hammer or a firm block of wood and tap on the caliper striking towards the ground. DO NOT TAP INLINE WITH THE CALIPERS PISTONS ESPECIALLY on FLOATING CALIPERS! If you choose to tap that way, do so gently you can damaged the disc and induce air into the system. This small shock (hammer tap) can remove trapped air bubbles. The momentary shock helps them condense and make their way out of the caliper. Don't leave marks or damage anything. Your tapping too hard if this occurs!
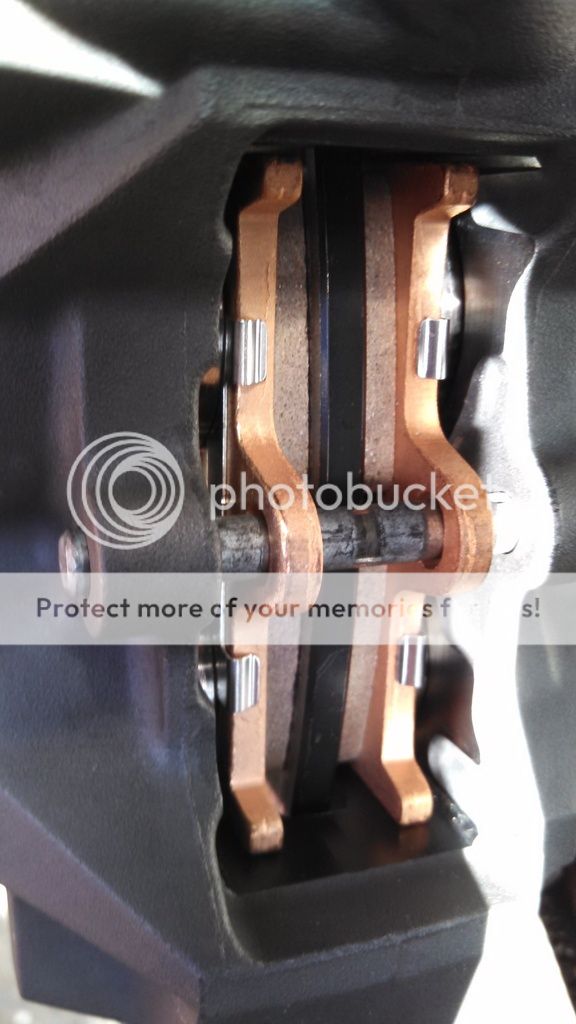
Note: The rear of both S1 and S2 FZ6's are floating calipers. The front of the S2 models are fixed 4 piston calipers. S1 front calipers are floating calipers.
***********************************
Brake Pad Replacement:
As brake pads wear, the pad backing and calipers piston move towards the rotor. With the piston out of the caliper it attracts and retains brake dust.
BEFORE SHOVING THE PISTON BACK INTO THE CALIPER and TRAPPING the ABRASIVE BRAKE DUST IN THE SEAL, CLEAN THE PISTON(S)!!!
The dust seal can only stop so much from getting past it! To extend its life and reduce wear use an old paint brush and rag & brake cleaner to clean the pistons. To get behind the piston on the S2 front caliper, use the brake lever to extend the piston. Use a shoe lace to scrub the back of the piston! When they are clean and free of debris, push them in and move on to the next one. Mine all push with my thumb. No tools were needed to force them inward. You do need to STOP fluid movement tho (Lock the Pistons).
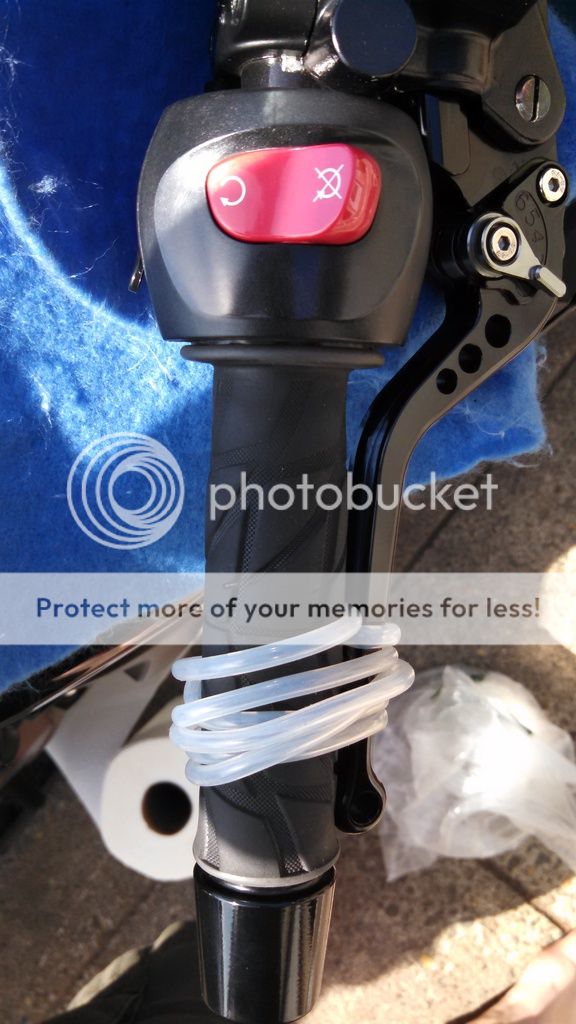
Locking the Pistons out:
First, pull the lever a bit and get a couple pistons out. Then tie the lever down so it seals the bleed port. Now when you push in a piston, one or more will pop out because the fluid can not return to the MC!
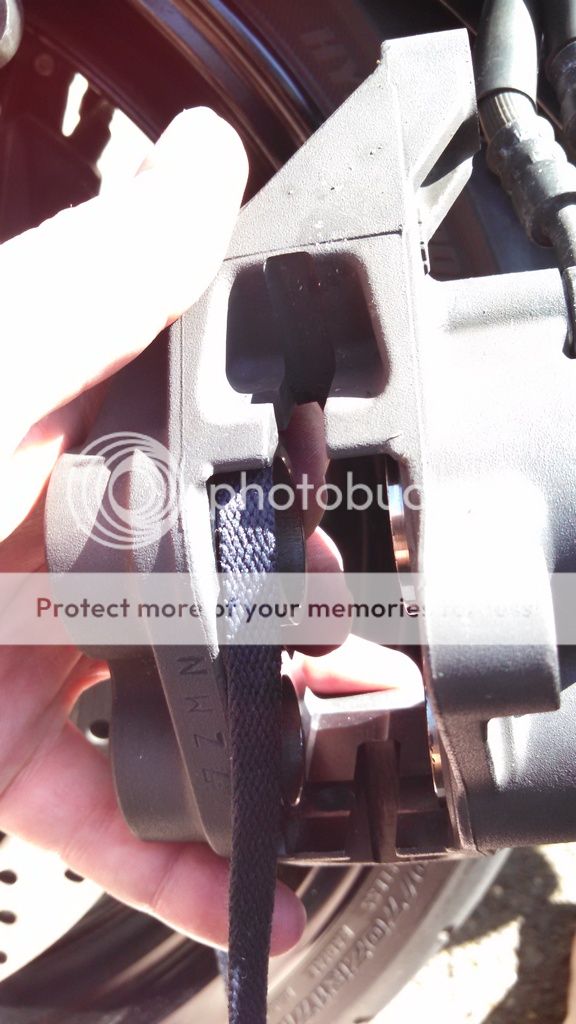
Wipe the brake dust off. A horse hair paint brush, cotton towel, and shoe string work great for this:
No you don't have to use your feet! lol :
Hold the Shoe String against the piston on one side (while holding the caliper in same hand) and pull on the string with the other hand. WALLA! That narrow crack covering the piston is now clean. If you must, saturate the string with brake cleaner and give it tug! It works great!

When done cleaning:
- Crack the bleeder and push all four pistons in.
- Seal the bleeder and release the brake lever.
- Install pads and insert pins. Pump lever to build pressure and hold the pads in place.
Remove the pin and drop in in the anti-rattle clip. Insert the pin & keepers and its on to brake bleeding.For Rear and Front S1 calipers, the sliding caliper pins should be cleaned and inspected for wear. The slides need greased before new pads are installed.ALSO: Seals do wear out / get hard.
OEM Suggested Replacement interval:
Brake Pads: If necessary
Piston Seals: Every two years
Brake Hoses: Every four years
Brake Fluid: Every Year
NOTE: Anti-rattle clips points forward!
FRONT:
Brake pad lining thickness inner & outer pad: 4.5 mm (0.18 in)
Discard Limit: 0.5 mm (0.02 in)
S2 Caliper Bolt Tq: 29ft/lbs, 40Nm
Banjo Bolt: 22 Ft/lbs, 30Nm
Bleeder Tq: 4.3 in/lbs, 6Nm
Disc Thickness:
Disc Discard limit: 4.5 mm (0.18 in)
Brake disc deflection limit: 0.10 mm (0.0039 in)
***********************************
Checking Rotor Defection:
***********************************
I'm not going to go into detail on this but if the wheel leaves my sight I inspect it. Its MY LIFE AT STAKE and I trust very few with my life!
Hint: Wheel was off and out of my sight for tire replacement so I thought it worthwhile to check rotor trueness upon installation just to confirm nothing happened that I was not aware of.
Brake disc deflection limit:
0.10 mm (0.0039 in)
Measured
Inner - Outer radius:
RS = 0.0002 - 0.0004" Less than 1/2 distance between marks.
LS = 0.0008 - 0.0013"
Each mark is 0.001" so its within spec! Steel Quick Clamp in combination with the axle bolt made the Magnetic Base on the dial stay put! :thumbup:

Needless to say the sun was evil and with a white dial, didn't stand a chance of getting a clear photo of the setup and read the dial.

LS outer....

In short, you need the proper tools for the job. In this case, I improvised creating a base and getting the needle square to the rotor so the inner and outer edge could be checked for trueness.
***********************************