SANGER_A2
Super Member
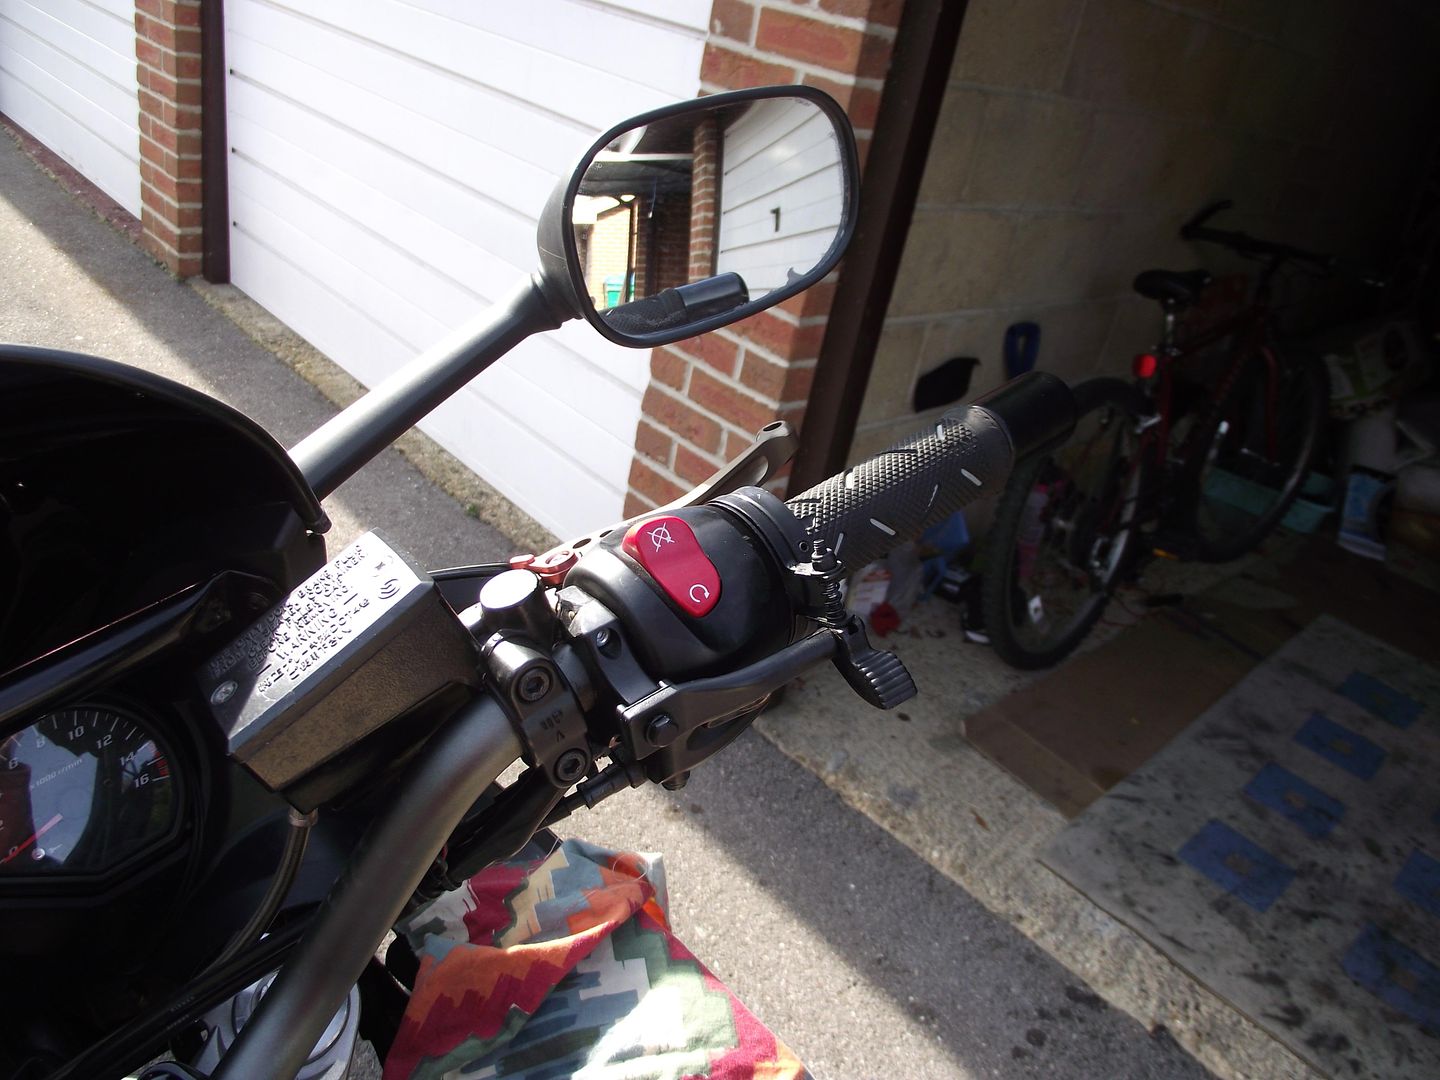
I do a lot of miles on the motorway so a lot of it is travelling along at the same time. I decided a throttle lock would be the closest I could get to cruise control. I went for the cheapest option as it was just an experiment and it was made by Bike-It and cost me about £35.
The negatives are:-
The positives are:-
I definitely wouldn't do without a throttle lock. But I think the bar-end options are better. I want to tap my Renthal bars so I can use standard Yamaha bar-ends. Then I will buy some Throttlemeister bar-ends and use them.
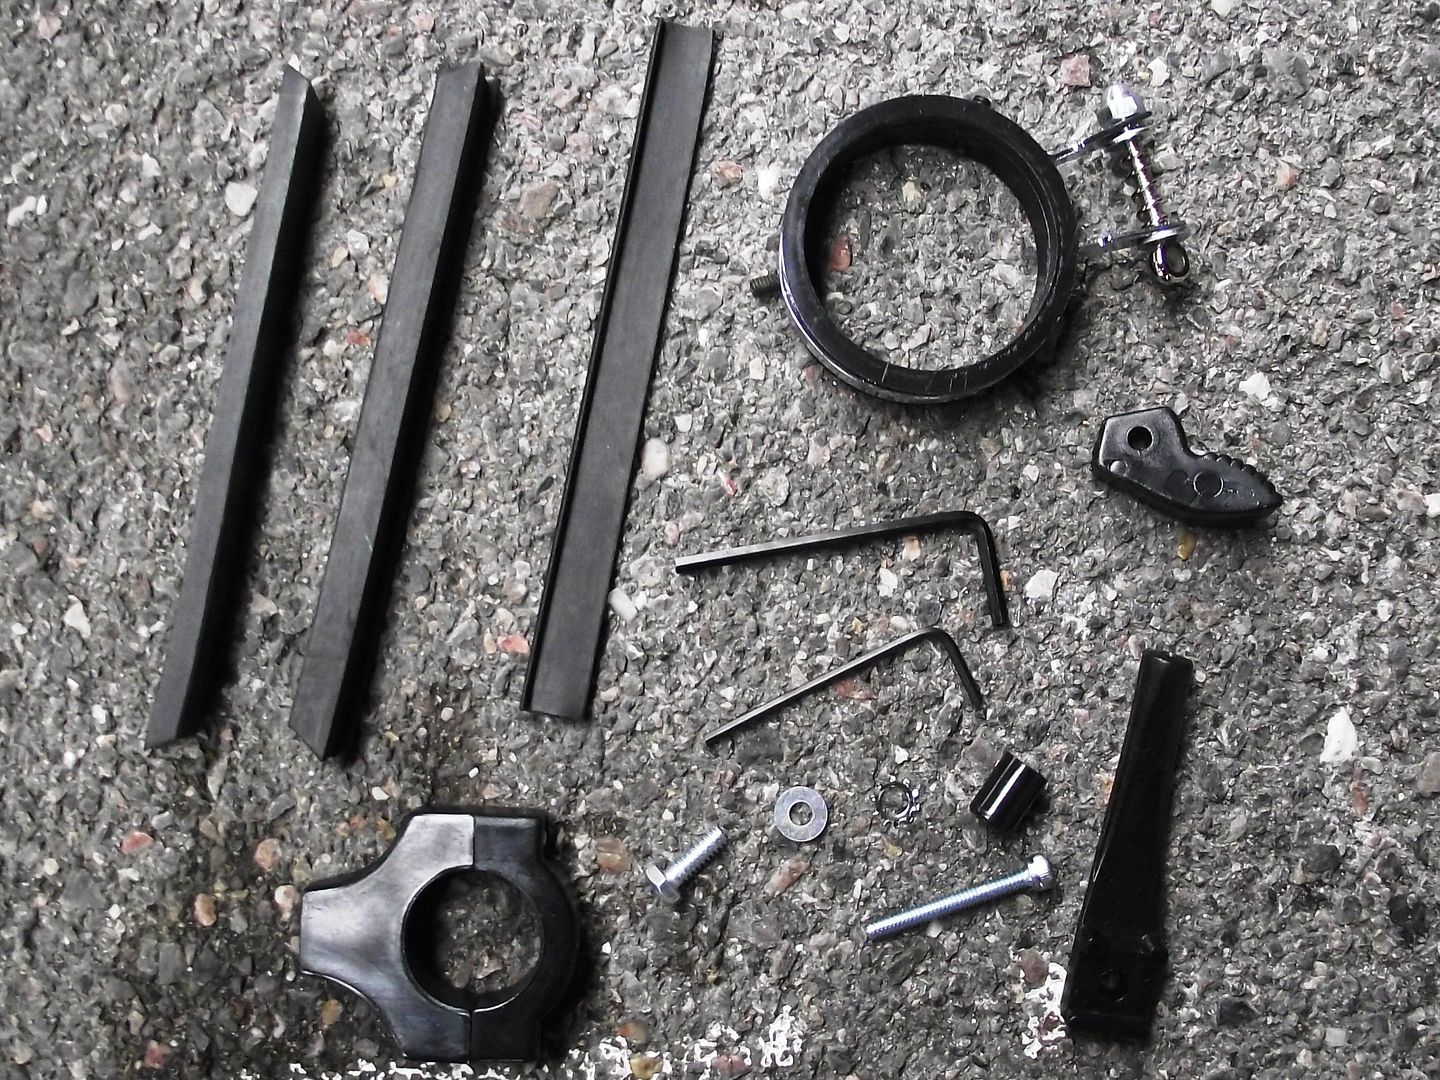
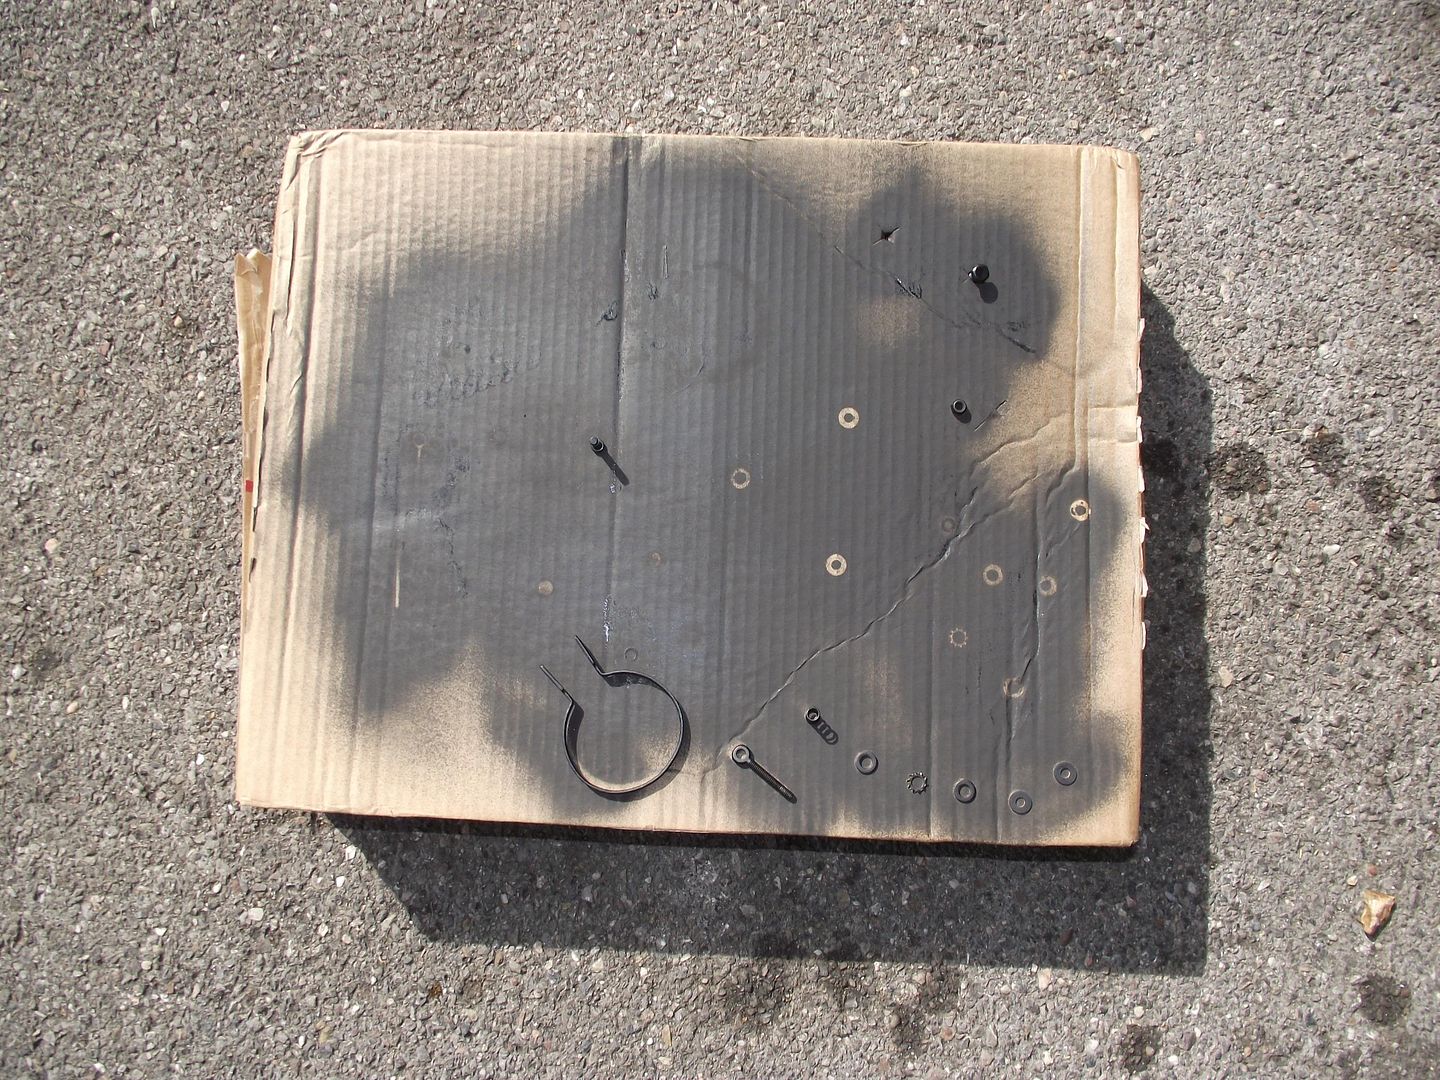
Here are all the bits I got with the kit. The instructions were a bit pants, but looking at other ones on the Internet already installed on bikes helped work out which way round to install things:-

Eventually I worked out this is the way to fit the rubber inner into the ring:-

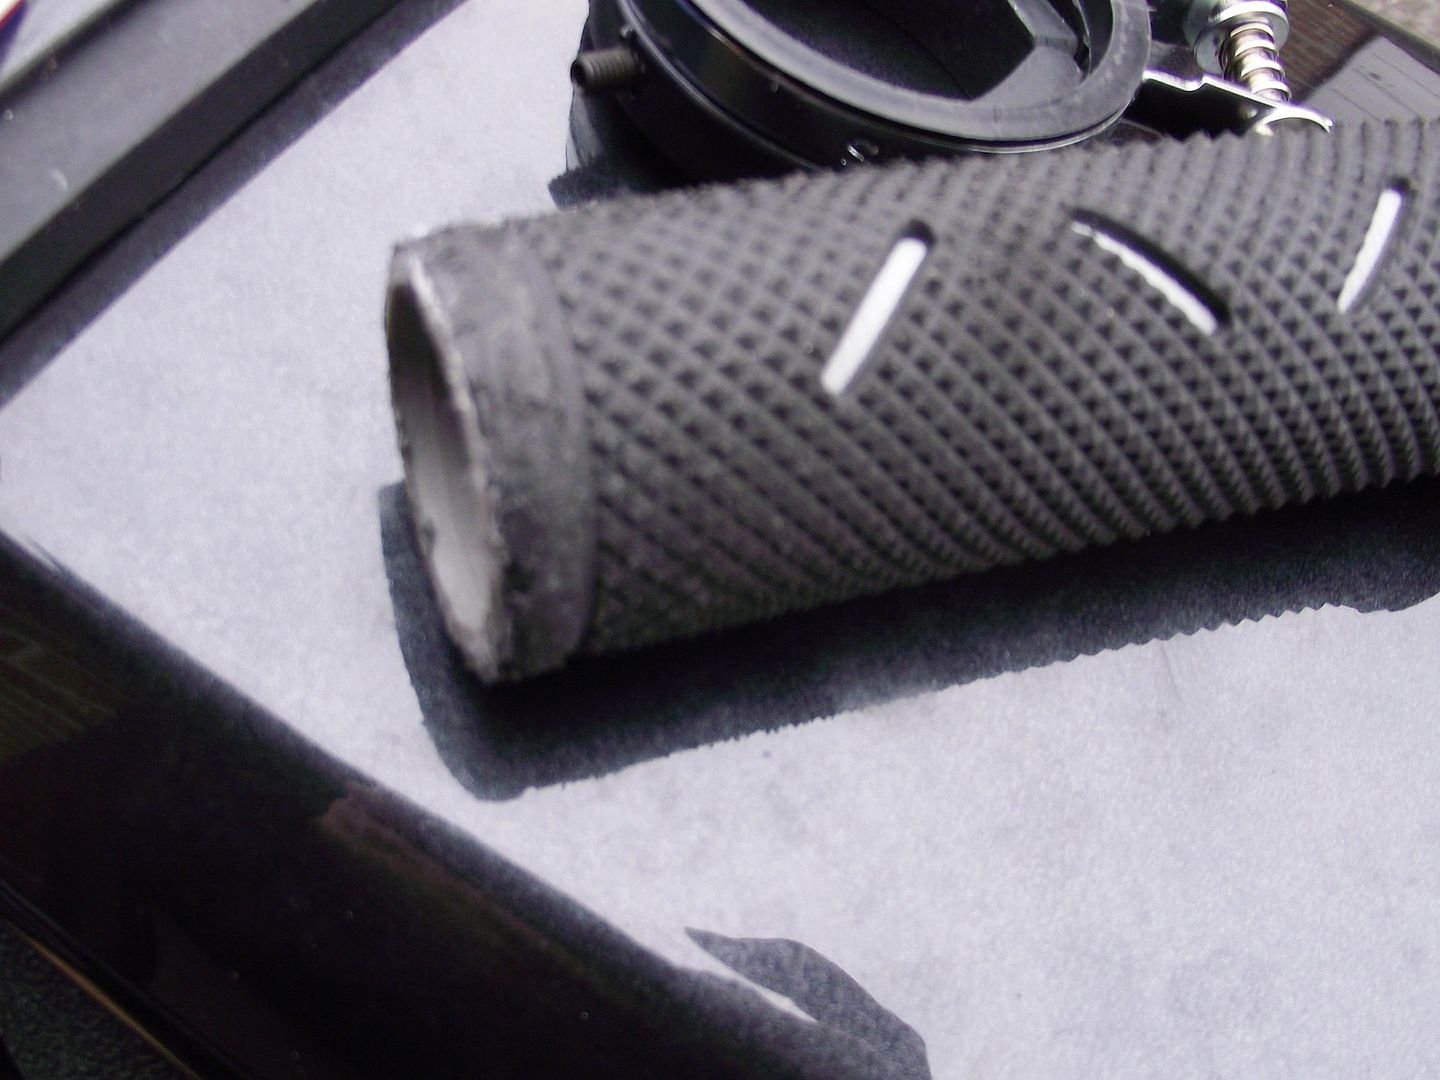
I had to trash the part of my grip that normally has a rubber bit that sits against the throttle friction ring to fit the throttle-lock over it:-

Here is the ring installed on the grip. Later on I used an extra layer of thin rubber between the lock and the grip as it didn't fit well enough:-

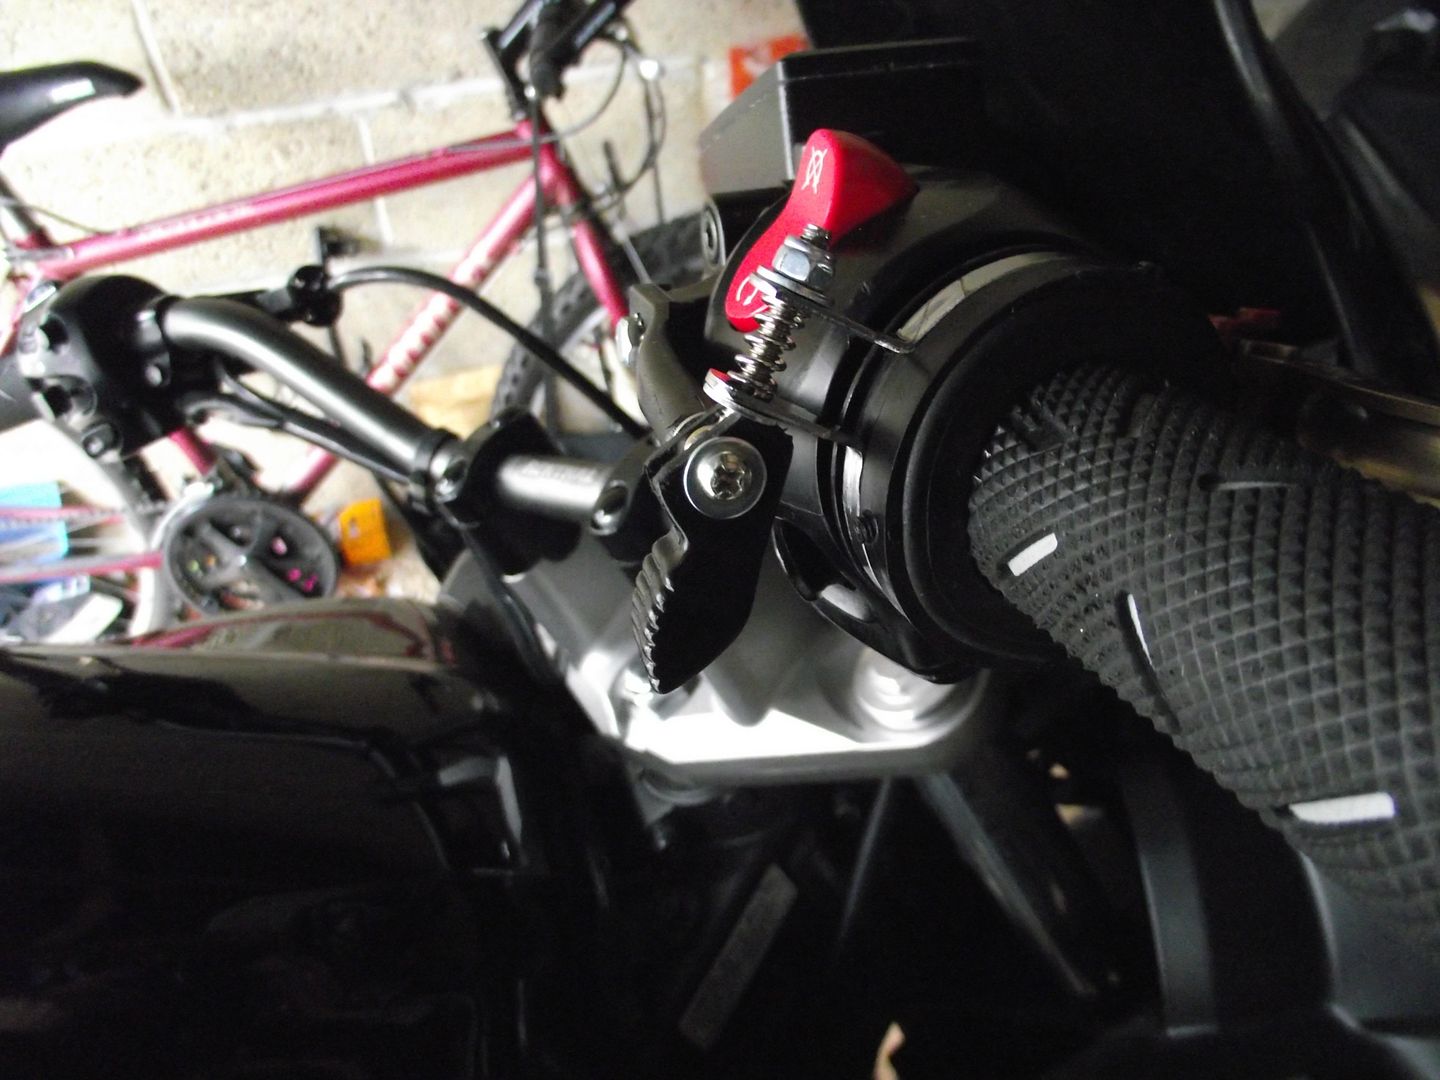
Here you can see it loosely installed. I haven't tightened the grub screws to attach it to the grip yet, or joined the part that sits on the bars to the part that attaches to the grip:-

Here is a view from above. I actually ended up filing down the sides of the metal ring to make it thinner as it was catching on the plastic it was supposed to smoothly spin on:-

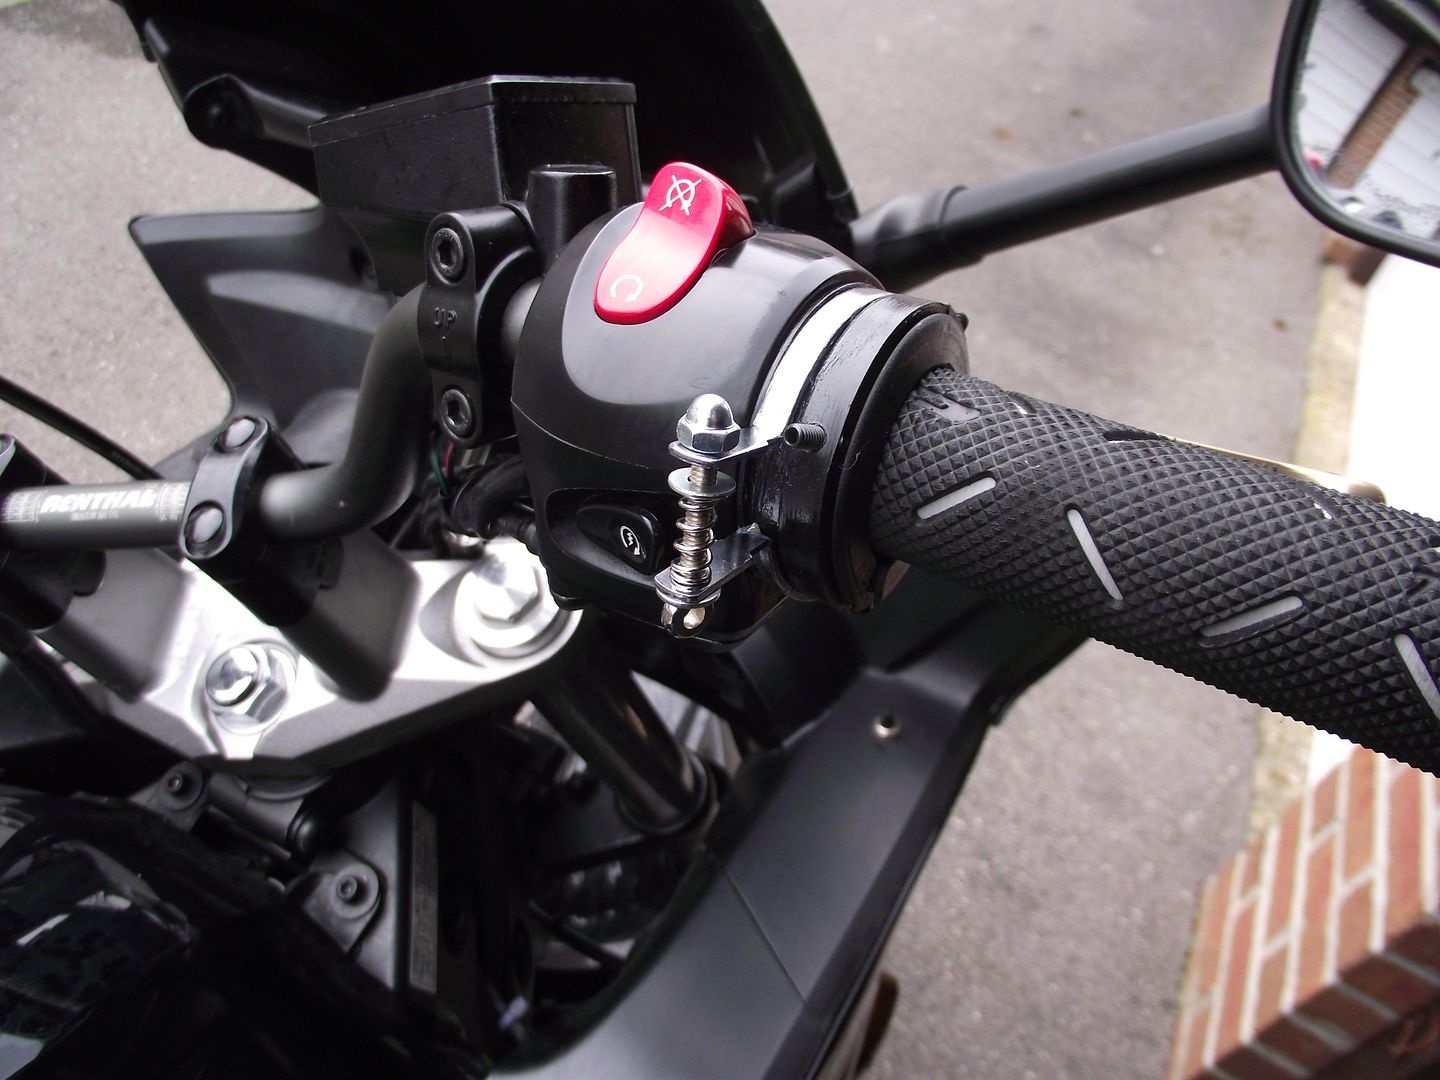
Here you can see it all tightened up after I've filed down the ring. The silver nut that has the star washer underneath it in that picture actually vibrated out a few weeks later and I had to replace it with another that I had to recut the threads for and made it stick using lots of loctite!:-

Here's a side view of it installed:-

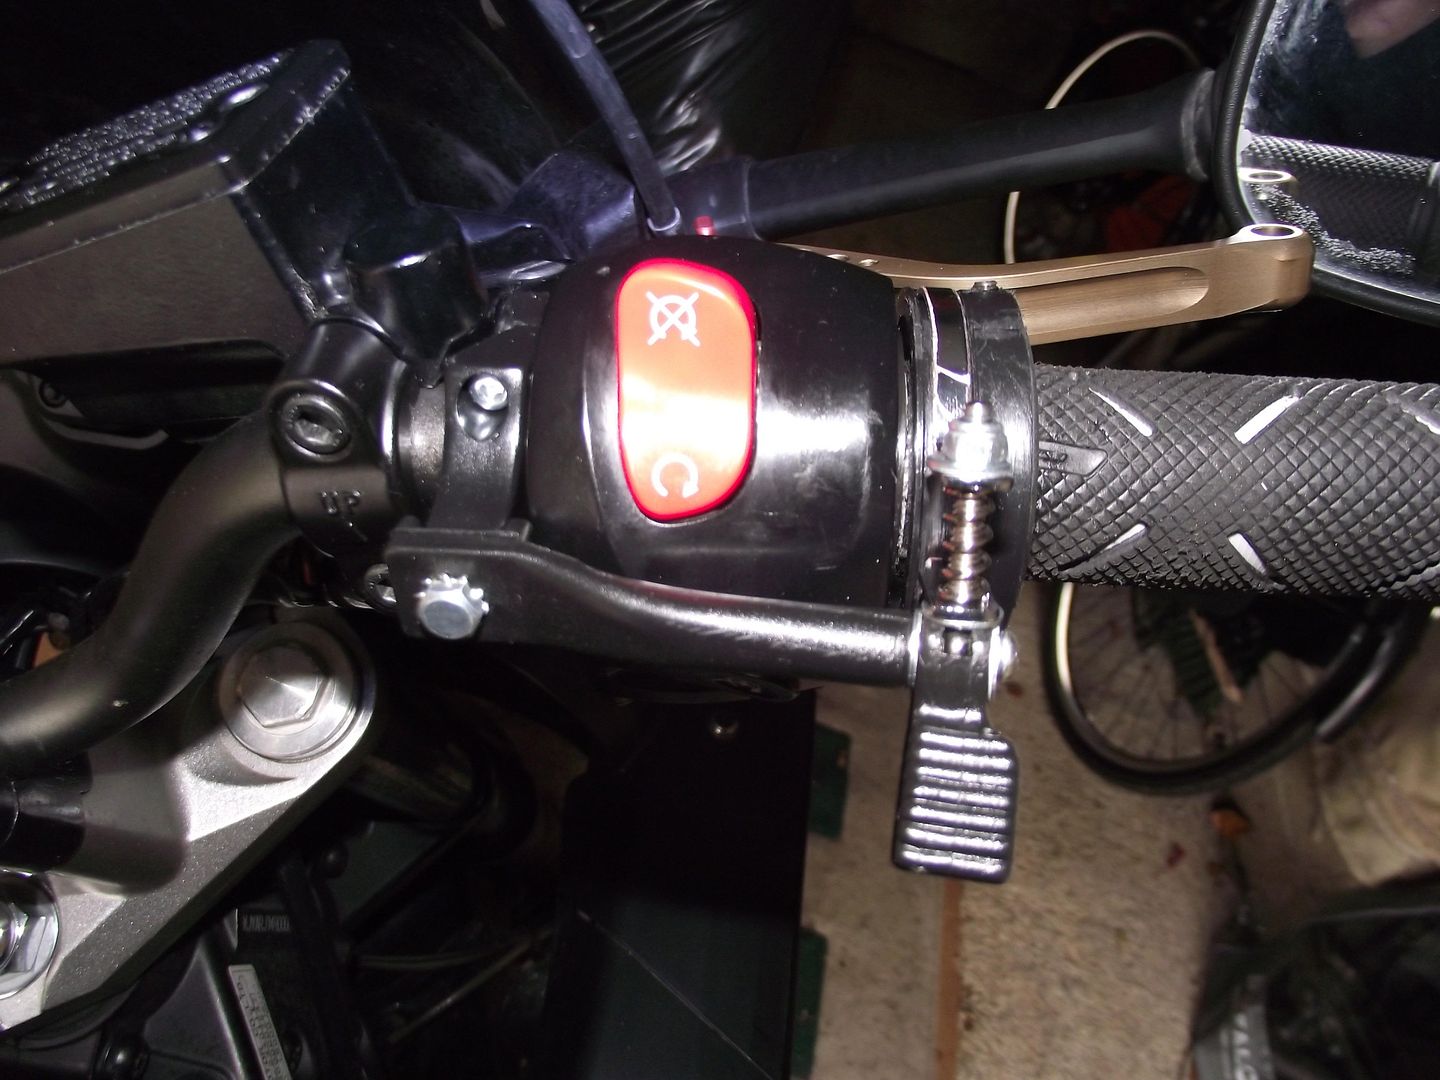
Here's a top-down view:-

Here you can see it with the lock engaged to stop the grip from moving:-

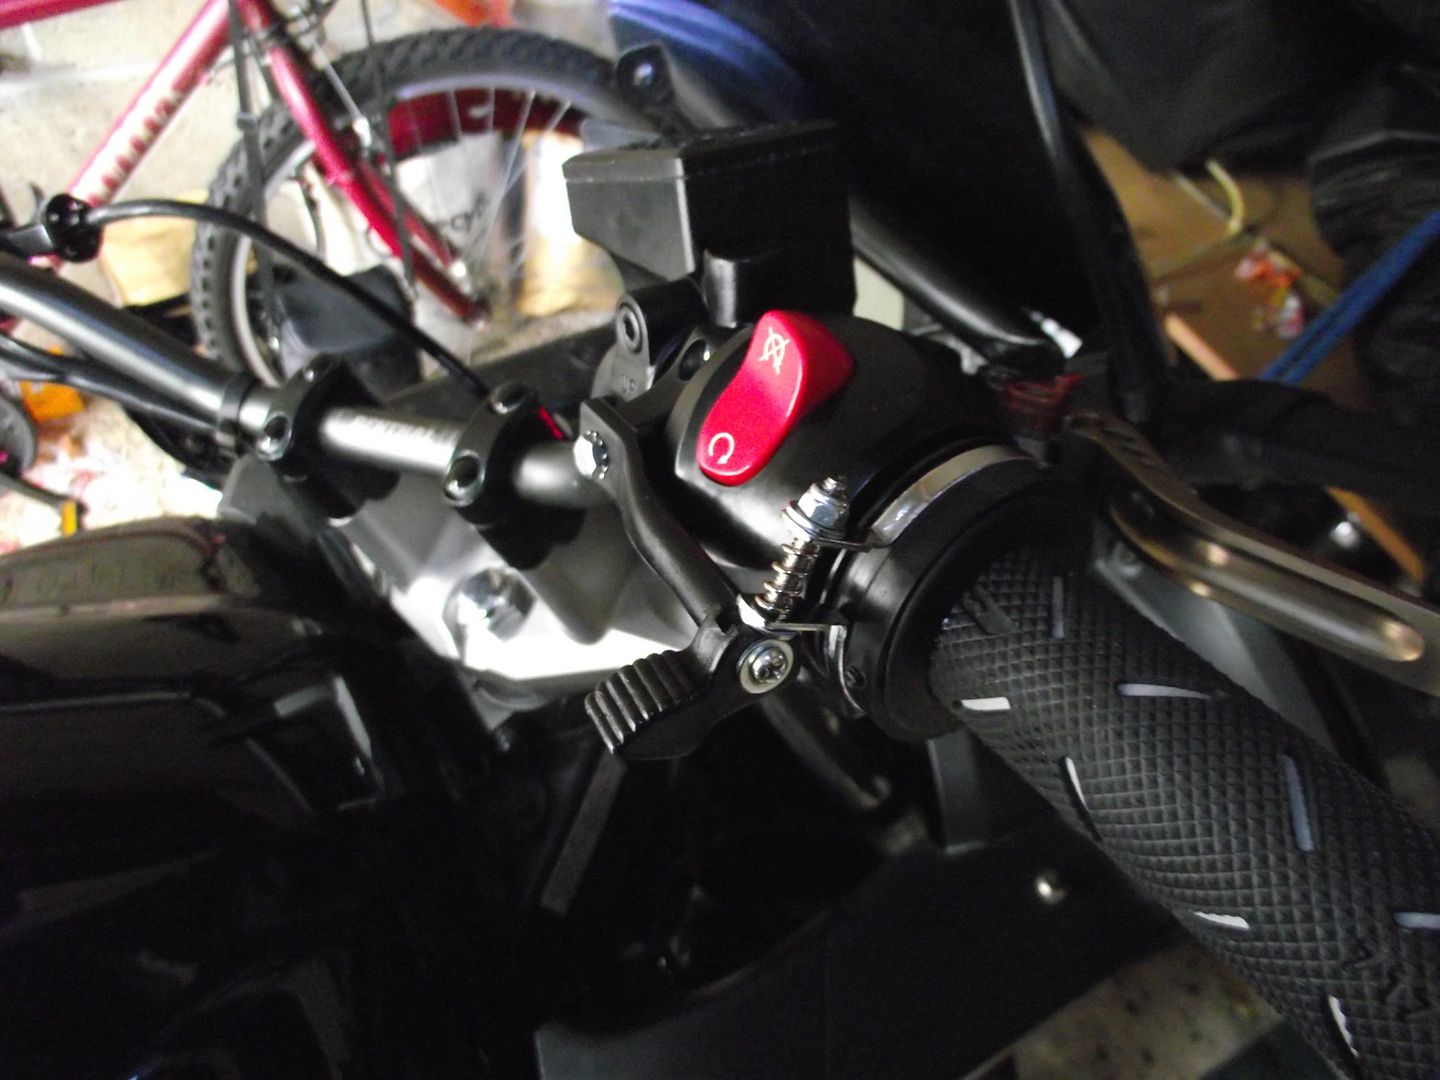
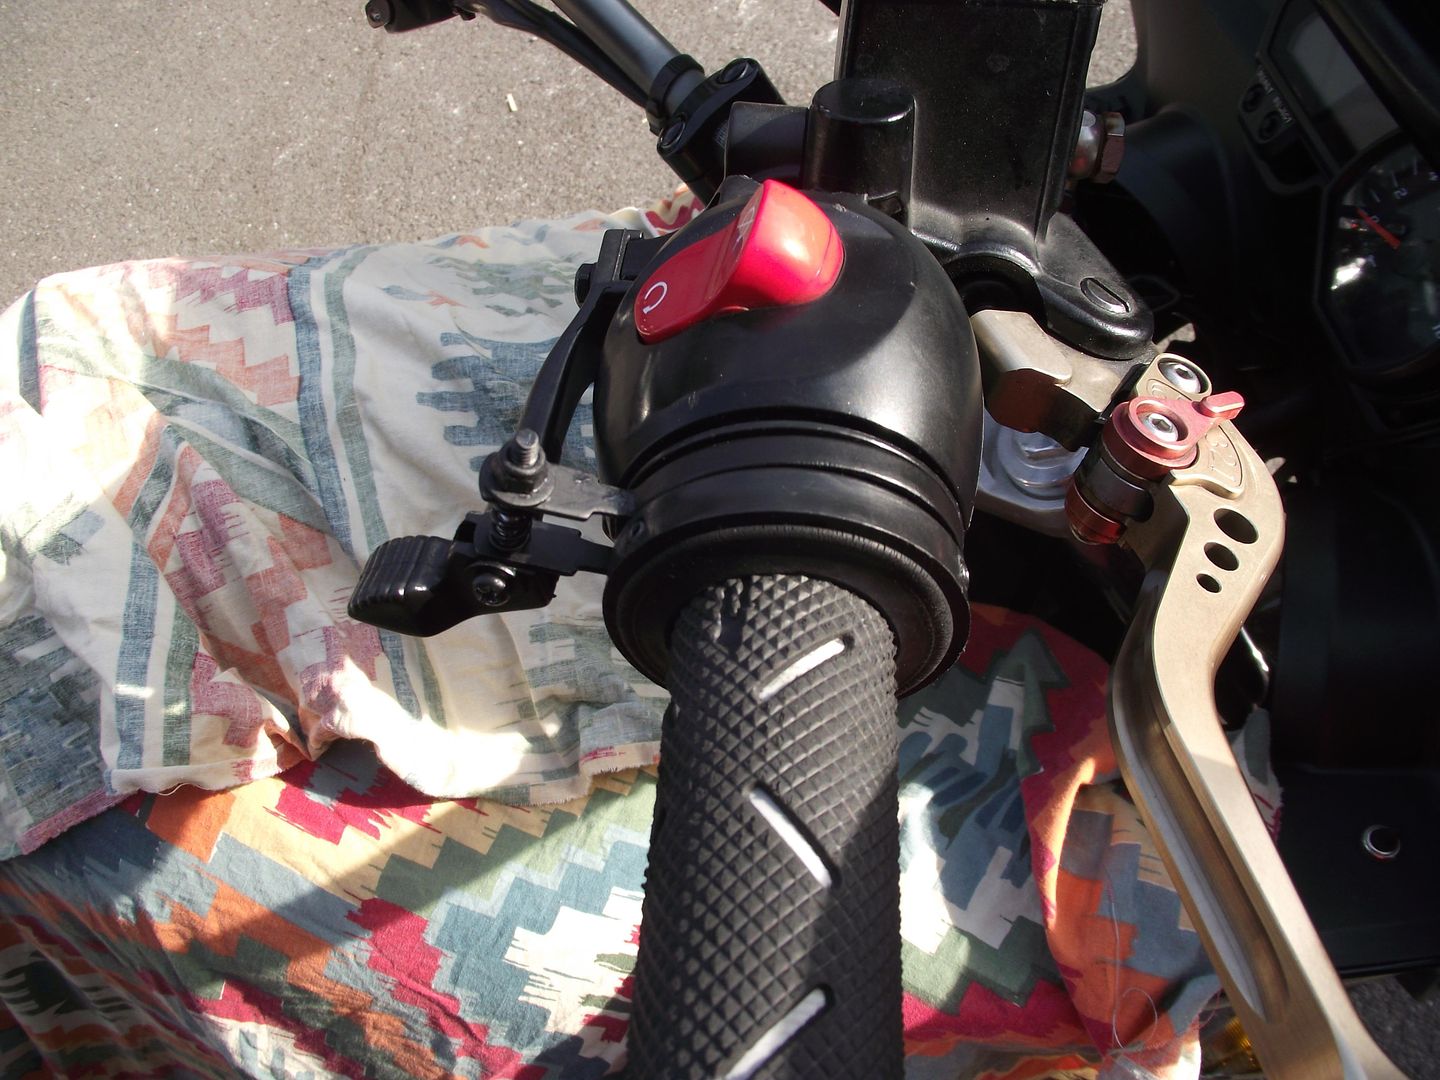
I decided to paint the silver bits to make them stand out less:-

Here you can see it all looking a bit more stealthy:-

Here is a top view:-

Here's a side view:-

And a view from slightly further away:-

The negatives are:-
- It was a bit of a pain to fit and needed tweaking
- My brake lever has to be pushed further away which means it sits at a bit of an angle to the throttle
- It's pretty ugly. Painting it helped, but only a bit
- I lost space on the grip as well so it's not as comfy as it could be
The positives are:-
- Riding is much more comfortable now
- My wrist is much less tired
- I can relax either hand when riding now
- My fuel consumption has improved a lot (I'm staying at the same speed more rather than accelerating & decelerating all the time)
I definitely wouldn't do without a throttle lock. But I think the bar-end options are better. I want to tap my Renthal bars so I can use standard Yamaha bar-ends. Then I will buy some Throttlemeister bar-ends and use them.
Here are all the bits I got with the kit. The instructions were a bit pants, but looking at other ones on the Internet already installed on bikes helped work out which way round to install things:-
Eventually I worked out this is the way to fit the rubber inner into the ring:-

I had to trash the part of my grip that normally has a rubber bit that sits against the throttle friction ring to fit the throttle-lock over it:-
Here is the ring installed on the grip. Later on I used an extra layer of thin rubber between the lock and the grip as it didn't fit well enough:-
Here you can see it loosely installed. I haven't tightened the grub screws to attach it to the grip yet, or joined the part that sits on the bars to the part that attaches to the grip:-
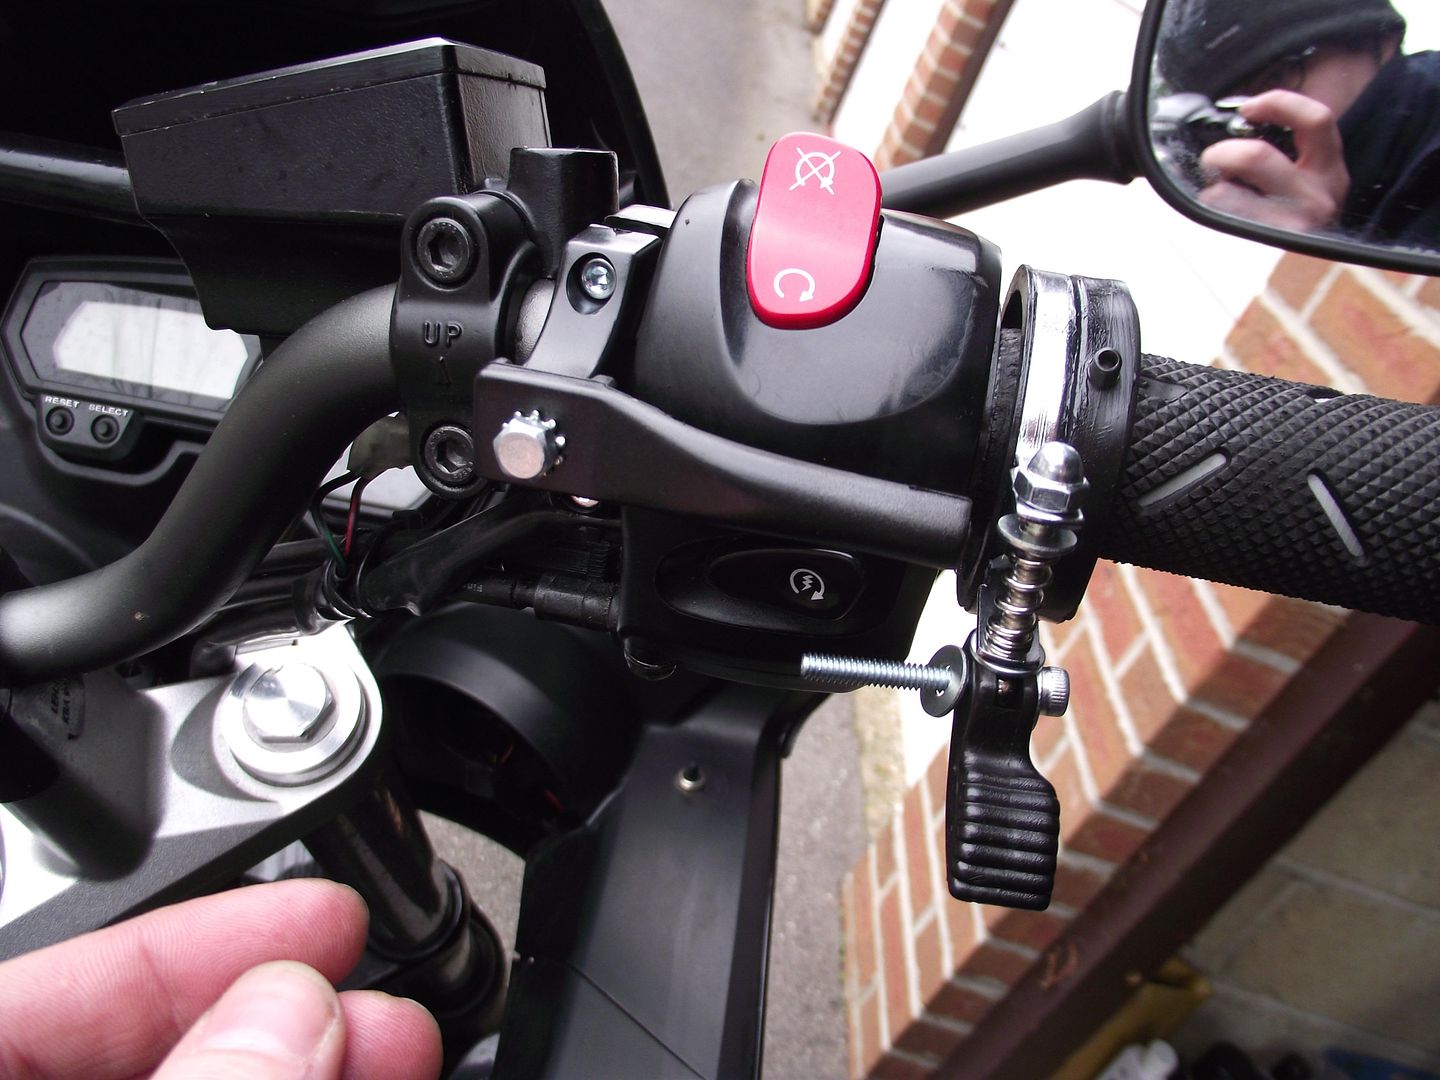
Here is a view from above. I actually ended up filing down the sides of the metal ring to make it thinner as it was catching on the plastic it was supposed to smoothly spin on:-
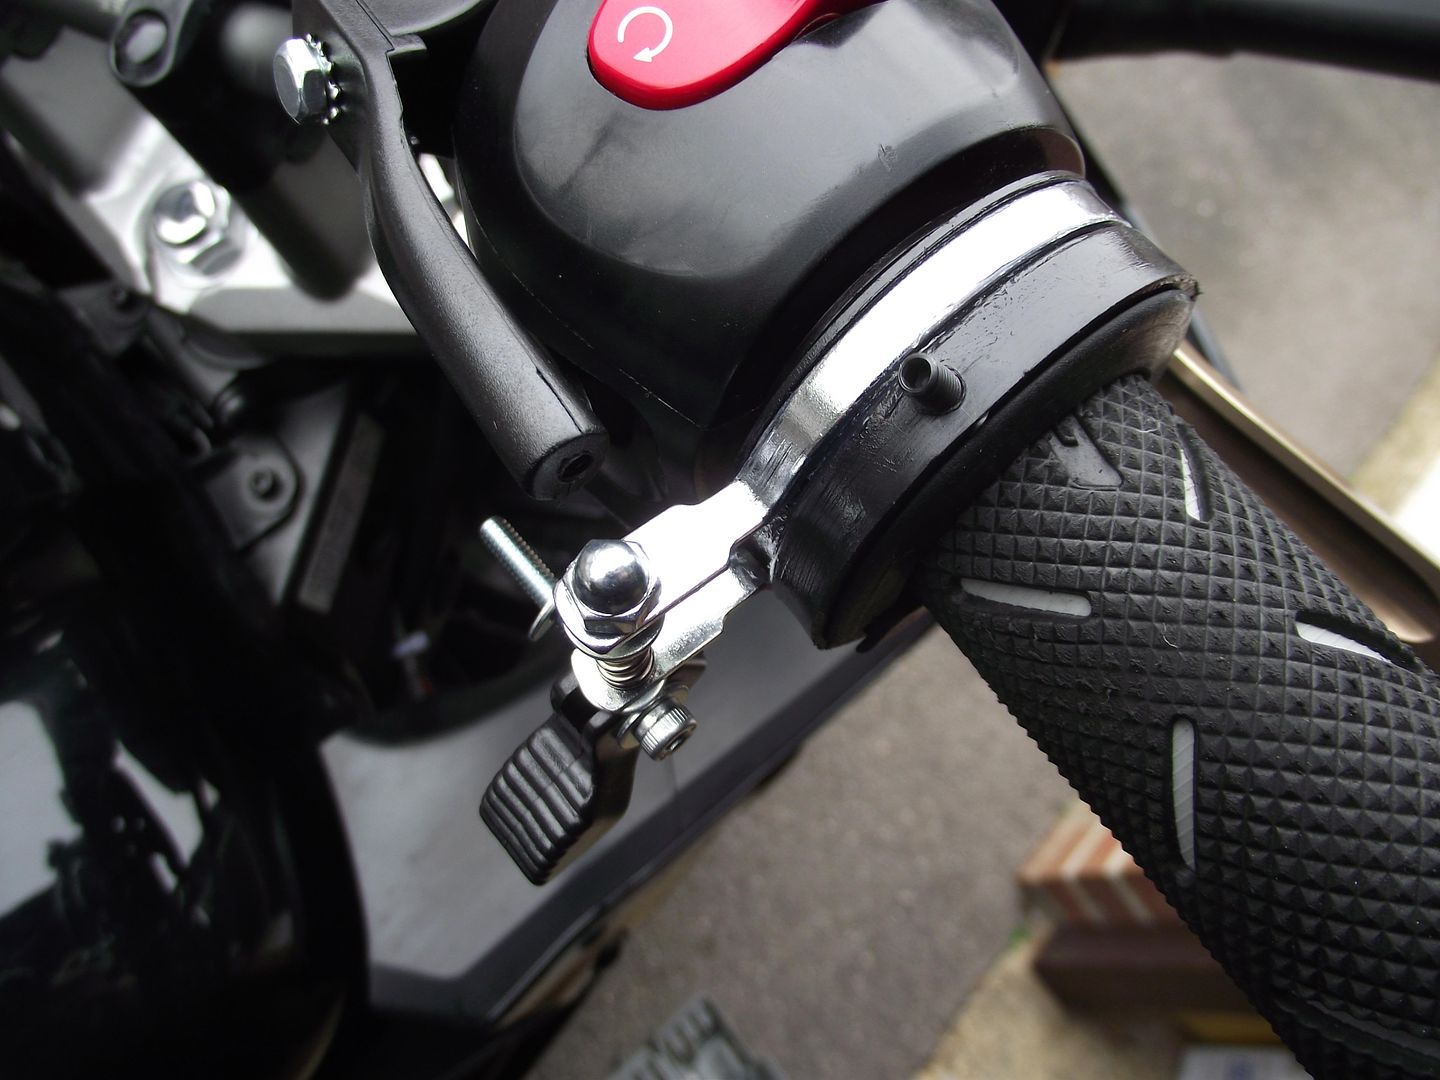
Here you can see it all tightened up after I've filed down the ring. The silver nut that has the star washer underneath it in that picture actually vibrated out a few weeks later and I had to replace it with another that I had to recut the threads for and made it stick using lots of loctite!:-
Here's a side view of it installed:-
Here's a top-down view:-

Here you can see it with the lock engaged to stop the grip from moving:-
I decided to paint the silver bits to make them stand out less:-
Here you can see it all looking a bit more stealthy:-

Here is a top view:-

Here's a side view:-
And a view from slightly further away:-