I woke up early and went for a nice relaxing Fathers Day ride:thumbup:

You are using an out of date browser. It may not display this or other websites correctly.
You should upgrade or use an alternative browser.
You should upgrade or use an alternative browser.
~~~ What did you do to your Bike Today Thread??? ~~~
- Thread starter FinalImpact
- Start date
The fz6 life
Junior Member
I got my 07 fz6 may 27th, it came with a power commander, 2 brothers exhaust, and frame sliders. Since then, I've added red rim highlights(purely aesthetic) , stubby levers (shift and break), flush turn signals(front and rear), integrated turn signal rear led tail light, and starlight 9007 headlights (high and low) until I get the hid projectors!
But officially today I gave it a wash, fuel injection cleaner and changed out all the fuses! Next week I should have a new K&N filter.
But officially today I gave it a wash, fuel injection cleaner and changed out all the fuses! Next week I should have a new K&N filter.
Last edited:
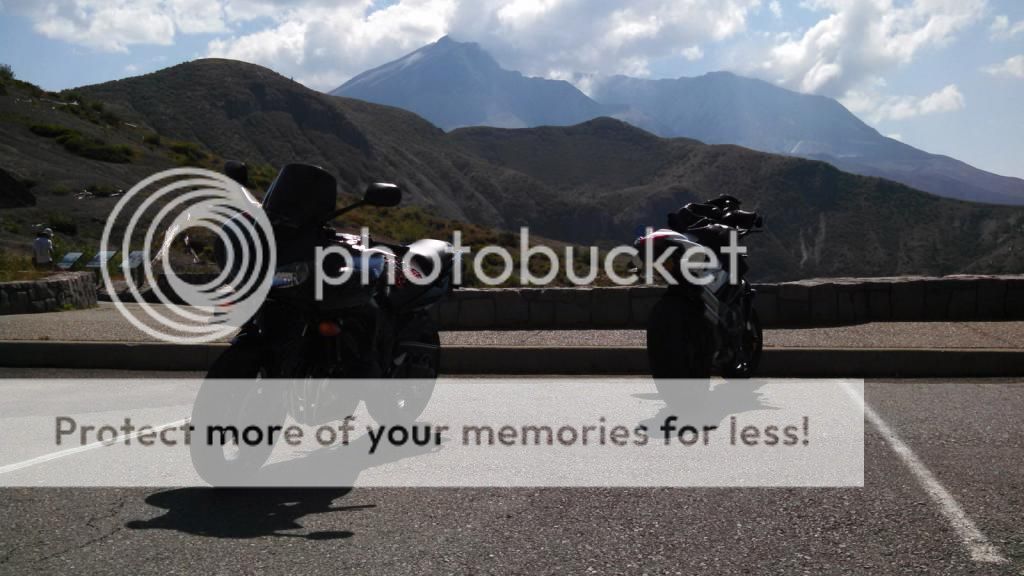
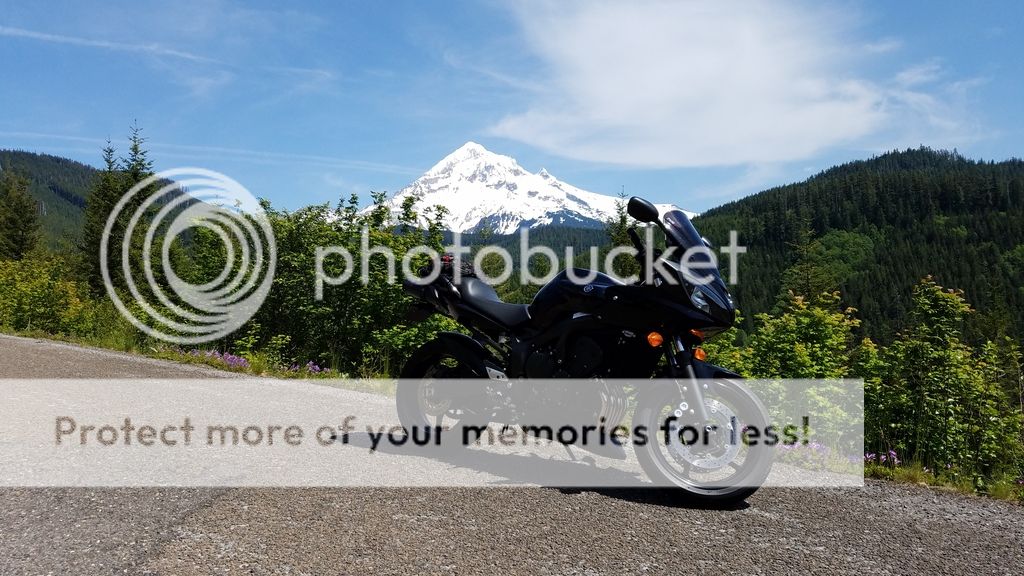
I woke up late and rode on an active Volcano! :thumbup: :thumbup:
http://www.600riders.com/forum/showpost.php?p=594489&postcount=24
http://www.600riders.com/forum/showpost.php?p=594489&postcount=24
FZSexy
Member
today i cleaned my FZ6 :smoking:
edit: well most of it, at least
edit: well most of it, at least
Last edited:
Katmandude
Junior Member
Today, I lengthened the clutch arm and cable bracket by 5/8". Reduced lever pull about 50%. Trying to make it more enticing for my wife to want to ride again.
Since August - 2014
- Advance igition timing
- CAT-delete mid-pipe
- Valve adjustment done!
- S1 header to S2 bike + O2 bung, and another mid-pipe
- Polish replacement headers
- Rear sets mounted solid with aluminum bushings
:thumbup:
- Advance igition timing
- CAT-delete mid-pipe
- Valve adjustment done!
- S1 header to S2 bike + O2 bung, and another mid-pipe
- Polish replacement headers
- Rear sets mounted solid with aluminum bushings
:thumbup:
FIZZER6
The Angry Blue Mantis
Today I disassembled the front forks and preparation to swap seals and oil to 10wt. No better time in the northern hemisphere to do this kind of tear down work than January-February!
This was month ago....
More powder coating goodies. For those with an air compressor to do a little bead blasting, its pretty inexpensive compared to paying someone. My boots have two full seasons against the rear sets and haven't worn through. Pretty tough stuff.


More powder coating goodies. For those with an air compressor to do a little bead blasting, its pretty inexpensive compared to paying someone. My boots have two full seasons against the rear sets and haven't worn through. Pretty tough stuff.
I put a Madstad on the bike today and well...that's it! (There are other repairs and upgrades of more technical significance coming, but not today).
It has restored my interest in riding. Now when I hit the interstate or highway my neck doesn't hurt.
Here's a pic of the old gal. The fuel tank is TownsendFJR's old one!
It has restored my interest in riding. Now when I hit the interstate or highway my neck doesn't hurt.
Here's a pic of the old gal. The fuel tank is TownsendFJR's old one!
payneib
Member
Changed the brake fluid, put a little spot of bling on:

IAMJUSTIFYD
Junior Member
New adjustable levers put on, lubed clutch cable and new brake fluid front and back.
sheltiedave
Junior Member
Took off the swing arm to regrease the bearings and give a general tidy up .With the chain off and a good look at the sprockets have reviled they arn't in such a good condition I first thought.
I think its the original chain and sprockets still on the bike with nearly 31,000 miles on them , probably could eek out a few more miles but since the bike is apart might as well fit new chain and sprockes now.
I think its the original chain and sprockets still on the bike with nearly 31,000 miles on them , probably could eek out a few more miles but since the bike is apart might as well fit new chain and sprockes now.
Yesterday I repaired broken turn signal mounts. Thought I'd post some pics and a brief description for others with this problem.
The PO's wife dropped the bike on both sides in the drive way, resulting in the lower turn signal mount being broken on both sides. I decided to construct a mount out of steel reinforced epoxy putty, this stuff from JB weld.

It's probably overkill for this application; Any other sufficiently sturdy putty will work.
Here's a picture of the broken mount. The PO apparently made an attempt at re attaching the broken mount using two different kinds of putty. The job was pretty slap dash (probably he did not remove the fairing first) so step 1 was removing that crap with a drill.

With everything cleaned off:

Step 2 was to building up a "mount" using the putty. Not much technique here. I screwed the turn signal into the top mount then put the thin piece of plastic the putty came wrapped in underneath the signal. I then built up the putty until it touched the underside of the turn signal, and let it set. The stuff gets kind of warm to the touch when it sets.

Ain't it beautiful? Girl friend says it looks like a giant booger. Step 3 I painted it black just to be safe. Step 4, drill a new hole and screw in a self-tapping screw. Job done.

The only thing to be careful of here is not making the putty too thin where the screw hole is going to go. Obvious I know, but I made that mistake on the other side and when putting the screw in the putty cracked and fell apart. The wall was just too thin, so I will have to re-do that side. That stupidity aside, the plan seems to be working (so far) and feels like a better repair than using a zip tie.
The PO's wife dropped the bike on both sides in the drive way, resulting in the lower turn signal mount being broken on both sides. I decided to construct a mount out of steel reinforced epoxy putty, this stuff from JB weld.
It's probably overkill for this application; Any other sufficiently sturdy putty will work.
Here's a picture of the broken mount. The PO apparently made an attempt at re attaching the broken mount using two different kinds of putty. The job was pretty slap dash (probably he did not remove the fairing first) so step 1 was removing that crap with a drill.
With everything cleaned off:
Step 2 was to building up a "mount" using the putty. Not much technique here. I screwed the turn signal into the top mount then put the thin piece of plastic the putty came wrapped in underneath the signal. I then built up the putty until it touched the underside of the turn signal, and let it set. The stuff gets kind of warm to the touch when it sets.
Ain't it beautiful? Girl friend says it looks like a giant booger. Step 3 I painted it black just to be safe. Step 4, drill a new hole and screw in a self-tapping screw. Job done.
The only thing to be careful of here is not making the putty too thin where the screw hole is going to go. Obvious I know, but I made that mistake on the other side and when putting the screw in the putty cracked and fell apart. The wall was just too thin, so I will have to re-do that side. That stupidity aside, the plan seems to be working (so far) and feels like a better repair than using a zip tie.
RoadGator
New Member
Fabricated new exhaust and installed. Put in new battery that was a little bigger and better than what normally goes in, designed naked front end and started making custom brackets. Put in New read LED tail light with Flasher relay(when braking it flashes for a second or 2) and integrated turn signal. Started making a fender eliminator( made a prototype). This was done this week up to today.
- Joined
- Oct 18, 2008
- Messages
- 2,601
- Reaction score
- 104
- Points
- 63
- Location
- Edenvale, South Africa (GMT +2)
I dropped it in the driveway and broke the right footpeg, bent the brake pedal, luckily not much else. Killed the plans for the day though.
raja777m
Ride like you own it..!
Did some monkey stuff with black reflective tape


raja777m
Ride like you own it..!
Did some cleaning:

Found out there is one LED strip that had a disconnection, right above the chain, but there is lot of tape holding it, it won't fall on the chain while riding though. Anyway, need to replace the LED strip tomorrow evening..!

Mother's mag, I learned, if the headers are hot, it is easy to clean with MM. Definitely less elbow grease, but should be careful not to burn your skin..!

Found out there is one LED strip that had a disconnection, right above the chain, but there is lot of tape holding it, it won't fall on the chain while riding though. Anyway, need to replace the LED strip tomorrow evening..!
Mother's mag, I learned, if the headers are hot, it is easy to clean with MM. Definitely less elbow grease, but should be careful not to burn your skin..!
Not today, but a couple of weekends ago :
- upgraded the stock forks on my 05 with R6 ones after
- installing new seals on the new twin pot calipers
- installing new dust caps on the forks
- Flushing the oil fork oil and replacing it with Maxima 5 WT oil
- lowered the R6 forks by 6mm to match the earlier setting I had on the not-so-stock forks, no other adjustment done.
- changed the oil/filter to blood red Motul 7100/Purolator (the rumors seems true, slicker gear changes and cooler running engine)
- adjusted chain slack
- cleaned and lubricated the chain
- adjusted tire pressure
-Fz1 handlebar replaced the Fz6R to complement the R6 swap. Sporty it is!!
It is a little over 20K miles on the bike now, might need a valve clearance check, and air filter replacement. Will get to it in sometime.
Last edited:
More Black! :rockon: :rockon: :rockon:
Then a nice ride into the woods!
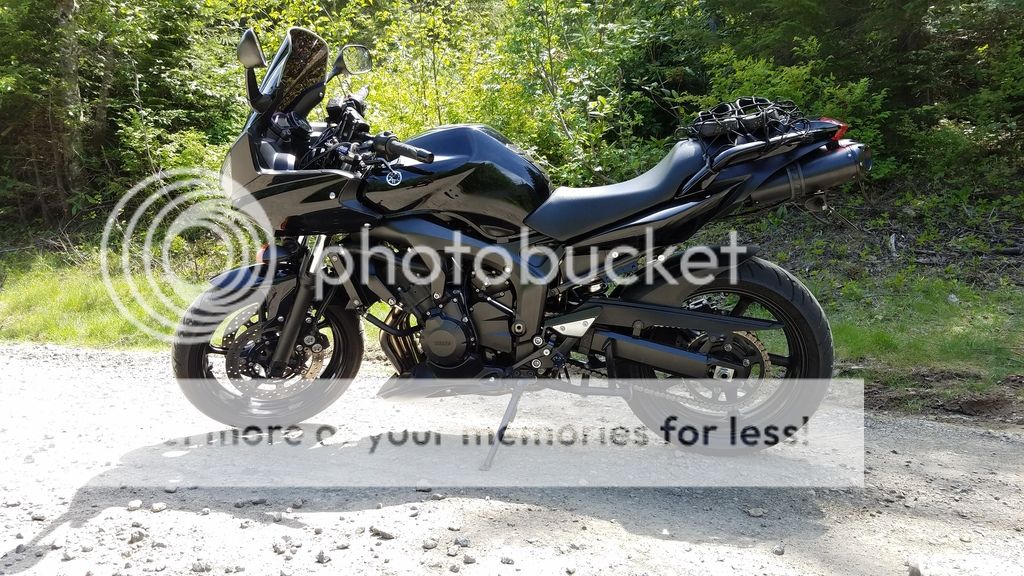
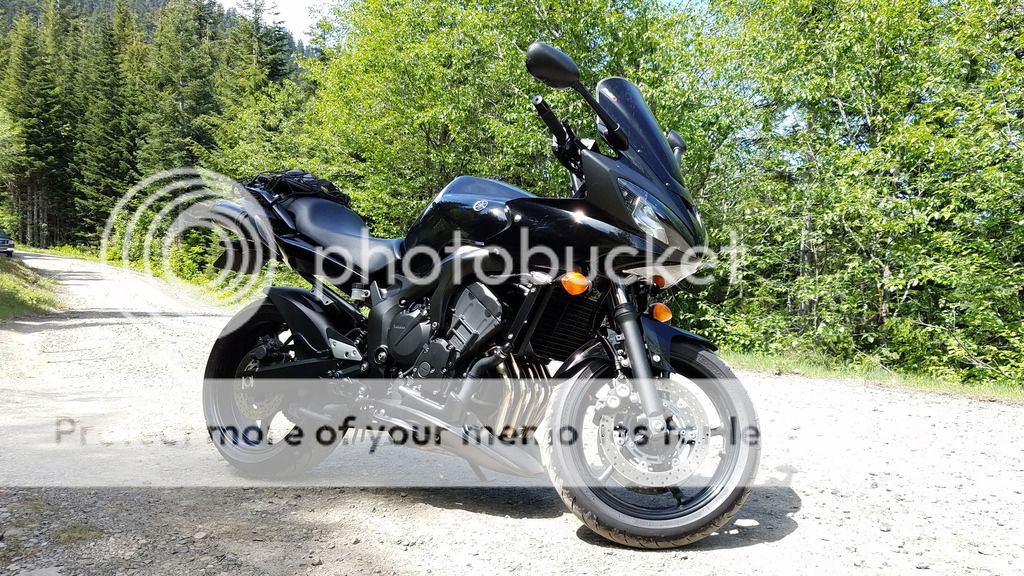
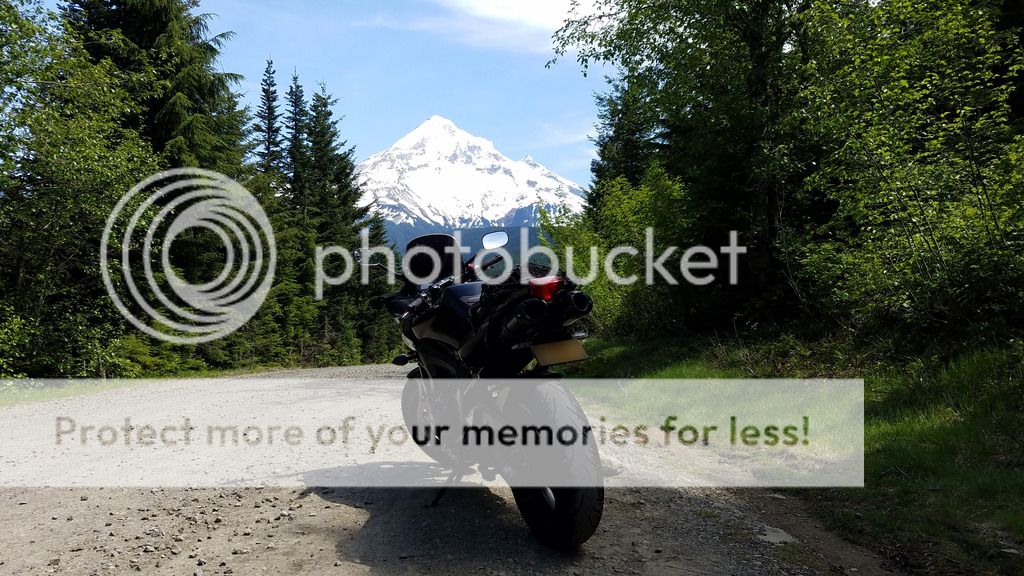
Then a nice ride into the woods!
- Joined
- Feb 7, 2009
- Messages
- 12,531
- Reaction score
- 1,176
- Points
- 113
- Location
- Cape Coral, Florida, USA
Dropped off bar ends/weights for new powder-coat yesterday!
Should be done today!
Should be done today!
Similar threads
- Replies
- 155
- Views
- 12K
- Replies
- 198
- Views
- 15K
- Replies
- 24
- Views
- 3K