Continued from page 1
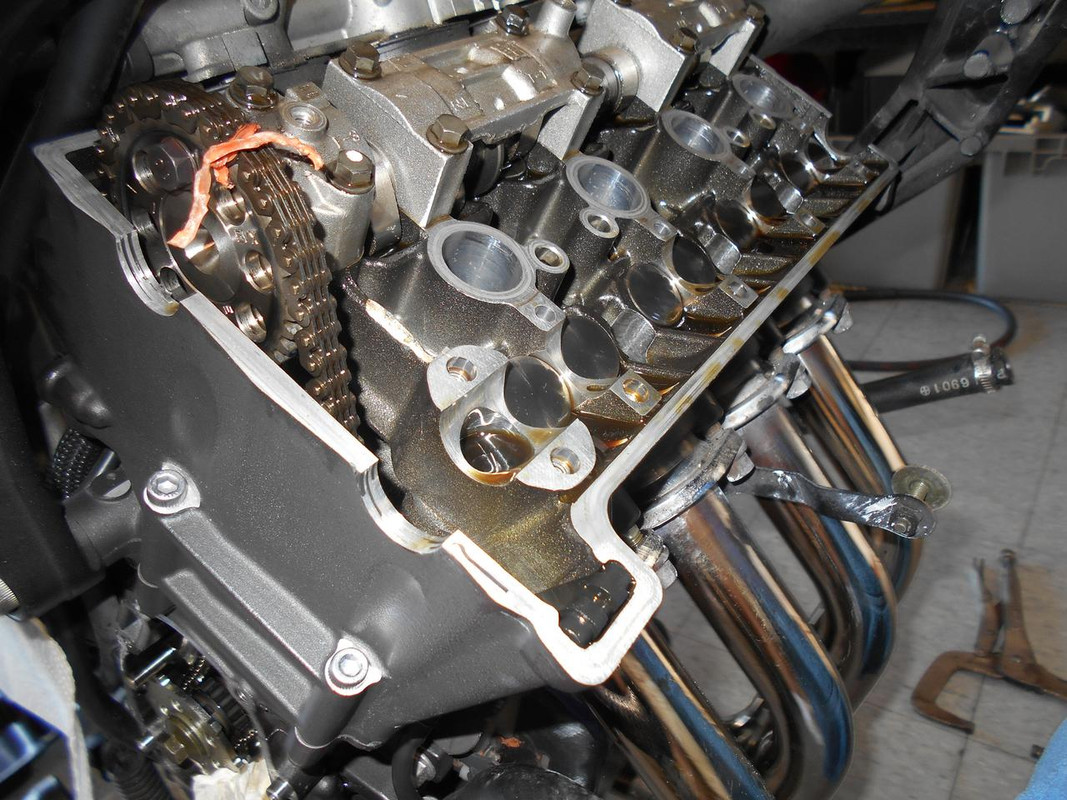
You can now remove the cam sprockets. Place a wire through the cam chain to prevent it from falling into the motor. I imagine it would be a PITA to fish it back out! The service manual also instructs to remove the exhaust side timing chain guide (it is removed in the pic below). I did, but it isn't entirely mandatory. If you decide to, it just lifts out of the slot.
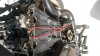
One you're at this point you can move onto removing the cam shaft caps and cam shafts. There are 10 bolts per cam shaft cap.
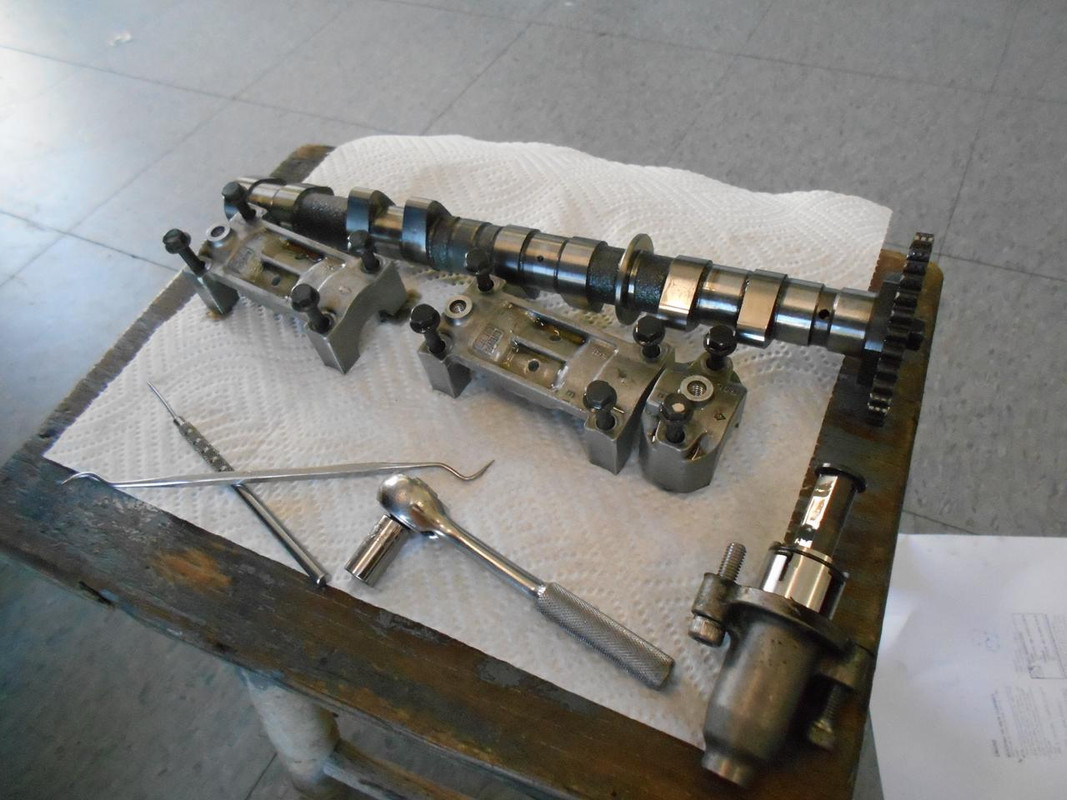
Loosen these gradually in a criss-cross pattern from the outside working in. Same applies when tightening during reassembly. You can remove 1 cam shaft at a time if you desire. If only exhaust needs adjustment (as in my case) then you don't even need to remove the intake cam and vise-versa! Remember to place everything in a manor which you still remember how it goes during reassembly. The cam shaft caps are labeled E1, E2, I1, and I2 and have arrows pointing toward the right of the motor just in case you get them mixed up and forget to take pictures :spank:.
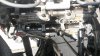
Once these 10 bolts are removed everything will lift out of place. The cam shaft caps have dowels in them too so don't let them fall out or get lost. Mine stayed snug and I didn't get a picture of them..you'll see them.
Here's both cam shafts removed.
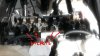
The shims are under the buckets (which are labeled in the pic above). The buckets will lift straight up. I had to use 2 flat head screw drivers in a chop stick fashion to lift the bucket enough to grab it with my fingers. If you do this be gentle not to damage the buckets with the screw driver. All of my shims stayed in the buckets, but still be cautious not to drop any into the motor.
DO NOT MIX UP BUCKETS OR SHIMS. Make sure you keep each bucket in order so they are reassembled to the same valve they came from! Same goes for shims; record which size shim came from which valve!
Buckets sitting in order of which they were removed. 1-4 top to bottom with shims still in buckets until their values are recorded.
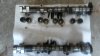
Bucket on vs bucket removed. Notice the recession which the shim sits inside.
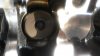
All buckets removed from exhaust side:

Here you can see the underside of the bucket with the shim in it. The underside of the bucket has a raised circle which sits on the shim. This shim is a 178 which is 1.78mm. You'll only be able to get shims in increments of 5. The factory installed the odd ones. All the numbers on my shims were legible, but a micrometer or calipers come in handy if the numbers are worn out. Also, our shims are 7.48mm diameter. You'll need to know this when buying new shims.
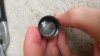
This one's 180 or 1.8mm
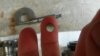
Now if you took your clearance measurements in US customary units it is easier to convert into metric when determining what size shim you need.
for the sake of keeping this thread uniform all my measurements will be displayed in metric
Exh spec. 0.23-0.3mm
Int spec. 0.13-0.2mm
I am not posting my intake measurements since they were all in spec. The process is the same so you'll get the example through my exhaust adjustments.
My exh measured: 1a-0.55 1b-0.66 2a-0.68 2b-0.66 3a-0.6 3b-0.71 4a-0.68 4b-0.55
All way too loose!
Now go to the valve shim chart and find what size you will need. Yamaha did the math for you and came up with this chart. Make sure you are looking at the correct chart; there is one for intake and one for exhaust.
Chart removed due to being copyright material. See formula below on calculating new shim sizes. Or try a google search for "fz6 valve shim chart" or something along those lines?
Now I know you'll say, "but what about the shims put in by the factory that aren't in increments of 5?". Well now you can bust out the calculator.
X=measured clearance, Y=desired clearance, Z=shim in bike (in mm), S=needed shim size.
X-Y+Z=S
Example. My measured clearance for cyl. 1 valve a is 0.55mm. Desired clearance is 0.28mm. The shim installed was 1.78mm.
0.55mm-0.28mm+1.78mm=2.05mm that tells me I need a 205 shim (2.05mm in thickness)
Now since you can only buy shims in increments of 5 you will have to change variable 'Y' in the above formula until 'S' is an increment of 5. Make sure you keep 'Y' within the range of 0.23-0.3mm for exhaust and 0.13-0.2mm for intake.
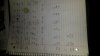
Here is a pic of my chart with measurements/conversions etc as a reference. (May be confusing to you especially since there are metric and imperial measurements written down, but make sense to me.. You get the point)
 Continued in next post