visions
THAT guy
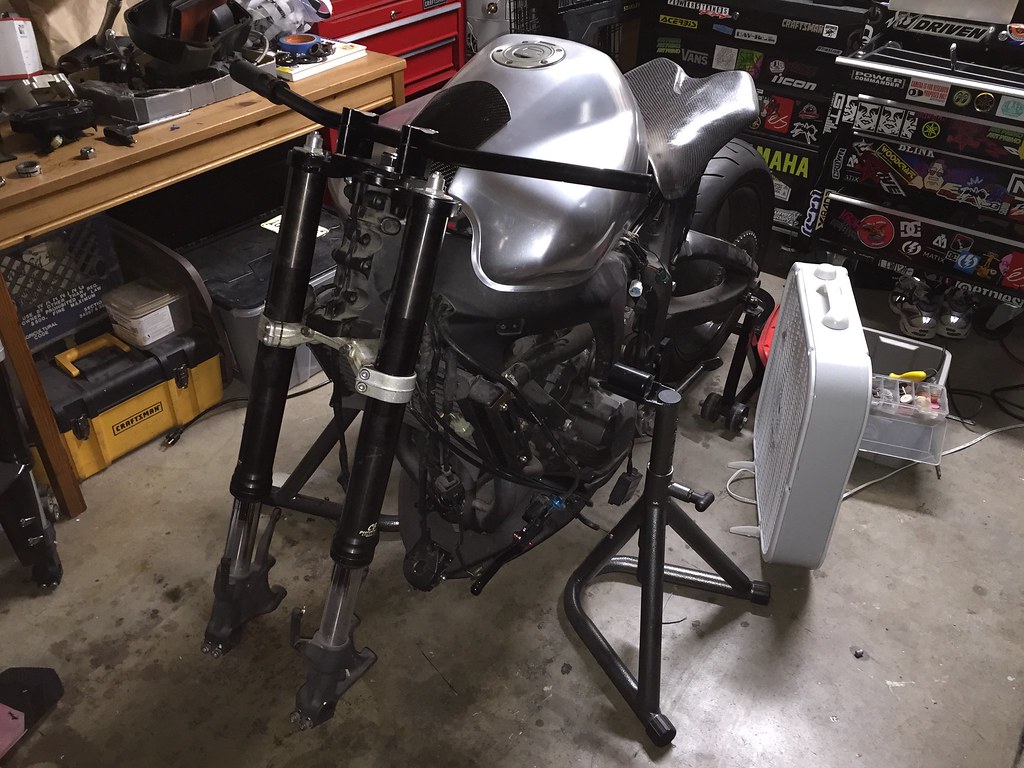
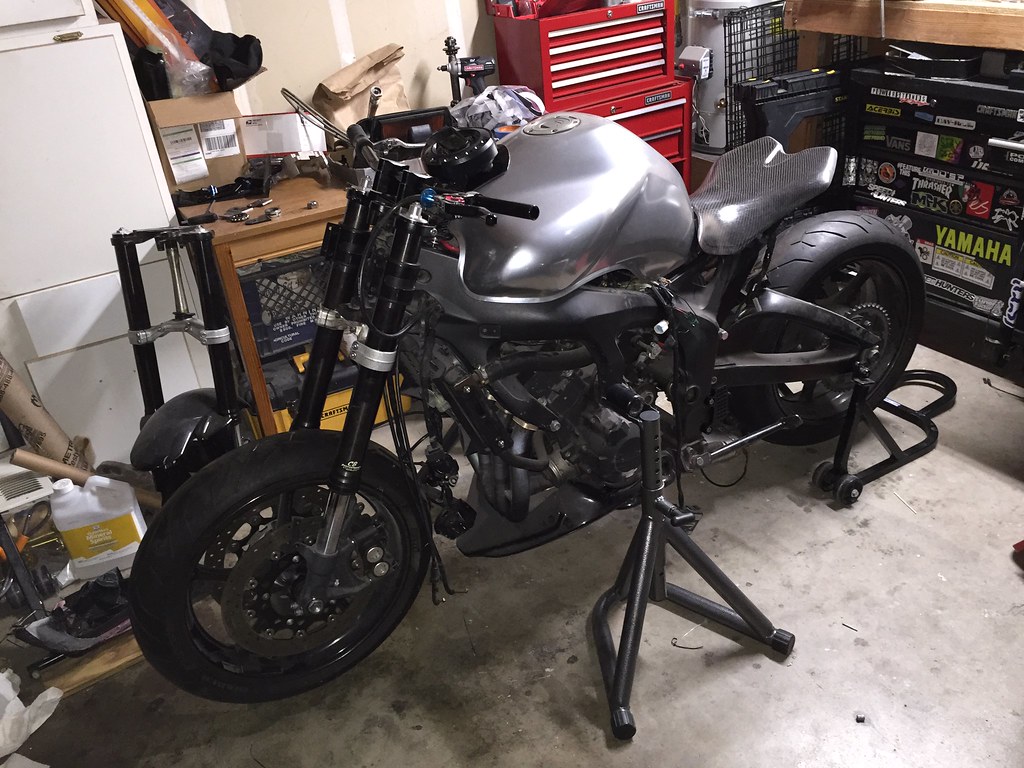
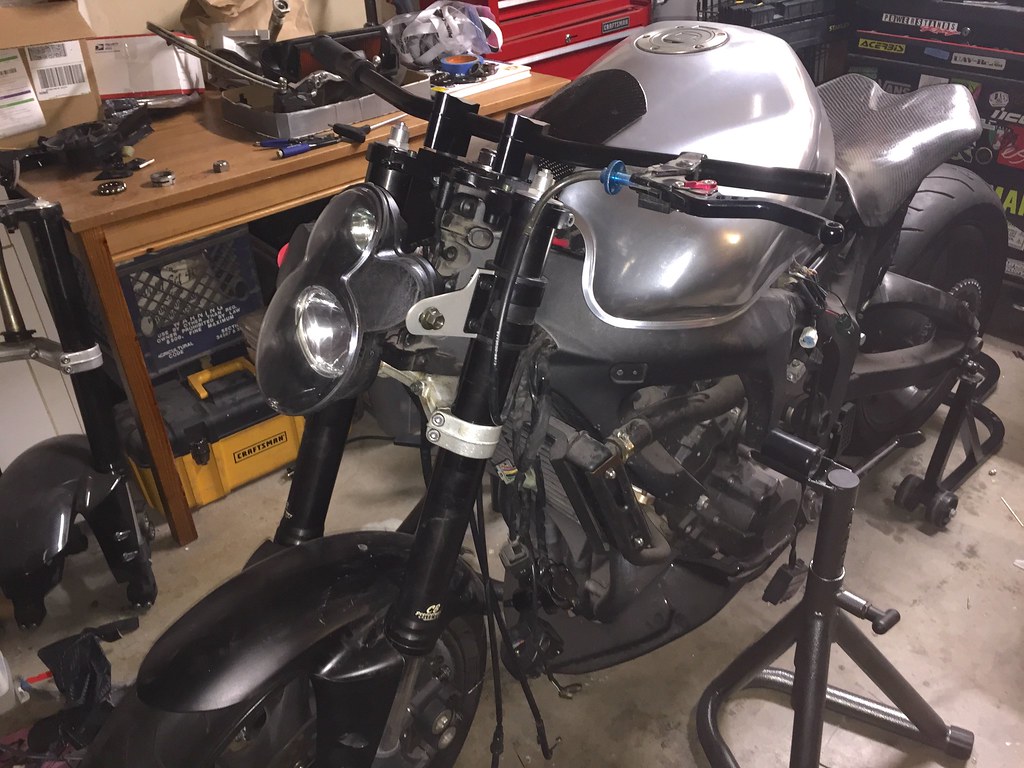
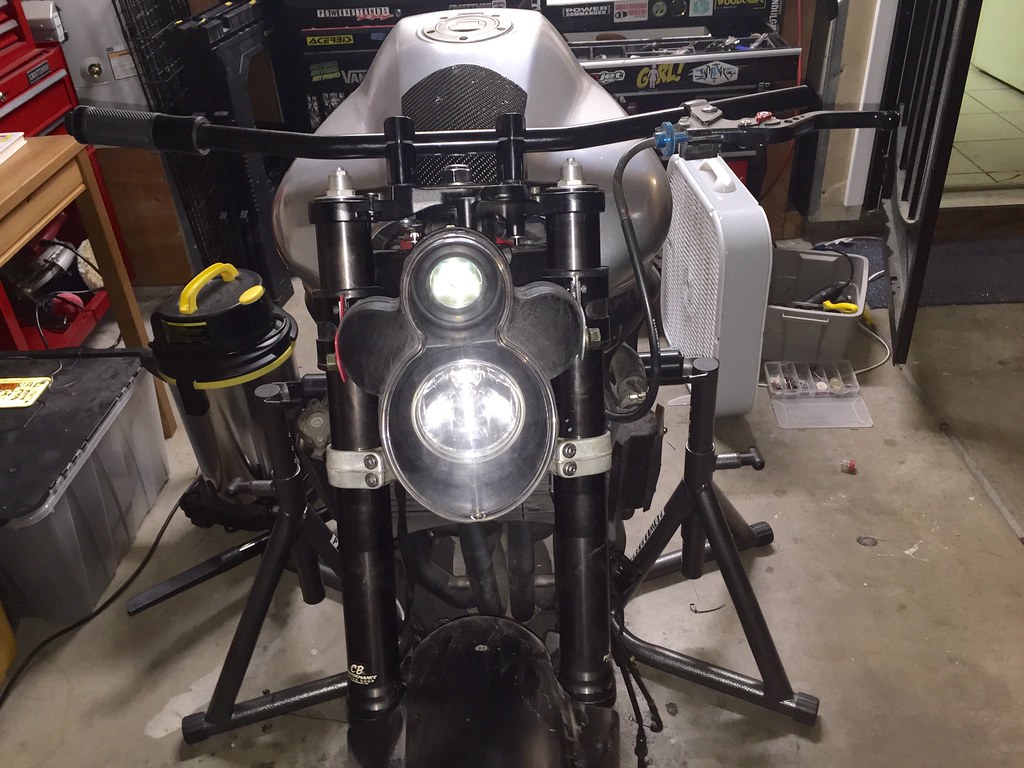
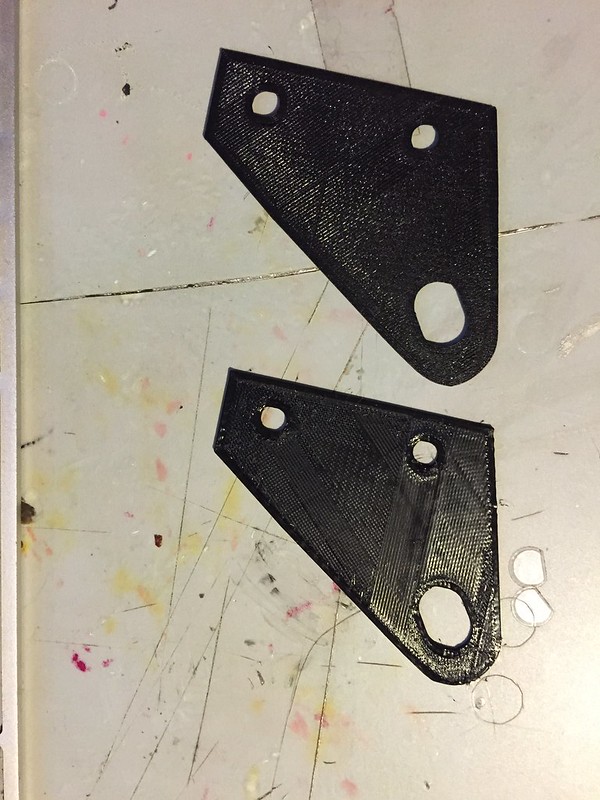
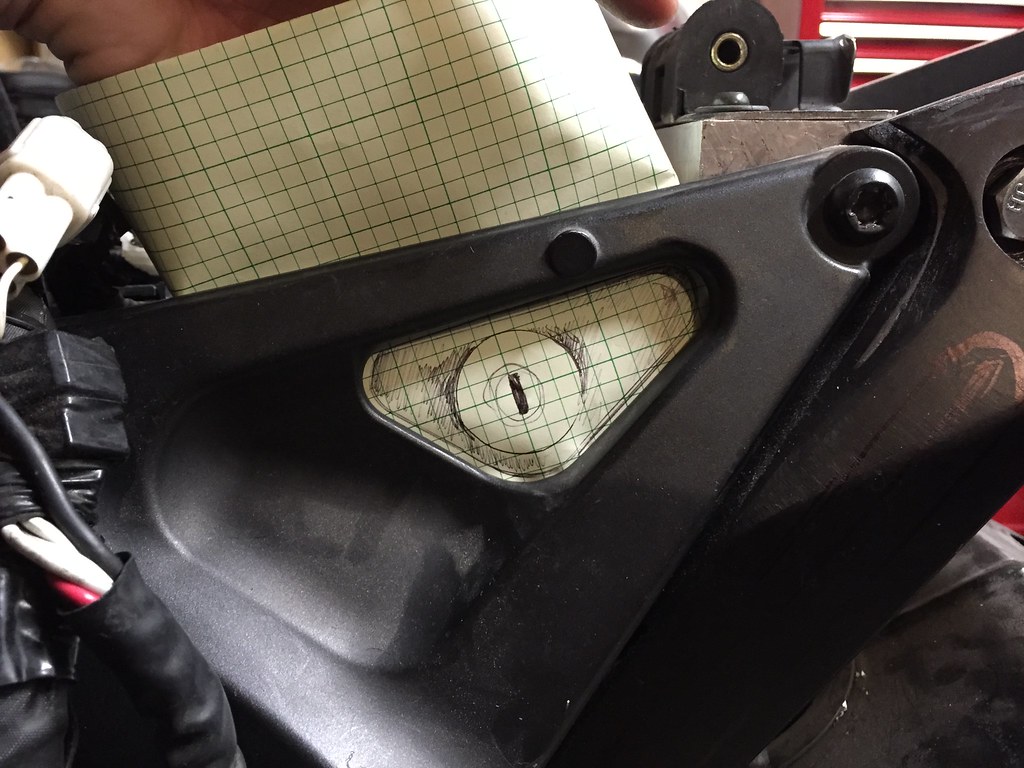
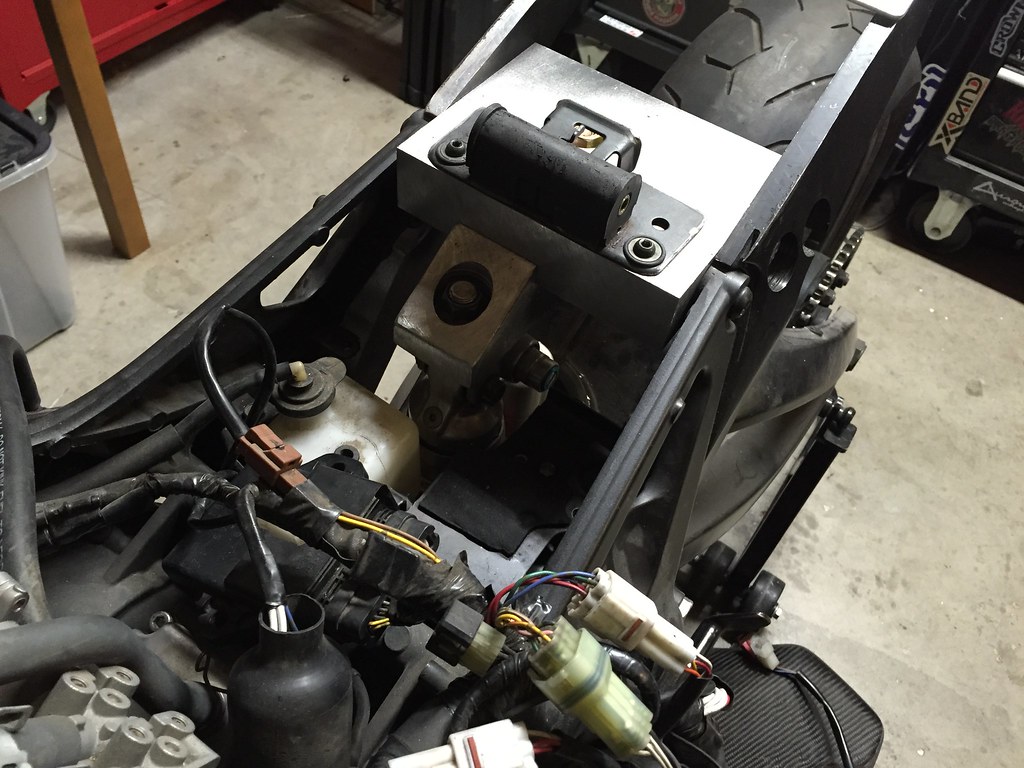
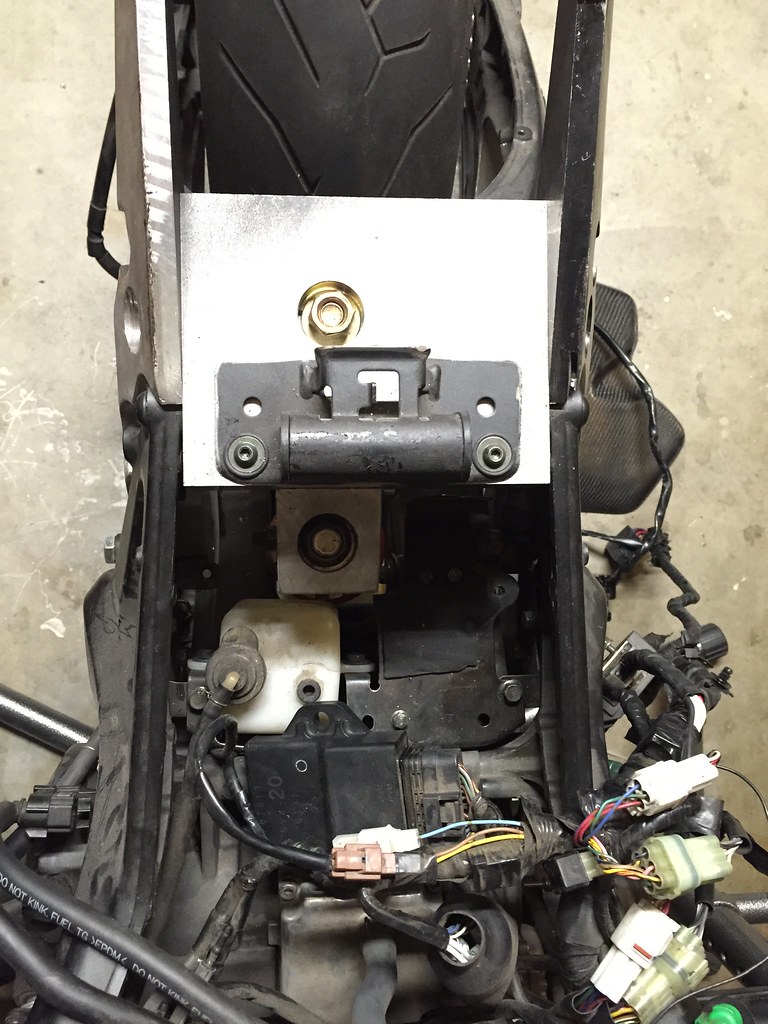
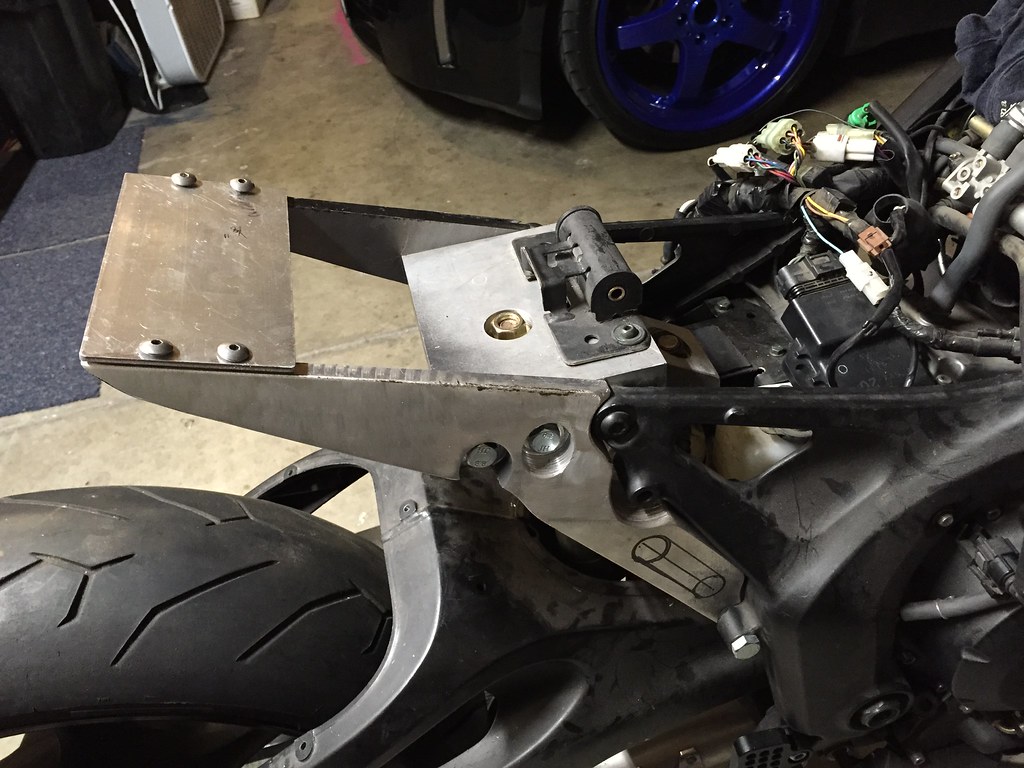
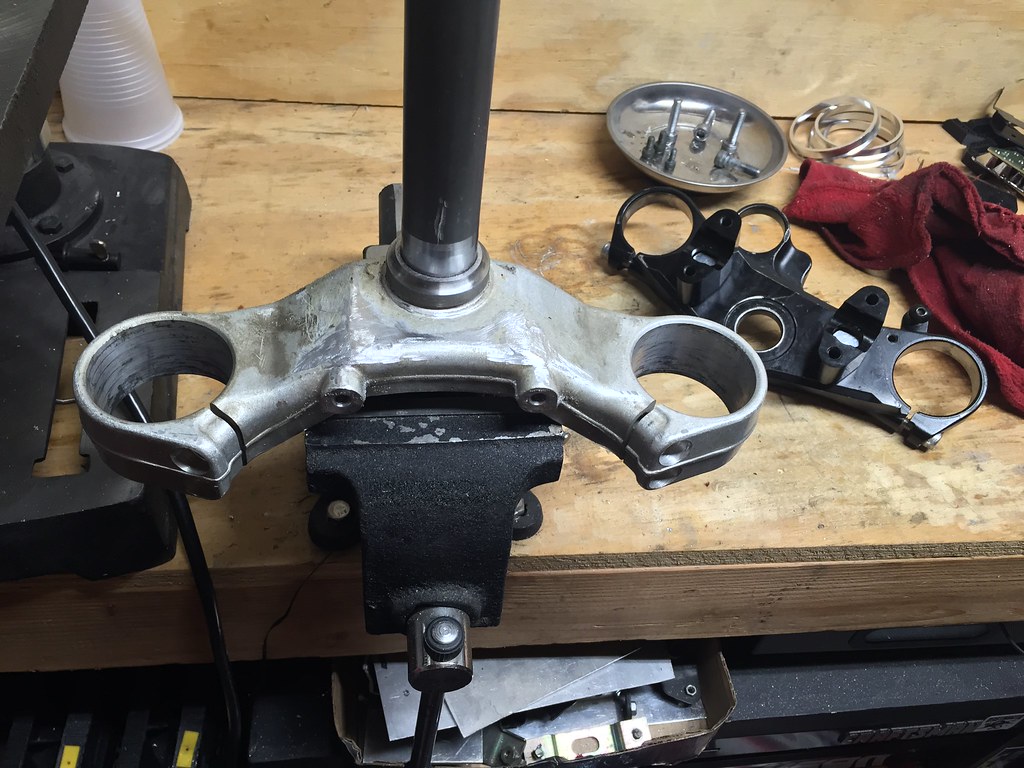
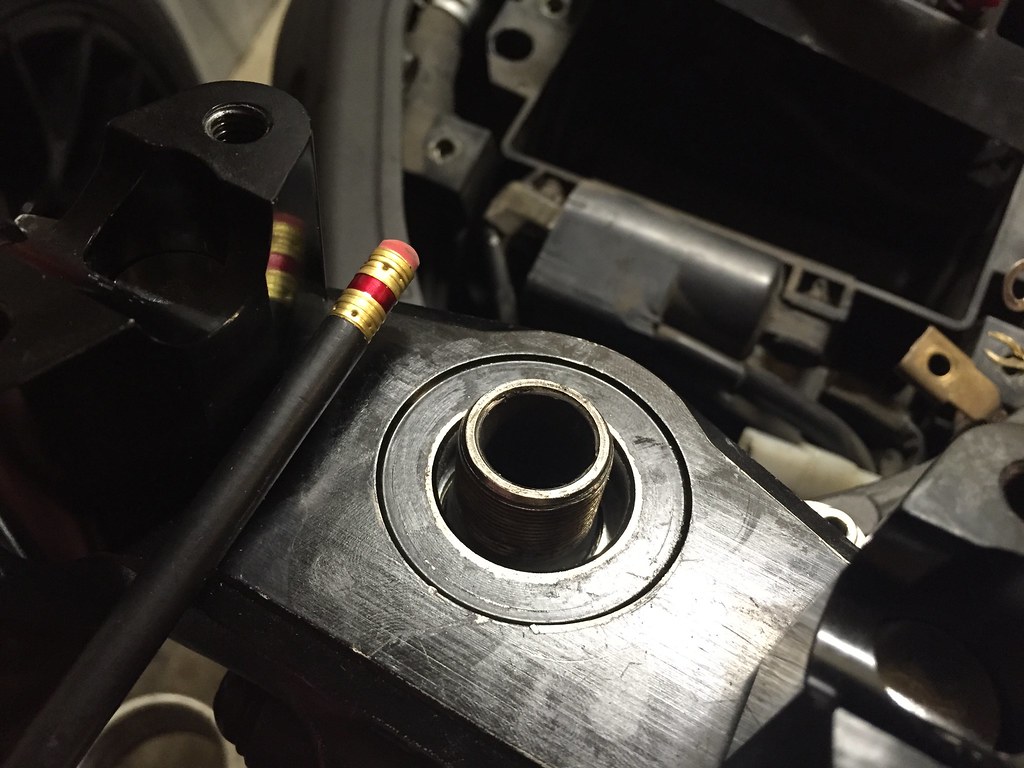
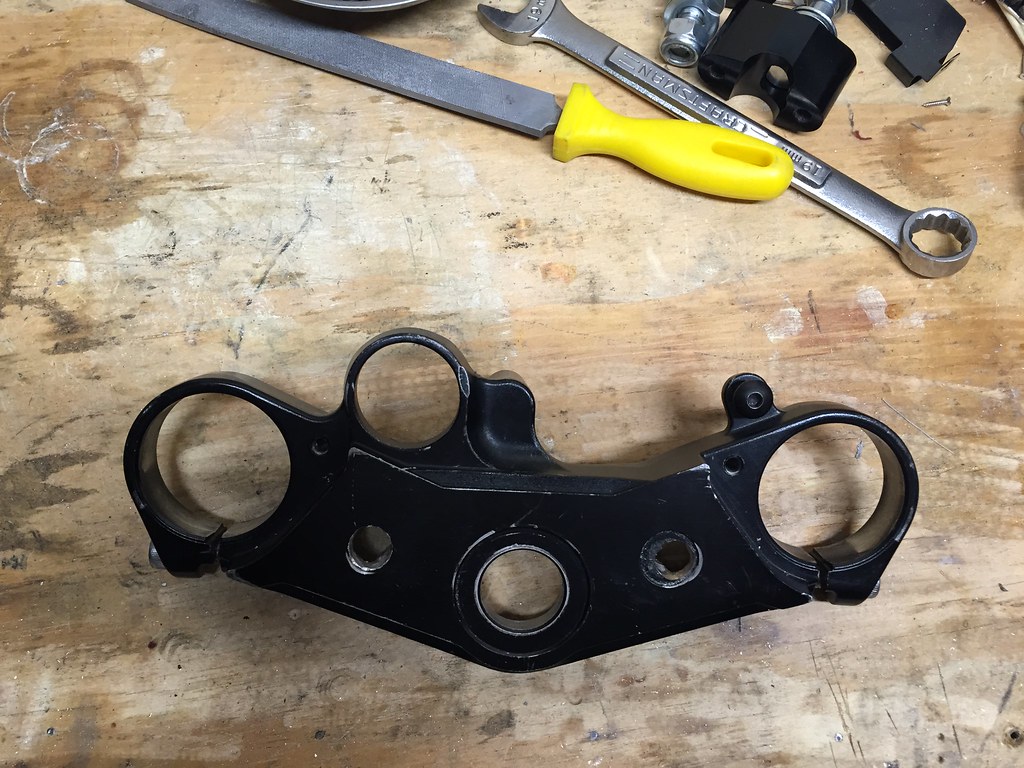
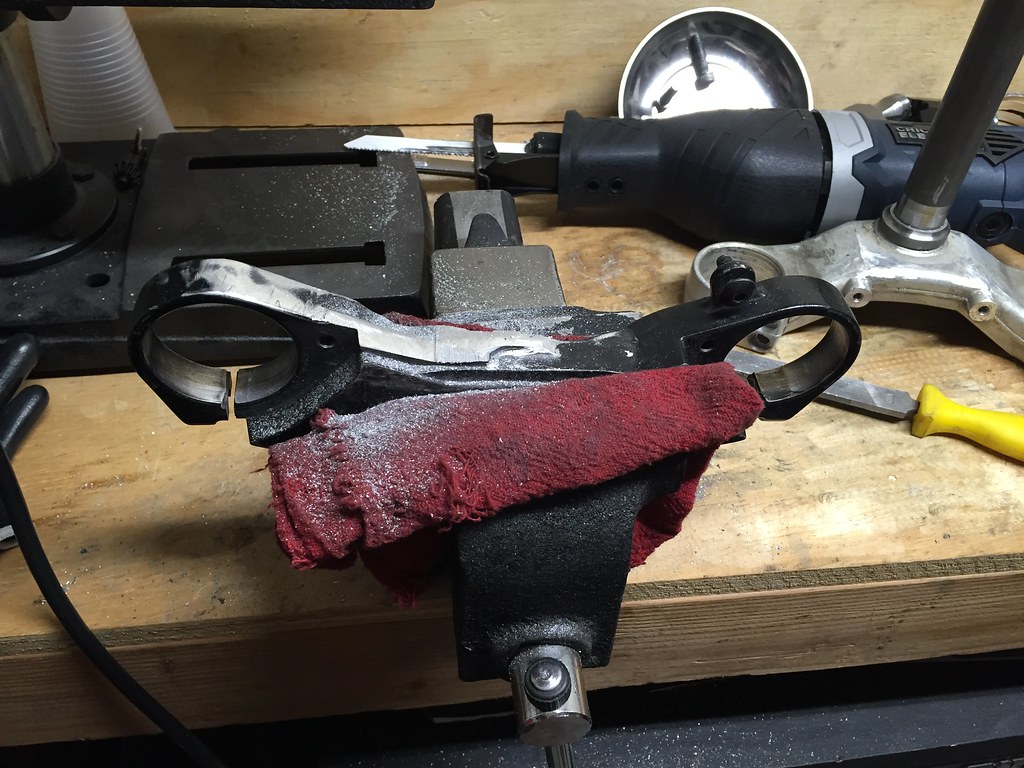
test fitting

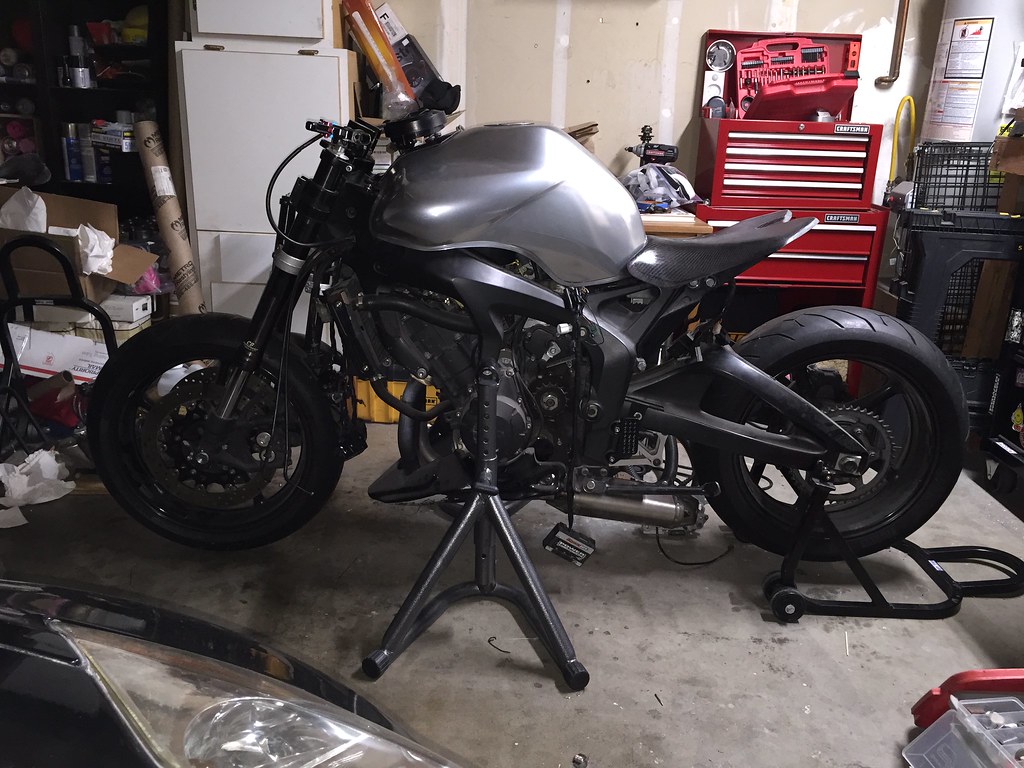
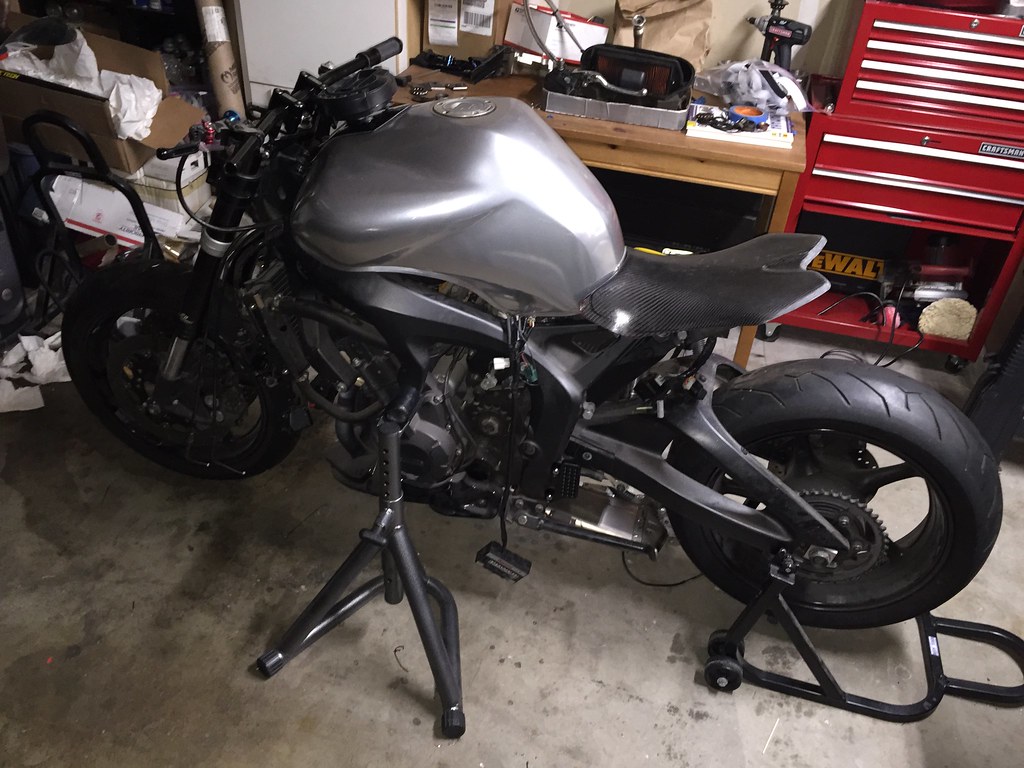
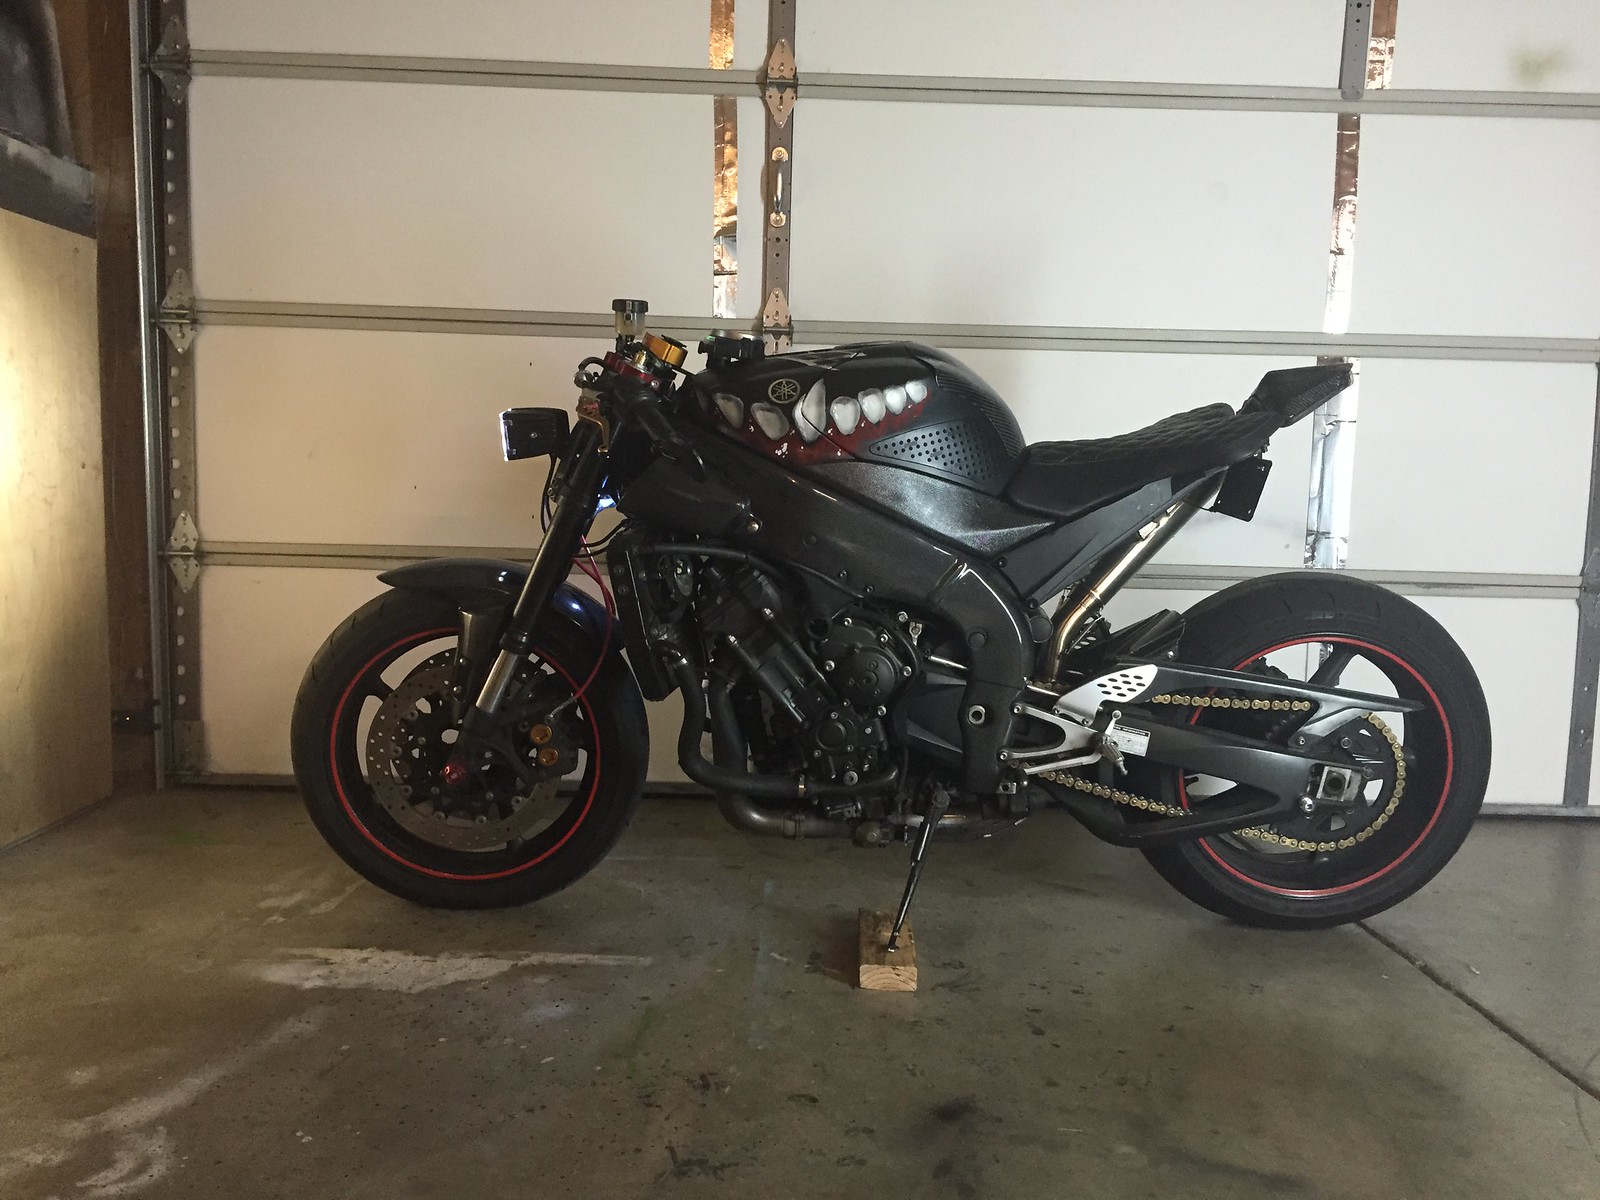
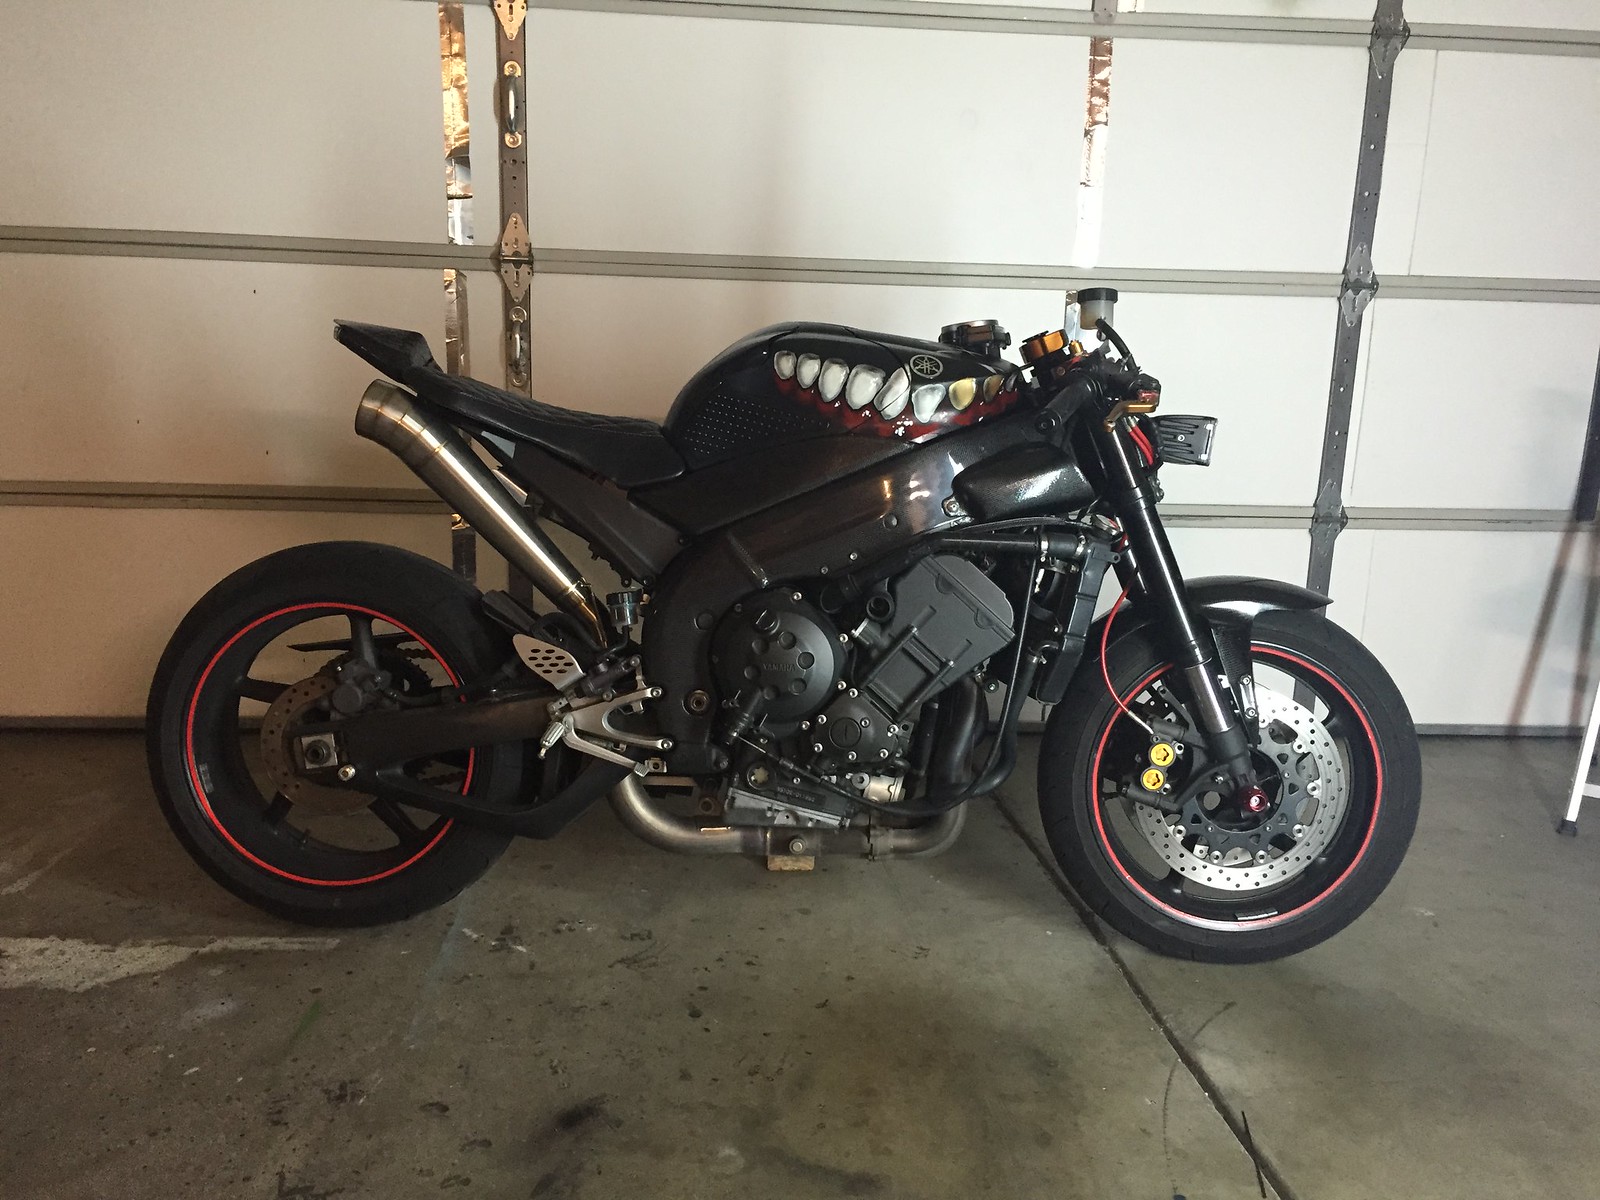
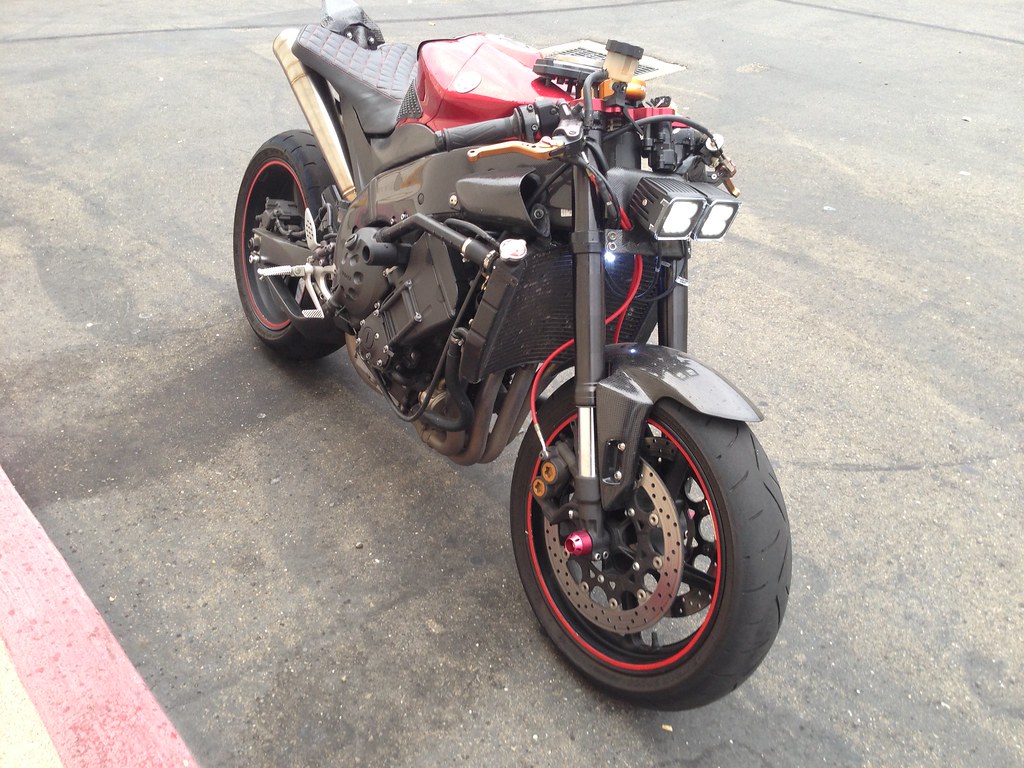
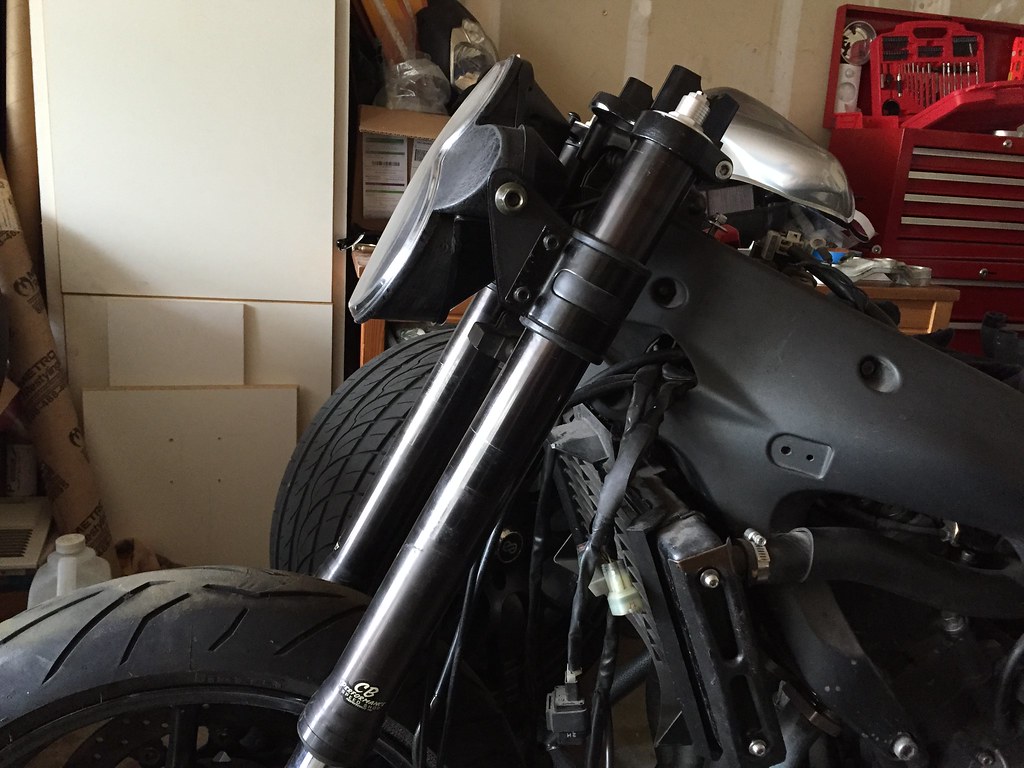
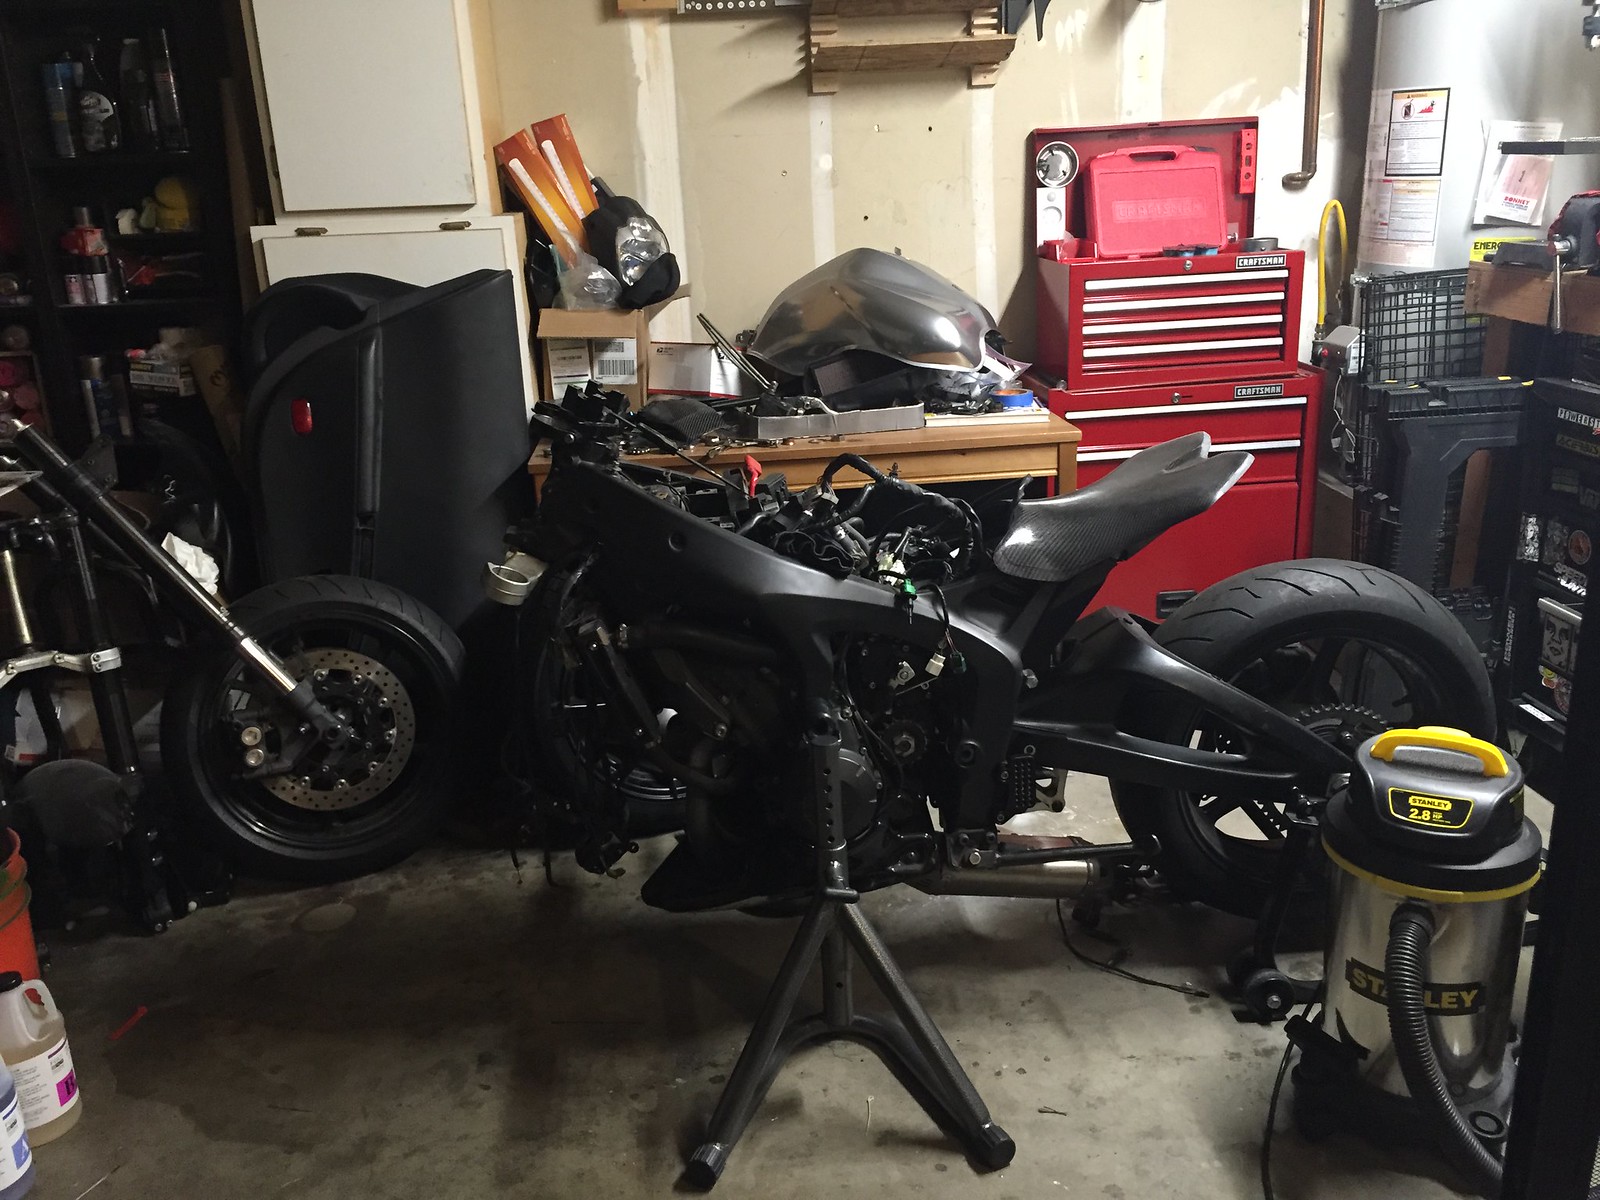
It looks like the best looking streetfighter Fz6 i've ever seen.
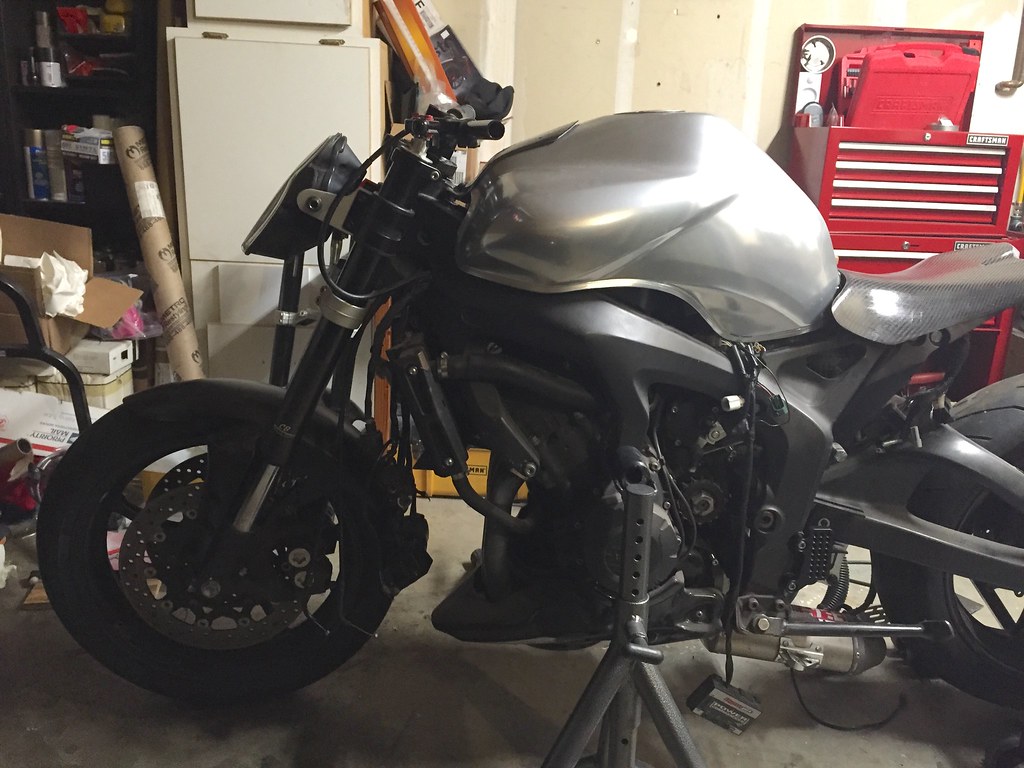
Without headlight.
What type of headlight are you planning to put on?


AAAHHH, I'm so jealous. :<
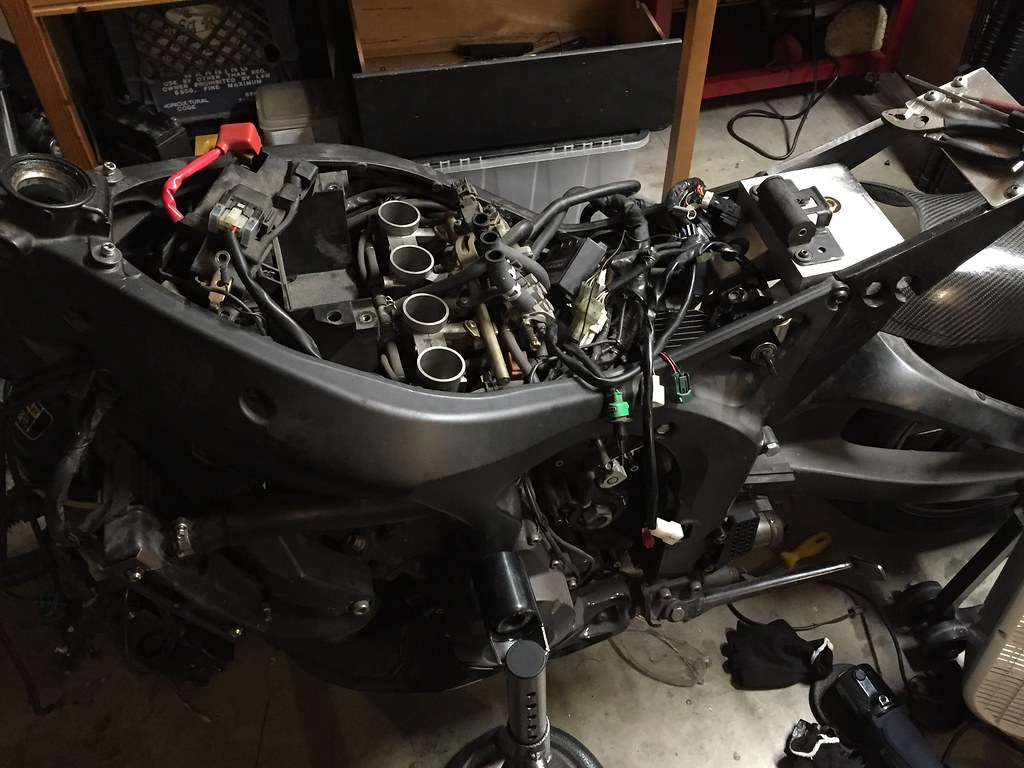
I've had the swingarm, brake, suspension, and headers for this swap for over a year, I just don't have the tools to build the new subframe. I am le sad.
Everything looks amazing though, awesome job! :thumbup:
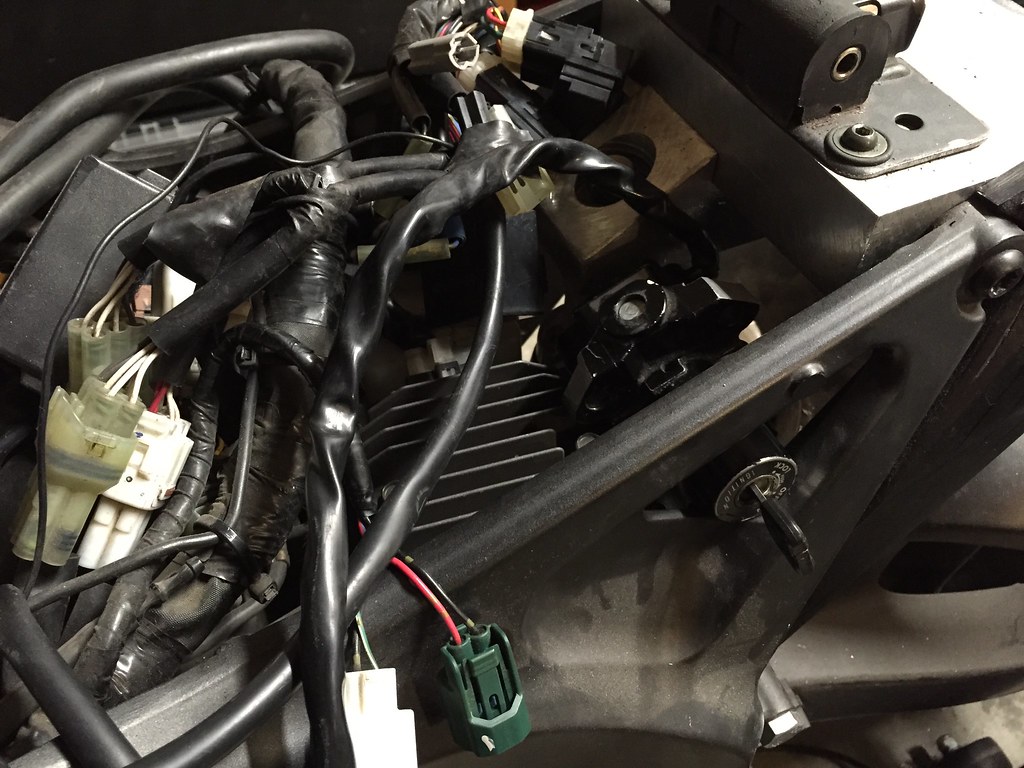
Hey, if you need more space under the seat, look at the S2 Coolant Reservoir and placing it under the the header in front of the block. It will free up some space. Just a thought....
So, if you can tolerate a little black behind the headers, that may be an option. item 38 and 44.
FROM: http://www.600riders.com/forum/fz6-technical/50116-2007-fz6-parts-reference-diagram-images-x46.html